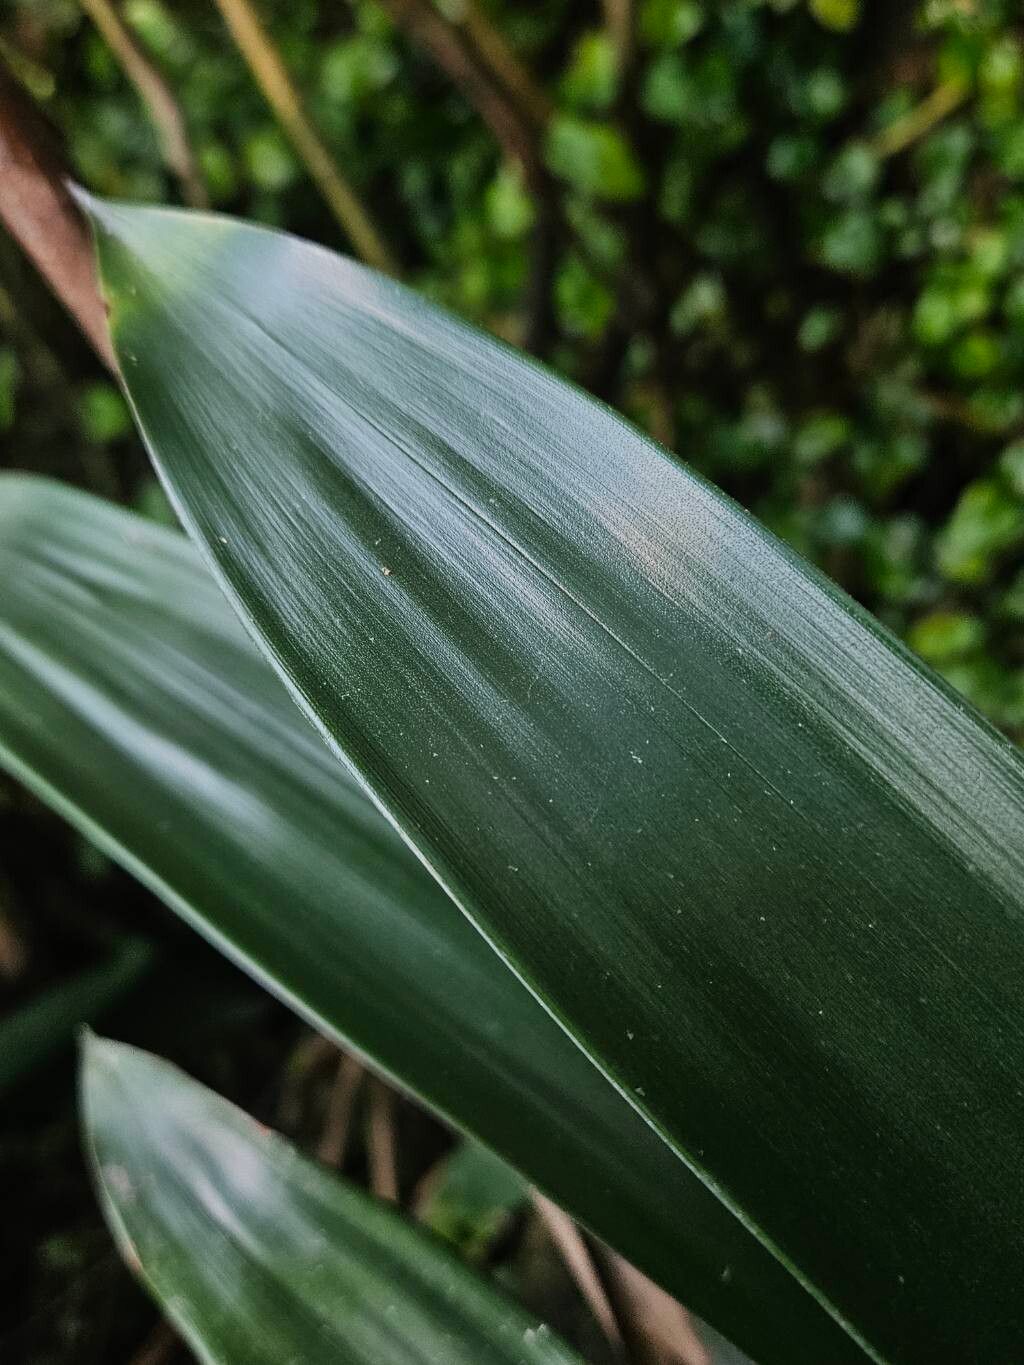
Hello, fellow plant lovers! Today, we’re diving into something truly special: multiplying those gorgeous Guzmania conifera plants you adore. If you’ve ever admired their vibrant, cone-like flower spikes and the intricate leafy rosettes, you’re not alone. Bringing new life into your home from an existing one is one of the most satisfying parts of gardening for me. Guzmania conifera, while a bit of a showstopper, is actually quite approachable when it comes to propagation, even for those just starting their indoor jungle journey.
The Best Time to Start
The sweet spot for propagating Guzmania conifera is when those little pups, or offsets, start to emerge from the base of the parent plant. This usually happens after the main flower spike has faded. Think late spring or early summer – when the days are getting longer and the plant is feeling energized from ample light. You’ll see tiny babies peeking out from beneath the mother plant’s leaves. Patience is key here; wait until these pups are a decent size, maybe a few inches tall, and have a few of their own leaves.
Supplies You’ll Need
Gathering your tools beforehand makes the whole process smoother. Here’s what I usually have on hand:
- Sharp, clean pruning shears or a sharp knife: For making clean cuts. Sterilize them with rubbing alcohol between cuts to prevent disease.
- A well-draining potting mix: Something specifically designed for bromeliads or a mix of coarse perlite, orchid bark, and a little peat moss works wonders. You want good airflow around those developing roots.
- Small pots or containers: Make sure they have drainage holes! About 3-4 inches is perfect for initial potting.
- Rooting hormone (optional but helpful): A powder or liquid form can give your new pups a little boost.
- Spray bottle filled with water: For gentle misting.
- Plastic bags or a clear dome: To create a humid environment for the newly potted pups.
Propagation Methods: Division is Key!
Guzmania conifera is primarily propagated through division, which is essentially separating the pups from the mother plant. Here’s how I do it:
- Assess your plant: Look for those pups you identified earlier. Gently try to wiggle one to see if it has its own root system starting.
- Gently remove the pup: This is the trickiest part! If the pup is easily accessible, you can often gently twist and pull it away from the mother plant, making sure to get as many of its own roots as possible. If it’s really attached, use your sterilized pruning shears or knife to make a clean cut as close to the parent plant as you can, ensuring you get some roots with the pup.
- Prepare the pup: If the pup has any damaged leaves, trim them off. If you’re using rooting hormone, lightly dip the cut end or the base of the pup into it.
- Potting up: Fill your small pots with your prepared potting mix. Make a little hole in the center and firmly plant the pup, ensuring its base is nestled in the soil. The soil should come up to the base of its leaves, but try not to bury the leaves themselves.
- Water gently: Give the newly potted pup a light watering. You want the soil to be moist, not soggy.
The “Secret Sauce” (Pro Tips)
Over the years, I’ve picked up a few tricks that seem to make all the difference:
- Don’t overwater! Bromeliads are native to tropical rainforests where they grow on trees, meaning they like moisture but absolutely hate sitting in soggy soil. This is probably the most common reason for failure. Let the soil dry out slightly between waterings.
- Humidity is your friend: After potting, cover the pot with a clear plastic bag or place it under a clear dome. This traps humidity, which is crucial for those young roots to establish. Poke a few small holes in the bag if you’re worried about too much condensation.
- Gentle warmth helps: If you have a propagation mat, placing your newly divided pups on it can significantly speed up root development. Just a little bottom heat makes a big difference.
Aftercare & Troubleshooting
Once your pups are potted, place them in a bright spot that doesn’t get direct, harsh sunlight. Too much sun can scorch their delicate leaves. I like to mist them lightly every couple of days, especially if they’re covered.
The first sign of success is when you see new leaf growth emerging from the center of the pup, or when you gently tug on it and feel resistance – meaning roots have formed!
Now, what if things go wrong? The most common culprit is root rot. If the pup looks mushy, turns black and slimy at the base, or its leaves start to yellow and wilt without apparent cause, it’s likely drowning. Unfortunately, if rot is advanced, it’s hard to save. This is why good drainage and careful watering are paramount.
A Little Patience Goes a Long Way
Propagating plants is a journey, not a race. Some pups will take off right away, while others will be a bit slower to establish themselves. Don’t get discouraged if not every attempt is a roaring success. Celebrate the wins, learn from the challenges, and most importantly, enjoy the process of nurturing new life. Happy propagating!
Resource: