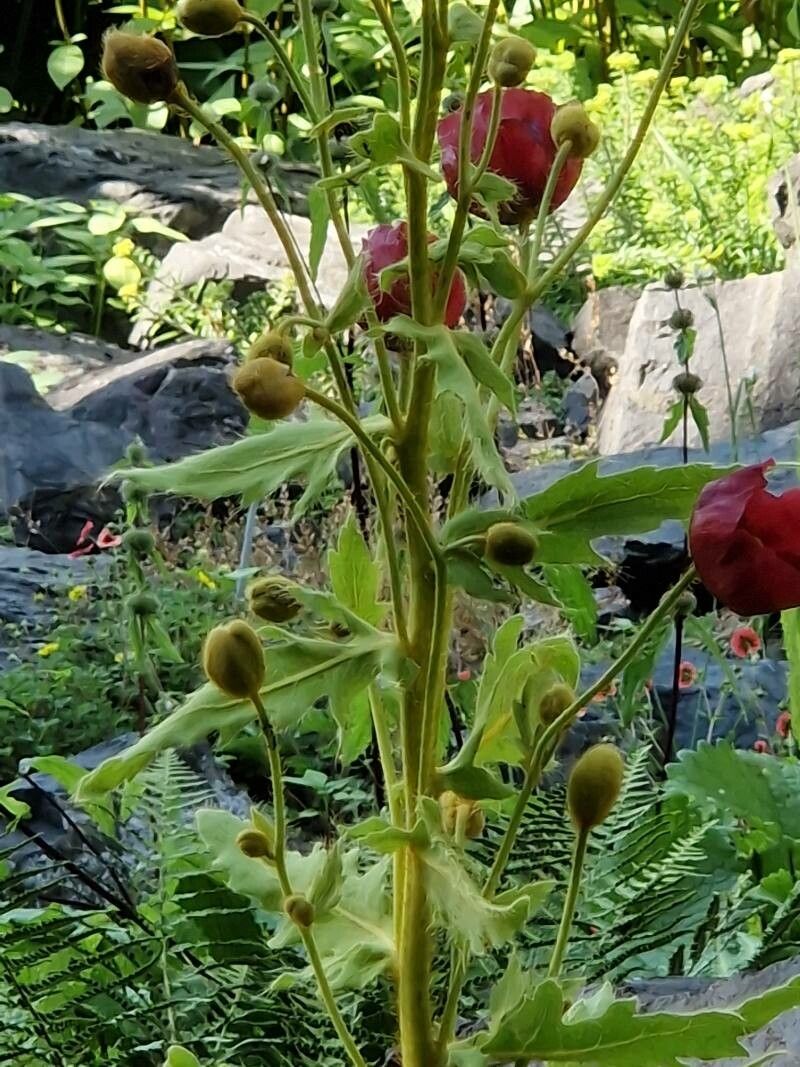
Oh, hello there! Come on in, grab a mug. Today, we’re diving into something truly special: propagating Meconopsis manasluensis. If you’ve ever seen these ethereal blue poppies gracing a garden, you know their allure. They have this way of just stopping you in your tracks, a splash of pure, vibrant blue against the greens. Wanting to grow more of them yourself? That’s a beautiful ambition! Now, I won’t sugarcoat it – Meconopsis manasluensis can be a bit of a diva. Propagating them isn’t quite as straightforward as, say, a geranium, but the reward of seeing those delicate blooms emerge from something you nurtured yourself? Absolutely worth every bit of effort. It’s a journey that deepens your connection to these magnificent plants.
The Best Time to Start
For Meconopsis manasluensis, late spring to early summer is your sweet spot. Think about when the plant is actively, but not overly, growing. After they’ve finished their main bloom and the initial flush of energy has passed, they’re often in a receptive state for propagation. You want to catch them when they’re robust but not stressed by extreme heat or cold.
Supplies You’ll Need
Gathering your supplies beforehand makes the whole process much smoother. Here’s what I always have on hand:
- Sharp, sterile pruning shears or a clean knife: Essential for making clean cuts to prevent disease.
- Rooting hormone powder or gel: This is really helpful for encouraging root development.
- Well-draining potting mix: A good blend is crucial. I often use a mix of peat moss, perlite, and a bit of sharp sand (around 2:1:1 ratio).
- Small pots or seed trays: Clean ones are a must!
- Plastic bags or a propagator lid: To create a humid environment for cuttings.
- Watering can with a fine rose: For gentle watering.
- Labels and a permanent marker: To keep track of what you’ve done and when.
- Bottom heat mat (optional but recommended): This can significantly speed up root formation.
Propagation Methods
While Meconopsis manasluensis can be propagated from seed, taking cuttings from established plants often gives you a more predictable outcome, especially for replicating specific, admired traits. Division is also a viable method.
Stem Cuttings
This is often the most successful route for propagating these beauties.
- Select your cuttings: Look for healthy, non-flowering side shoots from the current year’s growth. They should be about 4-6 inches long.
- Make the cut: Using your sterile shears, make a clean cut just below a leaf node. This is where roots are most likely to form.
- Prepare the cutting: Gently remove the lower leaves, leaving just a couple at the top. This reduces moisture loss.
- Apply rooting hormone: Dip the cut end of the stem into rooting hormone, tapping off any excess.
- Pot them up: Fill your small pots with the well-draining mix. Make a small hole with a pencil or your finger and insert the cutting. Firm the soil gently around it.
- Create humidity: Water gently, then cover the pot with a plastic bag or place it in a propagator. Ensure the leaves don’t touch the plastic.
Division
If you have a mature clump, division is a straightforward way to multiply your plants.
- Timing is key: The best time to divide Meconopsis manasluensis is usually in early spring, just as the new growth is emerging, or in early autumn after the main growing season.
- Carefully excavate: Gently dig around the clump, trying to disturb the roots as little as possible.
- Separate the divisions: You can often tease apart the sections by hand. If they’re root-bound, use your clean knife or spade to cut through the root ball, ensuring each division has a good amount of roots and at least one or two strong shoots.
- Replant immediately: Pot them up into their new spots or containers, planting them at the same depth they were previously growing. Water them in well.
The “Secret Sauce” (Pro Tips)
Here are a few little tricks I’ve picked up over the years that make a difference:
- The magic of bottom heat: Oh, this is a game-changer! Placing your pots on a heated propagator mat set to around 70-75°F (21-24°C) really tells the roots, “Hey, it’s time to grow!” It creates that cozy environment they crave.
- Don’t overwater early on: It’s a fine line, isn’t it? You need moisture, but too much, especially before roots form, is the quickest way to invite rot. I like to check the soil moisture by touch; it should feel moist but not soggy.
- Watch for the “wilt”: If your cuttings start to look a bit sad and droopy, don’t panic immediately. Sometimes, this is just them adjusting to their new environment. Keep the humidity up. If they remain wilted after a few days and the leaves are clearly deteriorating, then it’s a sign something’s not quite right, but a little droop is often temporary.
Aftercare & Troubleshooting
Once your cuttings have begun to show signs of life – new leaf growth is the big one – it’s time to transition them.
- Gradually introduce air: If you’ve been using a plastic bag, start by opening it a little each day, increasing the airflow gradually over a week or so. This helps them acclimatize to drier conditions.
- Careful watering: Continue to water gently when the top inch of soil feels dry. Avoid waterlogging.
- Light but not direct sun: Place your new plants in bright, indirect light. Direct sun can scorch their delicate leaves.
The most common issue you’ll face is rot. If you see a cutting turning mushy and black at the base, it’s likely gone. Remove it immediately to prevent it from spreading. Overwatering is the usual culprit here. Leggy growth, on the other hand, often means they need a bit more light.
A Little Encouraging Word
Propagating Meconopsis manasluensis is a journey of patience and observation. You’re nurturing life, and that’s always a beautiful thing. Don’t be discouraged if not every cutting takes; gardening is about learning from each attempt. Celebrate every success, and enjoy the process of bringing these stunning blue treasures into your own garden. Happy propagating!
Resource:
https://identify.plantnet.org/k-world-flora/species/Meconopsis%20manasluensis%20P.A.Egan/data