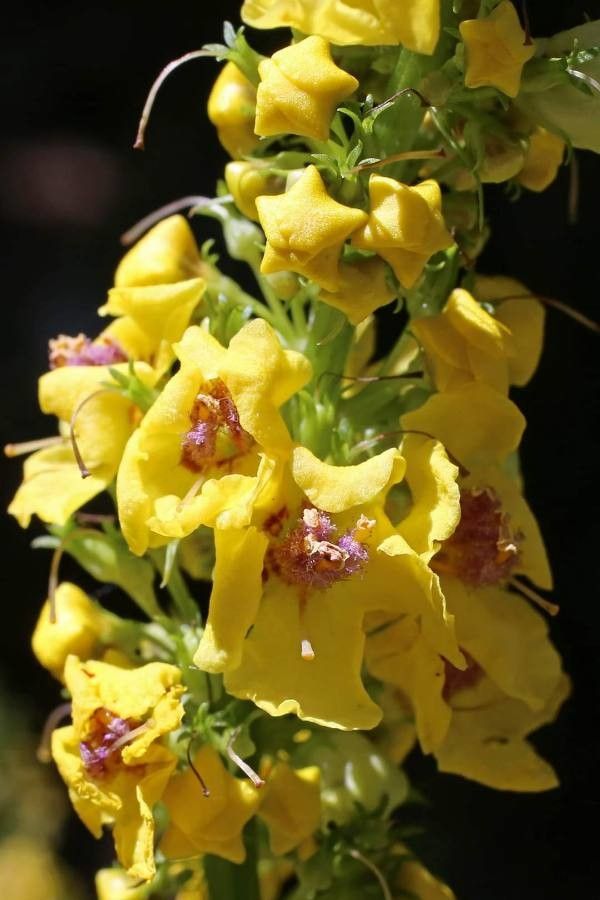
Hello there, fellow garden enthusiasts! I’m so thrilled you’re here to chat about one of my absolute favorite plants: Verbascum glabratum, often known by its common name, the Wand Flower. If you’ve ever seen these elegant spires gracing a garden, you know their charm. They bring such a wonderful vertical element, and their delicate, often fuzzy blooms are just captivating.
There’s a special kind of joy in coaxing new life from an existing plant, don’t you think? And with Verbascum glabratum, it’s a wonderfully rewarding process. I wouldn’t call it the absolute easiest plant for a complete beginner, but with a little guidance, it’s totally achievable, and the sense of accomplishment is immense.
The Best Time to Start
For the absolute best chance of success, I like to get my propagation efforts underway in late spring or early summer. This is when the plant is actively growing and has plenty of energy to dedicate to forming new roots. You’ll be looking for new, soft growth that hasn’t yet become woody.
Supplies You’ll Need
Here’s a handy list of what you’ll want to have on hand:
- Sharp pruning shears or a clean, sharp knife: For making those clean cuts.
- Small pots or seed trays: With drainage holes, of course!
- Well-draining potting mix: A good quality seed-starting mix or a blend of peat moss and perlite works beautifully. You can also add a bit of compost.
- Rooting hormone (optional but recommended): Helps speed up root development. I particularly like powdered forms for cuttings.
- Plastic bags or a propagator: To create a humid environment.
- Watering can or mister: For gentle watering.
Propagation Methods
There are a few ways to go about this, but my favorite for Verbascum glabratum is by stem cuttings. It’s reliable and gives you a good chance of success.
Stem Cuttings:
- Select your cuttings: Look for healthy stems that are about 4-6 inches long. Gently snap or cut them from the main plant, trying to get them from new, non-flowering growth. Make sure each cutting has at least two sets of leaves.
- Prepare the cuttings: Remove the lower leaves from the bottom half of the cutting. This prevents them from rotting when buried and encourages rooting from the nodes.
- Apply rooting hormone: If you’re using it, dip the cut end of the stem into the rooting hormone powder, tapping off any excess.
- Plant the cuttings: Fill your small pots or trays with your damp potting mix. Gently insert the prepared cuttings into the soil, about an inch deep. Make sure the soil makes good contact with the cutting.
- Create humidity: Water the soil gently. Then, cover the pots with a plastic bag or place them in a propagator. This traps moisture and keeps the humidity high, which is crucial for cuttings to root.
- Place them in a bright spot: Find a location that receives bright, indirect light. Avoid direct sun, as it can scorch the delicate cuttings.
The “Secret Sauce” (Pro Tips)
Now, here are a couple of little tricks I’ve picked up over the years that can really make a difference:
- Don’t let the leaves touch the water when water propagating (if you choose that route): While I prefer cuttings in soil, if you ever decide to try rooting any of your plants in water, make sure the leaves aren’t submerged. Any leaves below the water line are prone to rot, which can then spread to the stem.
- Bottom heat is your friend: If you have a heat mat designed for seedlings, using it can significantly speed up the rooting process. The warmth encourages root development from below, giving your cuttings a real boost.
Aftercare & Troubleshooting
Once your cuttings are planted, the key is to keep the soil consistently moist but not waterlogged. Mist the leaves occasionally, and check the soil moisture regularly. You’ll know they’re rooting when you see new leaf growth or feel a gentle resistance when you tug lightly on the cutting. This usually takes anywhere from 3 to 6 weeks.
Watch out for signs of rot. If your cuttings start to turn mushy or black, it’s usually a sign of too much moisture or poor drainage. If you see this, gently remove the affected cutting, allow the remaining soil to dry out a bit, and improve ventilation.
Once your new little Verbascum plants have a good network of roots, you can gently transplant them into slightly larger pots. Continue to care for them as you would a young seedling – bright, indirect light and consistent moisture.
Don’t get discouraged if a few cuttings don’t make it. That’s just part of the gardening journey! Be patient, keep experimenting, and most importantly, enjoy the process of growing something new. Happy gardening!
Resource:
https://identify.plantnet.org/k-world-flora/species/Verbascum%20glabratum%20Friv./data