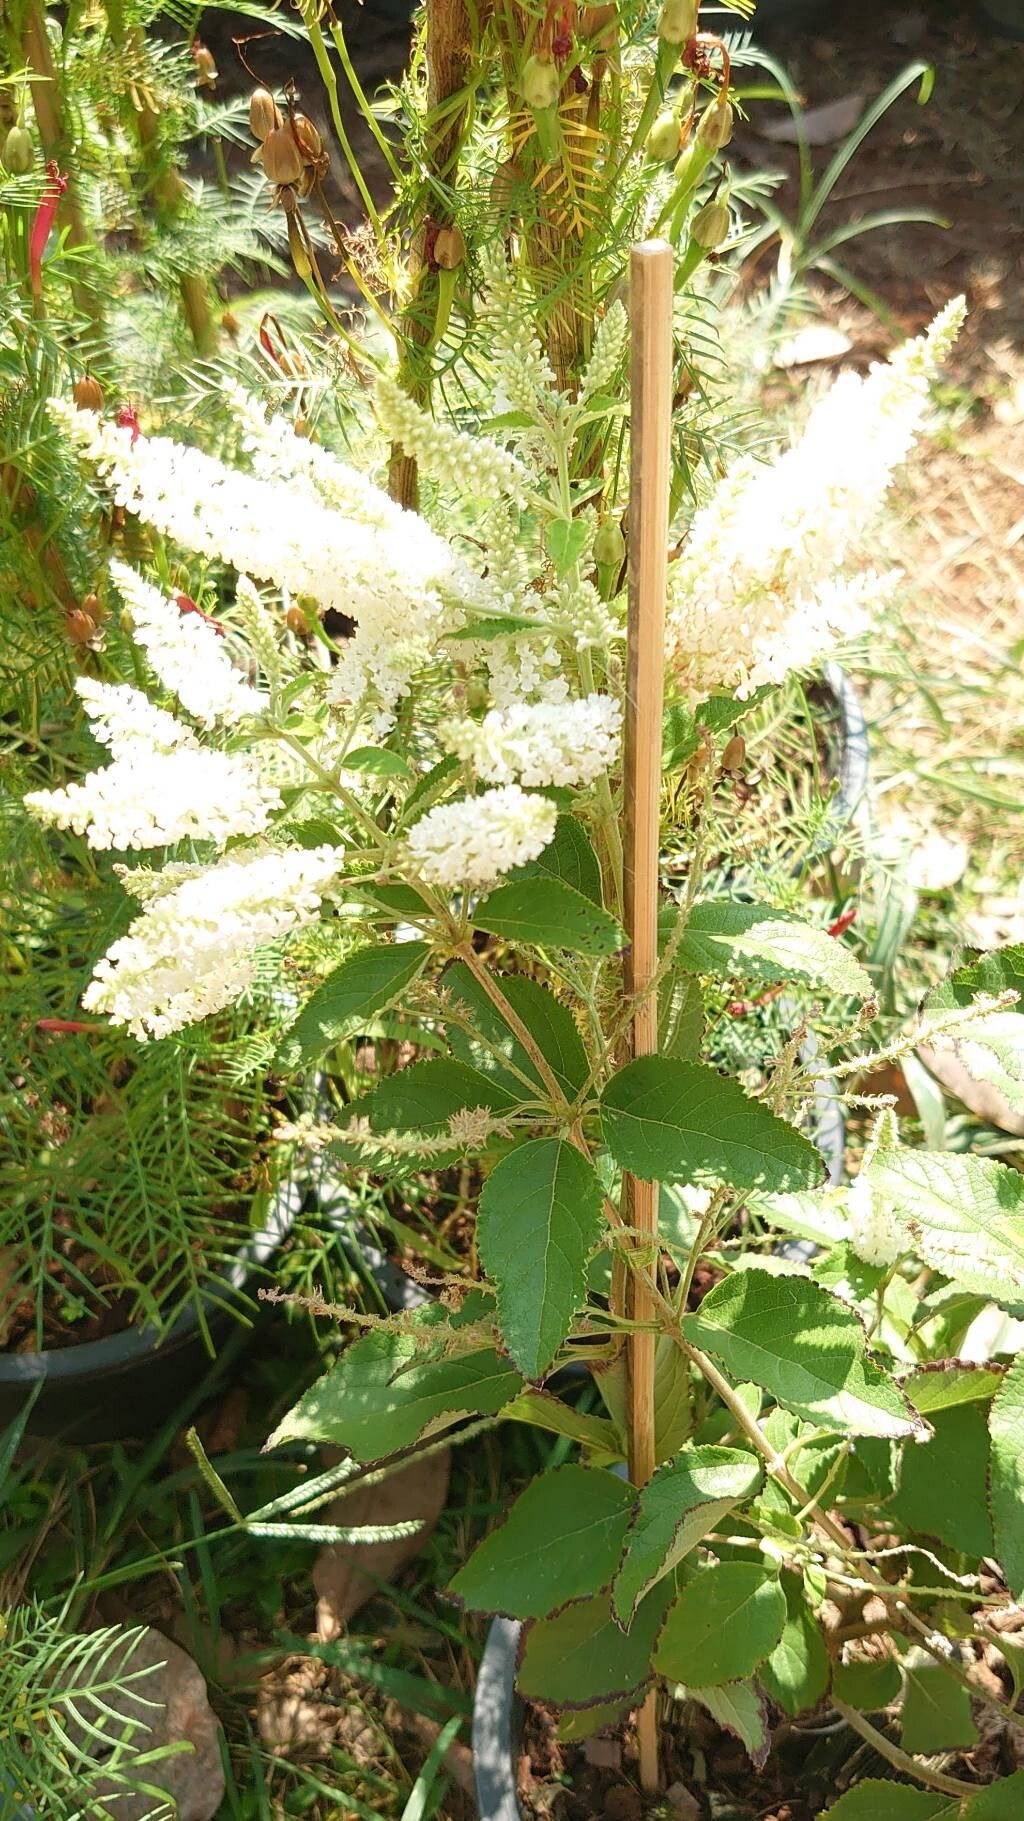
Ah, sweet Aloysia virgata, also known as Sweet Almond Verbena! If you haven’t met this beauty yet, get ready. It’s a real charmer for any garden, especially if you love those intoxicating, sweet almond-scented blooms that just waft through the air on a warm day. Plus, it’s a magnet for pollinators! And the best part? Propagating it is surprisingly straightforward. Honestly, if you’ve dabbled a bit in the garden before, you’ll find this process quite enjoyable. It’s a fantastic plant to start your propagation journey with.
When to Get Your Hands Dirty
The sweet spot for propagating Aloysia virgata is late spring to early summer. This is when the plant is actively growing, meaning it has plenty of energy to put into developing new roots. I find taking cuttings from young, semi-hardened stems gives the best results. You want stems that are firm but not yet woody. Think of them as being about the consistency of a cooked carrot – still bendy, but with some substance.
What You’ll Need to Get Started
Gathering your supplies before you begin makes the whole process so much smoother. Here’s what I usually have on hand:
- Sharp Pruning Shears or a Clean Knife: For making clean cuts, which are crucial for good root development.
- Rooting Hormone: This is definitely a helper! It’s not strictly essential for Aloysia virgata, but it gives those cuttings a real boost.
- Potting Mix: A well-draining mix is key. I usually use a blend of peat moss, perlite, and a little bit of compost. You can also buy specialized propagation mixes.
- Small Pots or Seedling Trays: Clean containers are important to prevent disease.
- Clear Plastic Bags or a Propagator: To create a humid environment for your cuttings.
- Water: For moistening your soil and for water propagation.
- Labels and a Marker: To keep track of what you’ve planted and when.
Let’s Grow Some New Plants!
There are a couple of reliable ways to get new Aloysia virgata plants. I find stem cuttings to be the most effective and widely used method.
Stem Cuttings: My Go-To Method
- Take the Cuttings: In your chosen timeframe, select healthy stems. Using your sharp shears, take cuttings about 4-6 inches long. Make the cut just below a leaf node – that little bump where a leaf grows from the stem.
- Prepare the Cuttings: Gently remove the lower leaves from each cutting, leaving only the top 2-3 leaves. This prevents them from rotting in the soil. If the leaves are very large, you can even cut them in half to reduce water loss.
- Dip in Rooting Hormone: Lightly dip the cut end of each stem into your rooting hormone. Tap off any excess.
- Planting: Fill your pots with your prepared, moistened potting mix. Make a small hole in the center with your finger or a pencil.
- Insert the Cuttings: Gently insert the treated end of each cutting into the hole, ensuring the leaf nodes you removed are below the soil surface. Firm the soil gently around the base of the cutting.
- Create Humidity: Water the soil lightly. Then, you can either cover the entire pot with a clear plastic bag (supported by stakes so it doesn’t touch the leaves) or place the pots inside a propagator. Make sure there’s some ventilation – a slit in the bag or a slightly ajar propagator lid is good.
Water Propagation (A More Visual Option)
This is fun if you like to see the roots forming!
- Prepare the Cuttings: Follow steps 1 and 2 from the stem cutting method above.
- Place in Water: Fill a clean jar or vase with room-temperature water. Place the prepared cuttings in the water, making sure the leaf nodes are submerged but the remaining leaves are above the water line.
- Change Water Regularly: Change the water every few days to keep it fresh and prevent bacterial growth.
- Wait for Roots: You’ll start to see little nubs forming at the leaf nodes, which will eventually develop into roots. Once the roots are about an inch long, it’s time to pot them up.
The “Secret Sauce” (My Insider Tips!)
Over the years, I’ve learned a few little tricks that seem to make a difference. Don’t be afraid to experiment!
- Bottom Heat is Your Friend: If you have a seedling heat mat, place your pots on it. This gentle bottom warmth significantly encourages root formation. It mimics the warmth of the soil in the summer and really gives those cuttings a kickstart.
- Don’t Let Leaves Drown: When you’re doing water propagation, or even if your plastic bag droops a bit, ensure no leaves are sitting directly in the water. This is a fast track to rot. A broken leaf is a sad leaf, and a rotting leaf is a dead end for your cutting.
- A Gentle Mist is Better Than a Drench: Instead of watering heavily after planting cuttings, a light misting with water can help settle the soil without dislodging them or creating overly soggy conditions.
Aftercare & Troubleshooting
Once your cuttings have developed a good root system – you’ll see roots peeking out of the drainage holes or feel resistance when you gently tug on the cutting – it’s time to transition them.
- Transplanting: Gradually acclimate your new plants to lower humidity before removing the plastic bag or opening the propagator. Then, pot them into slightly larger pots with your well-draining potting mix. Water them gently.
- Give Them Space: Place your newly potted plants in a bright location that receives indirect sunlight. Avoid harsh, direct sun for the first few weeks.
- Watch for Signs of Trouble: The most common issue is rot. If your cuttings turn black and mushy, it’s a sign of too much moisture and not enough air circulation. If leaves turn yellow and drop, it could be a sign of too little light or sometimes stress. Don’t panic! It happens to the best of us. Just remove affected cuttings and assess your conditions.
Keep Growing!
Propagating Aloysia virgata is a truly rewarding experience. It’s a wonderful way to multiply your favorite plants and share them with friends. Be patient with the process – sometimes it takes a few weeks for roots to appear, and that’s perfectly normal. Enjoy the journey of watching these little pieces of magic unfurl into vibrant new life. Happy gardening!
Resource: