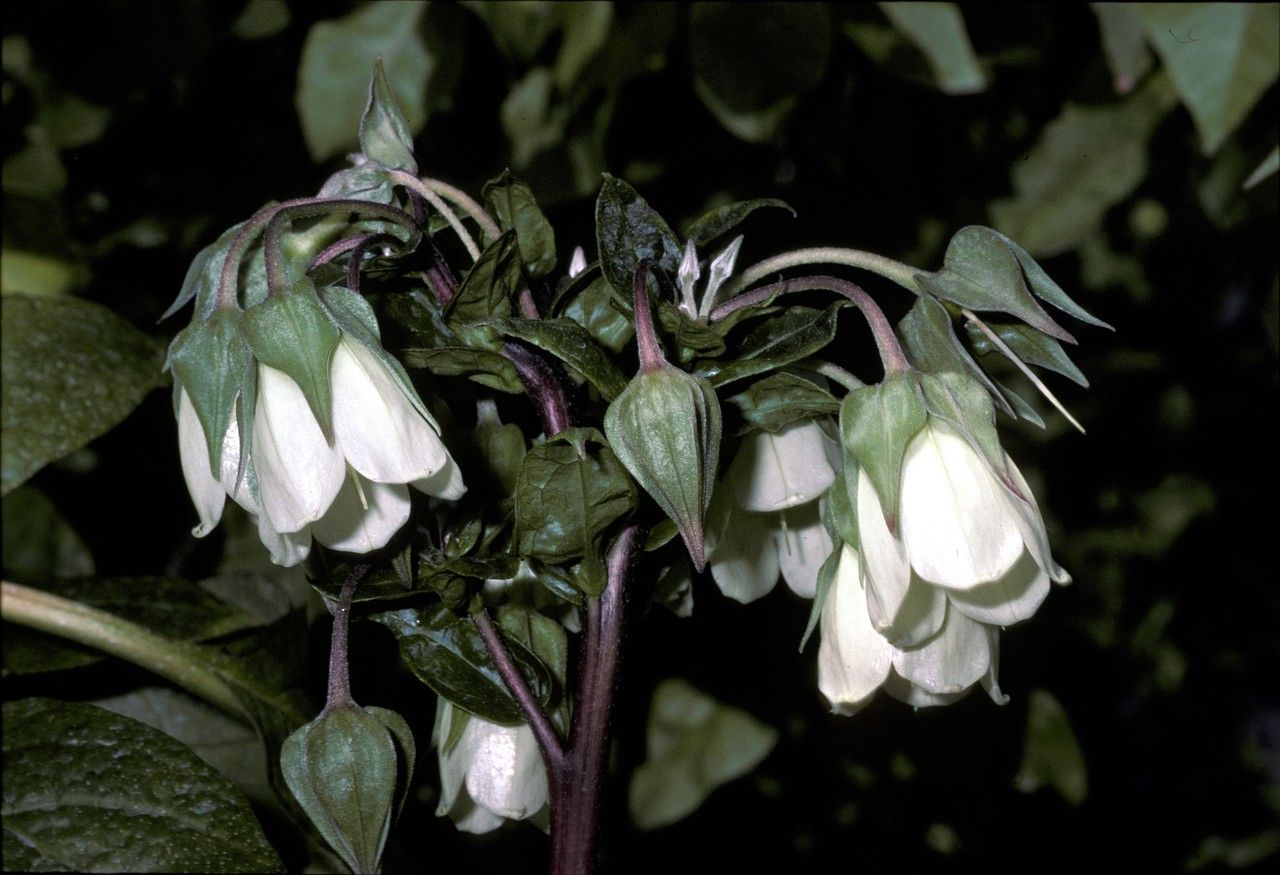
Hello there, fellow plant enthusiasts! Grab a cup of your favorite brew, and let’s chat about a truly special bloom: Trichodesma scottii. Some of you might know it as the “Borage Tree” or “Camel’s Ear” for its lovely, fuzzy foliage and the most delightful azure-blue flowers that just dance in the breeze. If you’ve ever admired one of these beauties, you know how rewarding it is to see them thrive and to be able to share that joy with others.
Now, about propagating Trichodesma scottii: I’d say it’s a moderately easy plant to propagate, especially if you’re willing to give it a little bit of focused attention. It’s not quite as foolproof as a spider plant, but with a few key practices, you’ll absolutely find success. And oh, the satisfaction of nurturing a whole new plant from a tiny piece of the original – it’s simply magical!
The Best Time to Start
The absolute sweet spot for propagating Trichodesma scottii is during its active growing season, which typically falls in the late spring through early summer. This is when the plant has plenty of energy to put into new growth, making any cuttings or divisions more likely to develop strong roots. Look for healthy, vigorous stems that aren’t too woody or too soft – kind of like your breakfast toast, we want the perfect tender-crisp stage!
Supplies You’ll Need
Gathering your tools beforehand makes the whole process so much smoother. Here’s what I always have on hand:
- Sharp, clean pruning shears or a sharp knife: For making clean cuts. Sterilize them with rubbing alcohol before you start.
- Rooting hormone (optional but recommended): I find it gives cuttings an extra boost.
- Well-draining potting mix: A good blend for me is typically 50% perlite and 50% peat moss or coco coir. Anything that lets water drain away quickly is key.
- Small pots or seed trays: With drainage holes, of course!
- Plastic bags or a clear plastic dome: To create a humid environment for cuttings.
- Water: For watering your new propagations.
Propagation Methods
Trichodesma scottii can be propagated effectively through stem cuttings and, if you have a mature plant, division. Let’s dive into the details.
Stem Cuttings: The Most Common Approach
This is how I usually start new plants. It’s simple, effective, and you can get quite a few new babies from one healthy parent.
- Take your cuttings: In late spring or early summer, locate a healthy stem. Using your sterilized shears, make a clean cut just below a leaf node (where a leaf attaches to the stem). Aim for cuttings that are 4-6 inches long. Remove the lower leaves, leaving only a few at the top.
- Prepare the cutting: Dip the bottom end of the cutting into a rooting hormone powder. Gently tap off any excess.
- Plant your cutting: Moisten your well-draining potting mix in a small pot. Make a hole in the center with your finger or a pencil. Insert the cutting into the hole, ensuring the node where you removed the leaves is buried. Gently firm the soil around it.
- Create humidity: Water the soil lightly. Then, place a plastic bag over the pot, propping it up with skewers or sticks so it doesn’t touch the leaves. Alternatively, use a clear plastic dome. This creates a mini greenhouse effect, keeping the humidity high.
- Placement: Put the pot in a bright spot, but out of direct, harsh sunlight. A sunny windowsill that gets morning light is usually perfect.
Division: For Established Plants
If you have a mature Trichodesma scottii that’s looking a bit crowded or just needs a refresh, you can divide it.
- Gently remove the plant: Carefully lift the entire plant from its pot or dig it up from the ground.
- Examine the root ball: Gently brush away excess soil. You’ll be looking for natural divisions where roots and stems have grown apart.
- Separate the divisions: Using your hands or a clean, sharp trowel, gently pull or cut the root ball into sections. Each section should have at least a few stems and a healthy portion of roots.
- Repot: Plant each division into its own pot filled with the well-draining potting mix. Water it in well.
The “Secret Sauce” (Pro Tips)
Here are a few little tricks I’ve learned over the years that can really make a difference:
- Don’t let the leaves touch the water: If you’re doing water propagation (which I find a little less reliable for Trichodesma scottii compared to soil), make sure no leaves are submerged. Submerged leaves will rot, and that’s a fast track to a failed cutting.
- Bottom heat is your friend: For stem cuttings, placing the pots on a gentle heat mat can significantly speed up root development. It mimics the warmth of spring soil and gives those roots an encouraging nudge.
- Be patient with variegation (if applicable): If your Trichodesma scottii has any interesting variegation, don’t be alarmed if the first few leaves on a new cutting aren’t as colorful. They often develop their true markings as they mature and get used to their new environment.
Aftercare & Troubleshooting
Once you start seeing signs of life – new leaf buds or tiny roots peeking through the drainage holes – it’s time to adjust care.
- Gradually acclimate: Begin to remove the plastic bag or dome for short periods, gradually increasing the duration over a week or two. This helps the new plant adjust to normal humidity levels.
- Watering: Water when the top inch of soil feels dry. Overwatering is the most common killer of new propagations. Let the soil dry out slightly between waterings.
- Fertilizing: Once the plant is well-established and showing good new growth, you can start with a diluted, balanced liquid fertilizer once a month.
The most common issue you’ll encounter is rot. If your cutting turns mushy or black, it’s likely due to too much moisture and not enough air circulation. Discard it and start again, being sure to use very well-draining soil and not to overwater. Sometimes, cuttings just don’t take – it happens to the best of us!
A Encouraging Closing
There you have it! Propagating Trichodesma scottii is a truly rewarding endeavor that allows you to multiply the beauty in your garden. Don’t be discouraged if your first attempt isn’t perfect. Every plant, and every gardener, learns as they grow. Be patient, enjoy the process, and celebrate those tiny green shoots – they’re a testament to your nurturing touch! Happy gardening!
Resource:
https://identify.plantnet.org/k-world-flora/species/Trichodesma%20scottii%20Balf.f./data