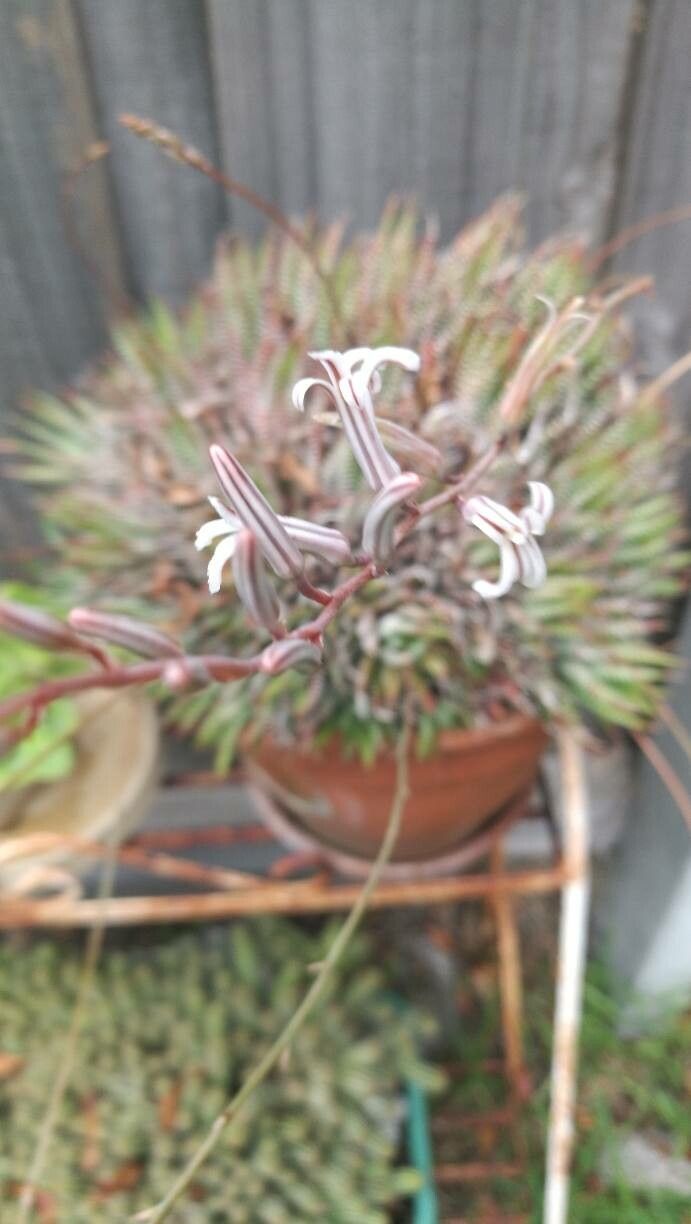
Oh, hello there, fellow plant lover! Come on in, grab a mug. Today, we’re diving into the wonderfully resilient world of Haworthiopsis attenuata, often called Zebra Plant. You know, those spiky beauties with the stunning white stripes? They’re just so satisfying to look at, and even more rewarding to multiply.
Why Propagate This Striking Succulent?
Haworthiopsis attenuata is a star for a reason. Its architectural form and striking patterns add so much character to a windowsill or desk. And the best part? They’re incredibly easy to propagate! This is one of those plants that practically begs you to make more of it. If you’re just starting your succulent journey, this is a fantastic plant to begin with. You’ll be sharing babies with friends in no time!
The Best Time to Start
My favorite time to start propagating Haworthiopsis is when the plant is actively growing. This usually means late spring through early summer. You’ll notice new offsets (those little pups popping up around the base) are plump and seem ready to go. You can often propagate them year-round indoors, but spring and summer give you that extra boost from natural light and warmth.
Supplies You’ll Need
Gathering your tools makes the process so much smoother. Here’s what I like to have on hand:
- Sharp, clean pruning shears or a sharp knife: Essential for making clean cuts.
- Well-draining potting mix: I always opt for a specialized cactus and succulent mix. If you don’t have that, you can create your own by mixing equal parts potting soil and perlite or coarse sand.
- Small pots or seedling trays: Little terracotta pots are my go-to for babies.
- Rooting hormone (optional but helpful): A little dip can speed things up.
- Gloves: Some Haworthias can be a bit pokey!
- Watering can or spray bottle: For gentle watering.
- Newspaper or a tray: To catch any stray soil.
Propagation Methods: Easy Peasy!
Haworthiopsis is generous, offering us a couple of super simple ways to create new plants.
1. Offsets (Pups): The easiest way!
This is the most straightforward method and often yields the quickest results.
- Identify the pups: Look around the base of your mature Haworthia. You’ll see small baby plants, called offsets or pups, growing from the mother plant.
- Gently remove the pup: Using your clean knife or shears, carefully cut or pry the pup away from the mother plant. Try to get a bit of the base root, if possible, but don’t worry if you don’t. It’s okay if there’s a tiny scar left on the mother.
- Let it callous: This is a crucial step! Place the removed pup on a piece of newspaper or a shallow tray in a dry, bright spot (but out of direct, harsh sunlight) for 2-3 days. This allows the cut end to dry and form a protective callus, which helps prevent rot.
- Pot it up: Once calloused, lightly dip the cut end in rooting hormone (if using). Then, tuck the calloused end into your prepared well-draining succulent mix in a small pot. Don’t bury it too deeply – just enough to keep it upright.
- Wait to water: Resist the urge to water immediately. Wait about a week after potting before the first gentle watering.
2. Stem Cuttings (Less common but doable)
While less common for Haworthiopsis compared to offsets, you can sometimes propagate from stem cuttings if a piece has broken off.
- Prepare the cutting: If you have a healthy section of stem with a few leaves, ensure the cut end is clean.
- Callous: Just like with pups, let the cut end dry and form a callus for 2-3 days.
- Potting: Place the calloused end into your succulent soil mixture. Again, don’t bury it too deep.
- Patience: This method can take a bit longer for roots to form, so be patient!
The “Secret Sauce” (Pro Tips)
Want to give your new Haworthiopsis babies an extra edge? Here are a couple of things I’ve learned over the years:
- Bottom Heat is Your Friend: For faster root development, especially if you propagate during cooler months, try placing your pots on a seedling heat mat. It mimics that warm soil often found in its native habitat and really encourages those roots to get going. Just make sure it’s a low-heat mat; you don’t want to cook your little ones!
- Don’t Drown Them: This is probably the most important tip for any succulent propagation. When you do water, water sparingly. The goal is to keep the soil slightly moist, not soggy. Overwatering is the quickest way to invite rot, and nobody wants that for their new plant babies. Let the soil dry out mostly between waterings.
Aftercare & Troubleshooting
Once you’ve potted up your propagated Haworthias, the real magic is watching them mature.
- Watering: As mentioned, water lightly about a week after potting. After that, allow the soil to dry out between waterings. You’ll get a feel for it as you care for your plants.
- Light: Place your new plants in a spot with bright, indirect sunlight. Direct sun can scorch their delicate leaves, especially when they’re young. A bright windowsill that doesn’t get harsh afternoon sun is perfect.
- Signs of Success: You’ll know it’s working when the pups start to look plumper and feel a bit more secure in the soil, showing no signs of shriveling. You might even see tiny new roots peeking out the bottom of the pot if you’re lucky!
- Troubleshooting: Rot! The most common issue is rot. If you see the base of your cutting or pup turning black and mushy, or if the leaves feel soft and translucent (not plump), it’s likely rot setting in. This usually means too much moisture. There’s not much you can do once rot takes hold, but you can try to cut away the rotted parts and let the healthy section callous and try again. Prevention, with proper watering and good drainage, is key!
Happy Growing!
So, there you have it! Propagating Haworthiopsis attenuata is a truly delightful and simple process. It’s a wonderful way to expand your collection and share the joy of these spiky wonders with others. Remember to be patient, observe your plants, and don’t be afraid to get your hands a little dirty. Happy propagating!
Resource: