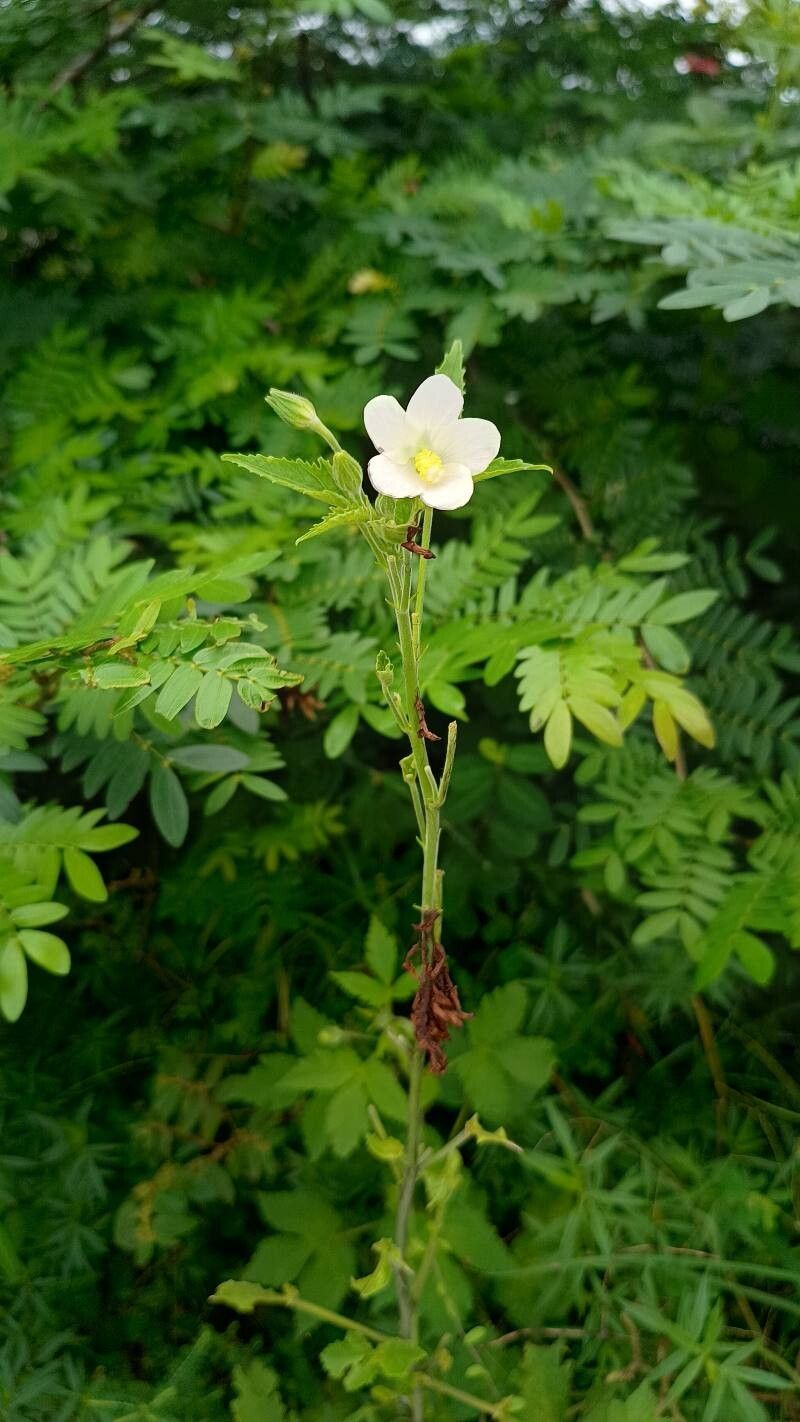
Hello there, fellow garden enthusiasts! Today, we’re diving into the wonderful world of propagating Hibiscus lobatus. If you’ve ever admired that delicate charm and vibrant bloom of this particular hibiscus, you’re in for a treat. Growing more of these beauties from your established plants is incredibly rewarding, and the good news? It’s quite accessible, even for those just starting their green journey!
The Best Time to Start
For the highest success rate, I find that late spring to early summer is simply the sweet spot. This is when your Hibiscus lobatus is actively growing and has plenty of energy to put towards developing new roots. Waiting until after the plant has settled into its growing season ensures you have healthy, vigorous material to work with.
Supplies You’ll Need
Gathering your supplies beforehand makes the whole process feel much smoother. Here’s what I usually have on hand:
- Sharp pruning shears or a clean knife: For taking clean cuttings.
- Rooting hormone (optional but helpful): A powder or gel to encourage root development.
- Well-draining potting mix: A blend of peat moss, perlite, and a bit of compost works wonders. You can also buy specialized seedling or cutting mixes.
- Small pots or seed trays: With drainage holes, of course!
- Clear plastic bags or a propagation dome: To maintain humidity around your cuttings.
- Watering can with a fine rose or spray bottle: For gentle watering.
- Labels and a marker: To keep track of what’s what!
Propagation Methods
While Hibiscus lobatus can be started from seed, propagating from cuttings is my go-to for a few reasons – it’s quicker, and you’ll get an exact replica of the parent plant.
Stem Cuttings
This is my favorite and most reliable method for Hibiscus lobatus.
- Select Healthy Stems: Using your clean pruning shears or knife, take 4-6 inch cuttings from the tips of healthy, non-flowering stems. Look for stems that are somewhat firm but not overly woody. You want that “bend and snap” stage, not something brittle or floppy.
- Prepare the Cuttings: Immediately remove the lower leaves from the cutting, leaving just a few at the very top. This prevents them from rotting once planted. If the remaining leaves are very large, I often cut them in half to reduce water loss through transpiration.
- Apply Rooting Hormone (Optional): Dip the cut end of the stem into your rooting hormone, tapping off any excess. This step isn’t strictly necessary for hibiscus, but it can give your cuttings a little boost.
- Plant Your Cuttings: Moisten your well-draining potting mix. Make a small hole in the center of a pot or tray with your finger or a pencil. Gently insert the cut end of the hibiscus cutting into the hole, ensuring it’s deep enough to stand upright. Firm the soil around it.
- Water Gently: Water lightly to settle the soil around the cuttings.
Water Propagation (An Alternative)
If you prefer a more hands-off approach to see the roots developing, water propagation can work well.
- Prepare Cuttings: Follow the same steps as above for selecting and preparing your stem cuttings.
- Place in Water: Put your cuttings in a small jar or glass filled with fresh water. Crucially, make sure none of the leaves are submerged in the water. Only the bare stem should be in contact.
The “Secret Sauce” (Pro Tips)
After years of coaxing plants into new life, I’ve picked up a few tricks that really seem to make a difference.
- Humidity is Key: Once your cuttings are in pots, I like to create a mini greenhouse effect. Slip a clear plastic bag over the pot, securing it loosely with a rubber band or twist tie. Alternatively, use a propagation dome. This keeps the air around the leaves moist, which is vital when the cuttings don’t have roots to draw up water from the soil.
- Bottom Heat Ignites Roots: If you have the space and a bit of extra gear, placing your pots on a seedling heat mat can significantly speed up root development. It mimics the warmth of spring soil and gives those roots a real kickstart.
- Don’t Rush the Transplant: When propagating in water, I wait until the roots are at least an inch long and have started to branch a little before attempting to transplant them into soil. This gives them a better chance of survival in their new home.
Aftercare & Troubleshooting
Once your Hibiscus lobatus cuttings have rooted – you’ll see new leaf growth, which is a great sign!
- Acclimatize: If you used the plastic bag method, gradually introduce your new plants to open air over a few days. Start by opening the bag for a few hours each day.
- Watering: Keep the soil consistently moist but not waterlogged. Let the top inch of soil dry out slightly between waterings.
- Light: Place your new plants in bright, indirect light. Avoid direct sun for the first few weeks as they are still sensitive.
- Signs of Trouble: The most common issue is rot. If your cutting turns mushy or black, it’s likely rotted. This usually happens due to overwatering or poor drainage. If you see this, discard the cutting and ensure your potting mix is well-draining for future attempts. Yellowing leaves can sometimes indicate a need for more light or a slight adjustment in watering.
A Little Patience Goes a Long Way
Propagating is a magical process, and while it’s not always instantaneous, watching those tiny roots emerge and new growth appear is incredibly satisfying. Don’t be discouraged if your first few attempts aren’t perfect. Every gardener learns through trial and error. Enjoy the journey of nurturing these new Hibiscus lobatus plants – your patience will be beautifully rewarded! Happy gardening!
Resource:
https://identify.plantnet.org/k-world-flora/species/Hibiscus%20lobatus%20(Murray)%20Kuntze/data