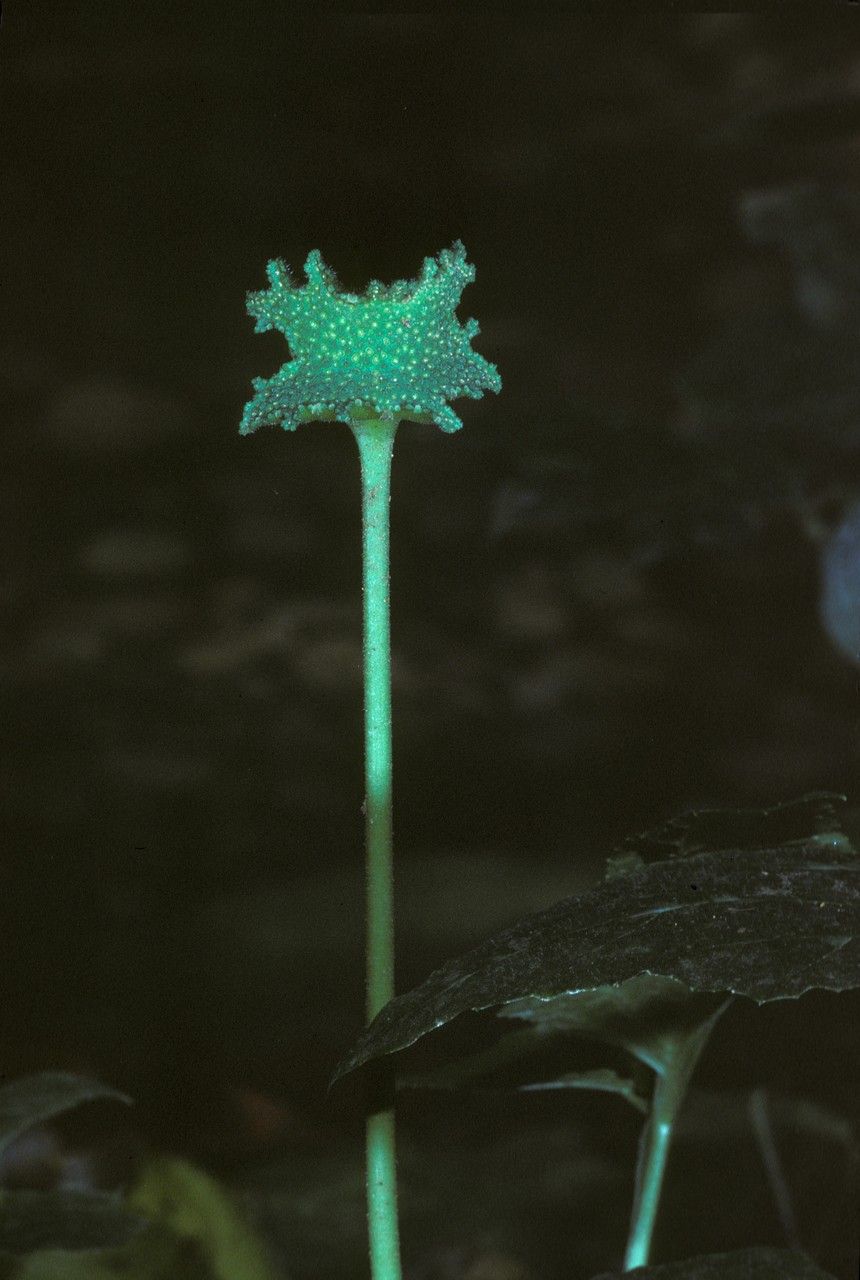
Hello, fellow plant enthusiasts! Today, we’re diving into the wonderful world of Dorstenia drakena. If you’re looking for a plant that’s a little bit quirky, a little bit stunning, and offers a truly rewarding propagation journey, you’ve come to the right place. These fascinating plants, with their unique, disc-like inflorescences – often called “flowers” but technically fascinating bracts – add such an interesting texture and dimension to any collection. And the best part? Bringing new life into the world from an existing specimen is incredibly satisfying. Now, I won’t lie, Dorstenias can be a tad more demanding than your average succulent, but with a little attention, propagating Dorstenia drakena is definitely achievable for the curious beginner.
The Best Time to Start
Timing is everything when it comes to successful propagation. For Dorstenia drakena, the spring and early summer months are your golden ticket. This is when the plant is in its most vigorous growth phase, full of energy and ready to put out new shoots and roots. Starting your cuttings when the days are getting longer and warmer provides the best conditions for them to establish themselves. Avoid propagating in the dead of winter when growth slows down.
Supplies You’ll Need
Gathering your tools beforehand makes the whole process smoother. Here’s what you’ll want to have on hand:
- Sharp pruning shears or a clean knife: For making clean cuts. Sterilize them with rubbing alcohol to prevent disease.
- Well-draining potting mix: A cactus and succulent mix is ideal, or you can create your own by blending perlite, coarse sand, and a good quality potting soil (about a 1:1:1 ratio).
- Small pots or propagation trays: Make sure they have drainage holes!
- Rooting hormone (optional but recommended): This can give your cuttings a helpful boost.
- Plastic bags or a propagation dome: To create a humid environment for your cuttings.
- Watering can with a fine rose or spray bottle: For gentle watering.
- Small labels and a marker: To keep track of your projects!
Propagation Methods
Dorstenia drakena can be propagated successfully through a couple of methods. I find division and stem cuttings to be the most reliable.
1. Stem Cuttings:
This is my go-to method as it often yields multiple new plants from a single parent.
- Identify a healthy stem: Look for a stem that is at least 3-4 inches long and has several leaves. It should look plump and firm, not shriveled.
- Make the cut: Using your sterilized pruning shears or knife, make a clean cut just below a leaf node. A leaf node is where a leaf emerges from the stem.
- Prepare the cutting: Gently remove the lower leaves from the cutting. You want to expose the node area.
- Apply rooting hormone (optional): Dip the cut end into your rooting hormone powder or gel, tapping off any excess.
- Plant the cutting: Fill your small pot with the well-draining potting mix. Make a small hole in the center with your finger or a pencil. Insert the cut end of the stem into the hole, ensuring the leaf nodes are buried in the soil.
- Water gently: Water the soil lightly, just enough to moisten it.
- Create humidity: Place the pot inside a clear plastic bag or cover it with a propagation dome. Ensure the bag doesn’t touch the leaves too much. You can prop it up with sticks if needed. Place it in a warm spot with bright, indirect light.
2. Division:
If your Dorstenia drakena has developed a nice clump or a few distinct sections, division is a great way to get new plants started.
- Gently remove from pot: Carefully take the parent plant out of its pot.
- Identify natural divisions: Look for where the plant naturally wants to separate into smaller sections. You might see new stems emerging from the base of established ones.
- Separate the sections: Using your hands or a clean knife, gently tease apart the roots and stems. You want each new division to have some roots and at least one or two healthy stems. Don’t be afraid if some roots break; the plant can recover.
- Pot up the divisions: Plant each division in its own pot filled with your well-draining mix. Water gently.
- Treat them like the parent: Place them in similar conditions to the parent plant – bright, indirect light.
The “Secret Sauce”
Here are a couple of tricks I’ve learned over the years that can really make a difference:
- Let those cuttings callus: Before you plant your stem cuttings, let the cut end air dry for 24-48 hours in a dry spot. This allows a protective callus to form, significantly reducing the risk of rot. It might look a little unsightly, but trust me, it’s a game-changer!
- Don’t drown them: While cuttings need humidity, overwatering is their ultimate downfall. The soil should be consistently moist, not soggy. Stick your finger into the soil – if it feels dry an inch down, it’s time to water. A gentle misting from a spray bottle is often enough to maintain humidity without waterlogging.
- A little warmth goes a long way: If your home tends to be cooler, consider using a heating mat designed for plants under your propagation tray or pots for stem cuttings. This gentle bottom heat encourages root development much faster than relying solely on ambient room temperature.
Aftercare & Troubleshooting
Once your cuttings have rooted – you’ll know because you’ll see new growth appearing! – it’s time to transition them to slightly more standard care.
- Gradually acclimate: If your cuttings were under a plastic bag or dome, gradually increase the ventilation over a week or two before removing the cover entirely. This prevents shock.
- Watering: Continue to water when the top inch of soil is dry. Dorstenias prefer their soil to dry out a bit between waterings. They don’t like sitting in soggy conditions.
- Light: Keep them in bright, indirect light. As they grow stronger, you can slowly introduce them to more sunlight, but always watch for scorching.
- Signs of trouble: The most common issue is rot, which looks like a mushy, dark stem. This is almost always due to overwatering and poor drainage. If you spot rot, act fast. You might be able to salvage a healthy section of the stem by taking another cutting (remembering to let it callus this time!). Another sign is wilting or yellowing leaves, which can also point to watering issues or insufficient light.
A Little Patience, A Lot of Reward
Propagating plants is a journey, not a race. Some cuttings might take weeks or even months to show signs of life. Don’t get discouraged! Every experiment teaches you something new. Celebrate each tiny root and new leaf. Enjoy the process of nurturing these little lives, and soon you’ll have a whole collection of your own beautiful Dorstenia drakena. Happy propagating!
Resource:
https://identify.plantnet.org/k-world-flora/species/Dorstenia%20drakena%20L./data