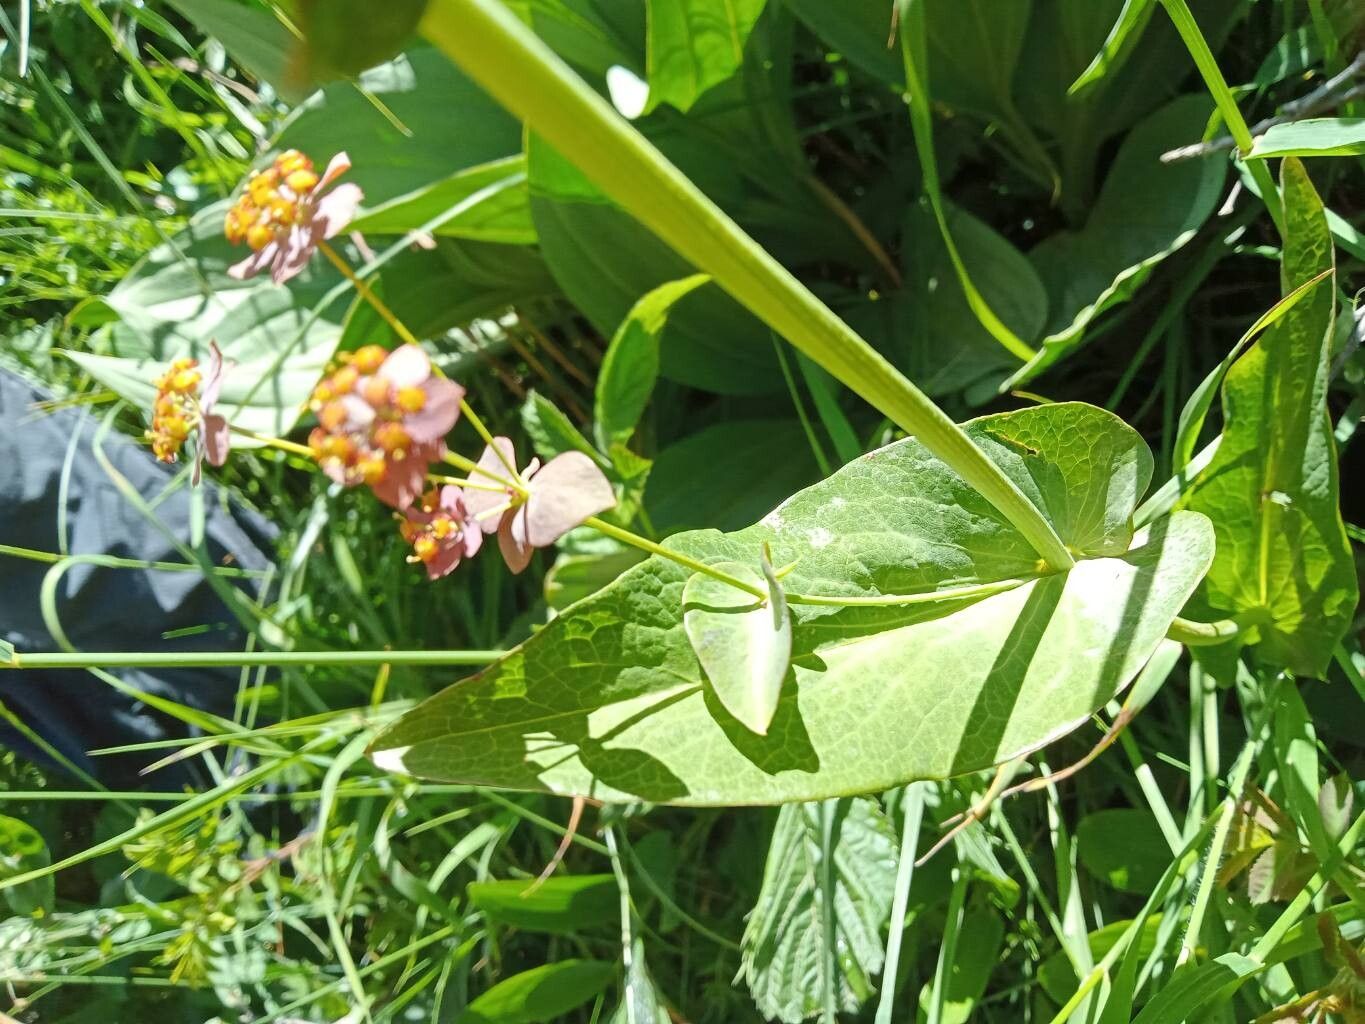
Hello there, fellow garden enthusiasts! I’m so delighted you’re here to chat about one of my garden favorites: Bupleurum longifolium. If you love airy, delicate blooms that dance in the breeze and provide a wonderful filler for bouquets, you’re going to adore this plant. It’s got this lovely, subtle beauty that I find incredibly calming to look at.
Propagating Bupleurum longifolium has always been a joy for me. It’s a fantastic way to get more of what you love for free and to share its charm with friends and neighbors. For beginners, you’ll be happy to know that Bupleurum is generally quite forgiving, making it a great plant to practice your propagation skills on.
The Best Time to Start
The sweet spot for propagating Bupleurum longifolium is undeniably late spring or early summer. This is when the plant is actively growing and has plenty of energy to dedicate to developing new roots. You’re looking for young, non-flowering shoots from the current season’s growth. Avoid any woody or old stems.
Supplies You’ll Need
Gathering your tools beforehand makes the whole process smooth sailing. Here’s what I always have on hand:
- Sharp, clean pruning shears or snips: Essential for clean cuts that heal well.
- A small trowel or hand fork: For dividing established plants.
- Rooting hormone (optional, but recommended): Helps speed up root formation. I prefer a powder form.
- Well-draining potting mix: A standard potting mix with added perlite or coarse sand is perfect. You can even find specific seed starting mixes.
- Small pots or seed trays: Clean pots are a must to prevent disease.
- Plastic bags or a propagation dome: To create a humid environment.
- A watering can with a fine rose: For gentle watering.
Propagation Methods
Bupleurum longifolium is wonderfully versatile, and I’ve had success with a couple of straight-forward methods.
Stem Cuttings
This is my go-to method for getting more Bupleurum.
- First, select a healthy, vigorous stem that hasn’t started flowering. You want one that’s about 4-6 inches long.
- Using your clean snips, make a cut just below a leaf node. The node is where a leaf attaches to the stem, and this is where roots are most likely to form.
- Gently remove the lower leaves from the cutting, leaving just a few at the top. This prevents them from rotting in the soil.
- If you’re using rooting hormone, dip the cut end into the powder. Just a light coating is all you need.
- Insert the cutting into your pre-moistened potting mix. Make a small hole with your finger or a pencil first, so you don’t rub off the rooting hormone. The potting mix should be firm around the stem.
- Water gently to settle the soil.
- Cover the pot with a plastic bag or place it under a propagation dome. This traps in humidity, which is crucial for cuttings to root.
- Place the pot in a bright spot out of direct sunlight.
Division
If you have a mature clump of Bupleurum, division is a fantastic and quick way to multiply your plants.
- Dig up the entire plant carefully with your trowel during the spring or fall.
- Gently shake off excess soil to expose the root ball.
- With your hands or a clean spade, divide the clump into smaller sections. Each section should have at least a few strong stems and a good amount of roots. If the roots are very tangled, you can use a clean knife or your hands to tease them apart.
- Replant the divisions immediately into their new locations or into pots filled with your well-draining potting mix.
- Water thoroughly after replanting.
The “Secret Sauce” (Pro Tips)
Here are a few little tricks I’ve learned along the way that can make a big difference:
- The “Slam Dunk” Test: Before you even take cuttings, observe your mother plant. A healthy, happy plant is far more likely to give you successful cuttings. Ensure it’s well-watered and has received good sunlight. Think of it as setting your cuttings up for success right from the start!
- Bottom Heat is Your Friend: If you can, placing your pots on a gentle heat mat can dramatically speed up root development for stem cuttings. It mimics the warmth of spring soil and gives those roots a real boost. Just make sure it’s not too hot – a gentle warmth is all that’s needed.
- Don’t Overwater the Cuttings: This is maybe the most common mistake. While they need humidity, soggy soil is an open invitation to rot. Allow the surface of the soil to dry slightly between waterings. Your goal is moist, not waterlogged.
Aftercare & Troubleshooting
Once your cuttings have developed roots – you’ll know they’re ready when you gently tug on them and feel resistance, or see new growth emerging – it’s time for a little TLC.
Carefully remove the plastic bag or dome. Gradually acclimate your new Bupleurum plants to normal room humidity over a few days. Continue to water them gently, allowing the soil surface to dry slightly between waterings.
The most common issue you might encounter is rot. If your cutting turns mushy and black, it’s likely succumbed to rot. This is usually due to overwatering or poor air circulation. Sometimes, if rot is caught early, you can salvage a healthy part of the stem and try again. With division, ensure you’re replanting healthy root sections. Don’t be discouraged if not every attempt is a success; gardening is all about learning and trying again!
A Little Encouragement
Propagating Bupleurum longifolium is a truly satisfying way to deepen your connection with your garden. Be patient with the process, trust your instincts, and most importantly, enjoy the journey of watching these little beauties come to life. Happy gardening!
Resource:
https://identify.plantnet.org/k-world-flora/species/Bupleurum%20longifolium%20L./data