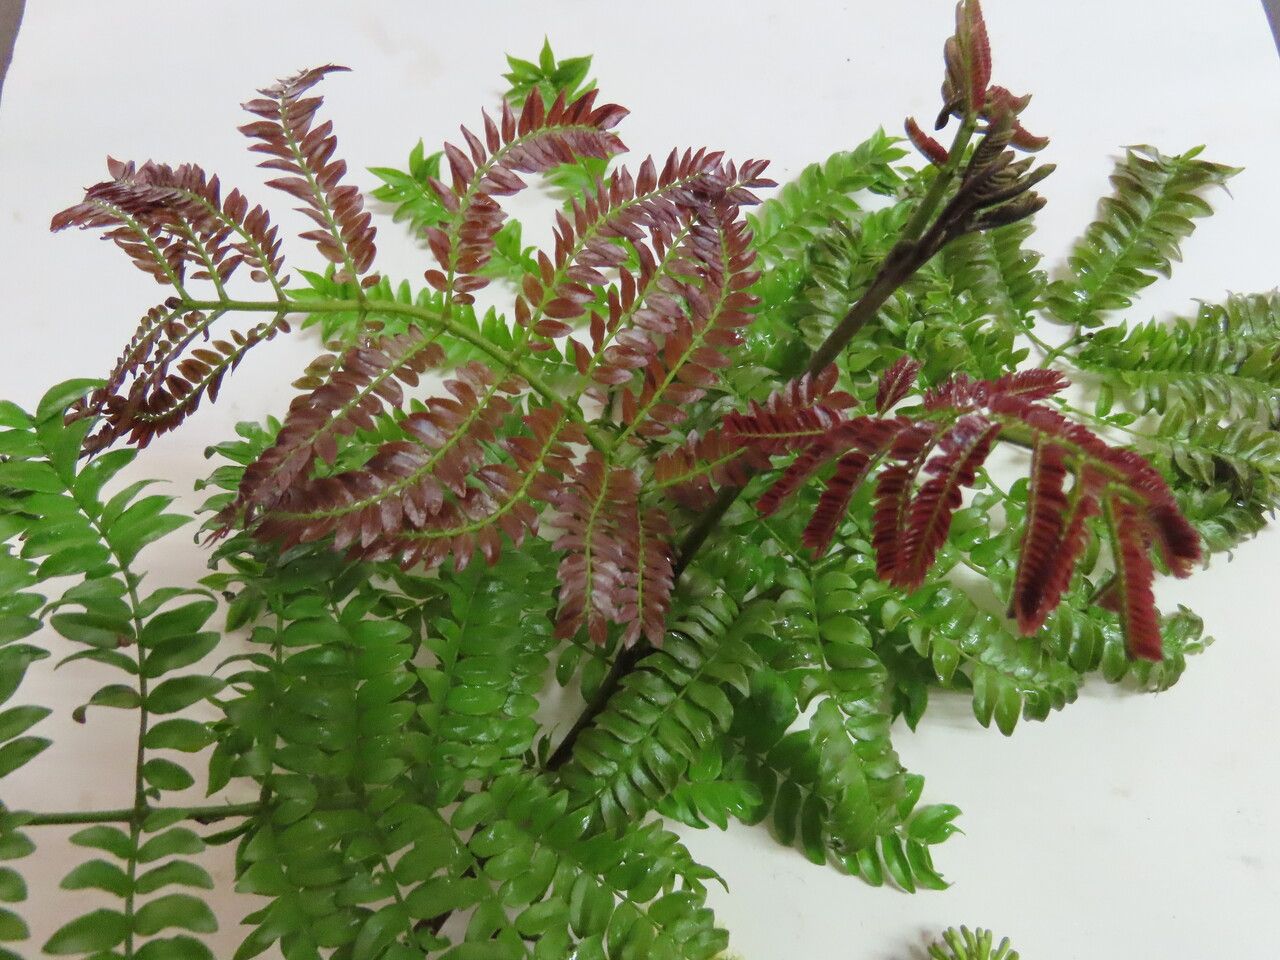
Hey there, fellow plant enthusiasts! I’m so thrilled to chat with you today about a truly magnificent plant: Cojoba costaricensis. If you’re looking for a lush, tropical addition to your home or garden that really makes a statement, this is it. Its feathery foliage and the promise of delicate blooms are just captivating. And the best part? You can easily multiply its beauty right in your own home!
Now, I won’t sugarcoat it. Cohoba costaricensis isn’t the absolute easiest plant for a complete beginner to propagate. It can be a tad bit fussy. But, with a little patience and these tried-and-true methods, I promise you’ll have success. The reward of nurturing a brand new plant from a humble cutting is truly special, and it’s a fantastic way to fill your space with more of what you love.
The Best Time to Start
For Cojoba costaricensis, spring is your golden ticket. This is when the plant is really waking up and buzzing with active growth. You’ll be looking for semi-hardwood cuttings, which means they’re not super soft and bendy like a brand-new shoot, but not woody and stiff either. Think of it as that perfect stage of firm but flexible. Starting during its active growing season gives your cuttings the best chance to develop strong roots.
Supplies You’ll Need
To get these beauties going, here’s what I always have on hand:
- Sharp Pruning Shears or a Clean Knife: For making clean cuts. We don’t want to bruise those delicate stems!
- Rooting Hormone Powder or Gel: This is a must-have for Cojoba. It really gives the cuttings a boost and speeds up root development.
- Well-Draining Potting Mix: A blend of perlite, coco coir, and a bit of peat moss is fantastic. Or, a commercial seed-starting mix will do nicely. Avoid heavy garden soil.
- Small Pots or Propagation Trays: Clean pots are crucial to prevent the spread of any nasty bacteria.
- Clear Plastic Bags or a Propagation Dome: To create a humid microclimate for your cuttings.
- Watering Can with a Fine Rose or Spray Bottle: For gentle watering.
- Optional: Heating Mat: This can significantly speed up rooting, especially if your home is on the cooler side.
Propagation Methods
The most reliable way I’ve found to propagate Cojoba costaricensis is through stem cuttings. Here’s how I do it:
- Take Your Cuttings: In the spring, select healthy, vigorous stems. Cut a section about 4-6 inches long, making sure it has at least two nodes (where the leaves attach to the stem). Remove the leaves from the bottom half of the cutting.
- Apply Rooting Hormone: Dip the cut end of the stem into your rooting hormone, tapping off any excess. This stuff is like a little energy drink for your cutting!
- Plant Your Cuttings: Fill your small pots or trays with your prepared potting mix. Make a hole with your finger or a pencil, and gently insert the prepared cutting. Firm the soil gently around the base to ensure good contact.
- Water Gently: Water thoroughly until the soil is evenly moist. You don’t want it waterlogged, just nicely damp.
- Create a Humid Environment: This is key! Cover the pot with a clear plastic bag, securing it with a rubber band, or place it under a propagation dome. This traps moisture and keeps the humidity high, which your cuttings will love. If you have a heating mat, place the pots on it now.
- Placement: Put your pots in a bright spot with indirect light. Avoid direct sun, as it can scorch the tender cuttings.
The “Secret Sauce”
Here are a couple of tricks I’ve picked up over the years:
- Don’t Let Leaves Touch the Water/Soil Surface: If you’re using a propagation tray and the leaves are near the soil, they can rot quickly. You can trim larger leaves in half to reduce transpiration and prevent them from touching anything. Think of it as giving them a little haircut!
- Bottom Heat is Your Best Friend: Seriously, if you can swing a heating mat, do it! For Cojoba, consistent warmth from the bottom really encourages root formation. It mimics being planted deep in warm soil where roots love to grow. You’ll see a noticeable difference in rooting time.
Aftercare & Troubleshooting
Once your cuttings have been nestled in their humid haven for a few weeks, start giving them a gentle tug. If you feel resistance, that’s a good sign of roots! You can also look for new leaf growth. Once roots are established (you might see them peeking through drainage holes), you can slowly acclimate them to normal humidity. Gradually open the plastic bag or dome over a few days. Water as usual when the top inch of soil feels dry.
What about when things go wrong? The most common issue you’ll face is rot. If you see your cutting turning mushy and black, sadly, it’s likely too far gone. This usually happens due to overwatering or poor drainage. Stick to that “moist, not soggy” rule. Other cuttings might simply fail to root. Don’t get discouraged! Sometimes it’s just a matter of trying again.
A Little Encouragement
Growing plants is a journey, and propagating is a beautiful part of that adventure. Be patient with your Cojoba cuttings. Some take their time, and that’s perfectly okay! Celebrate each tiny sign of success, and don’t be afraid to experiment. With a little care and these tips, you’ll be enjoying more of this gorgeous plant before you know it. Happy propagating!
Resource:
https://identify.plantnet.org/k-world-flora/species/Cojoba%20costaricensis%20Britton%20&%20Rose/data