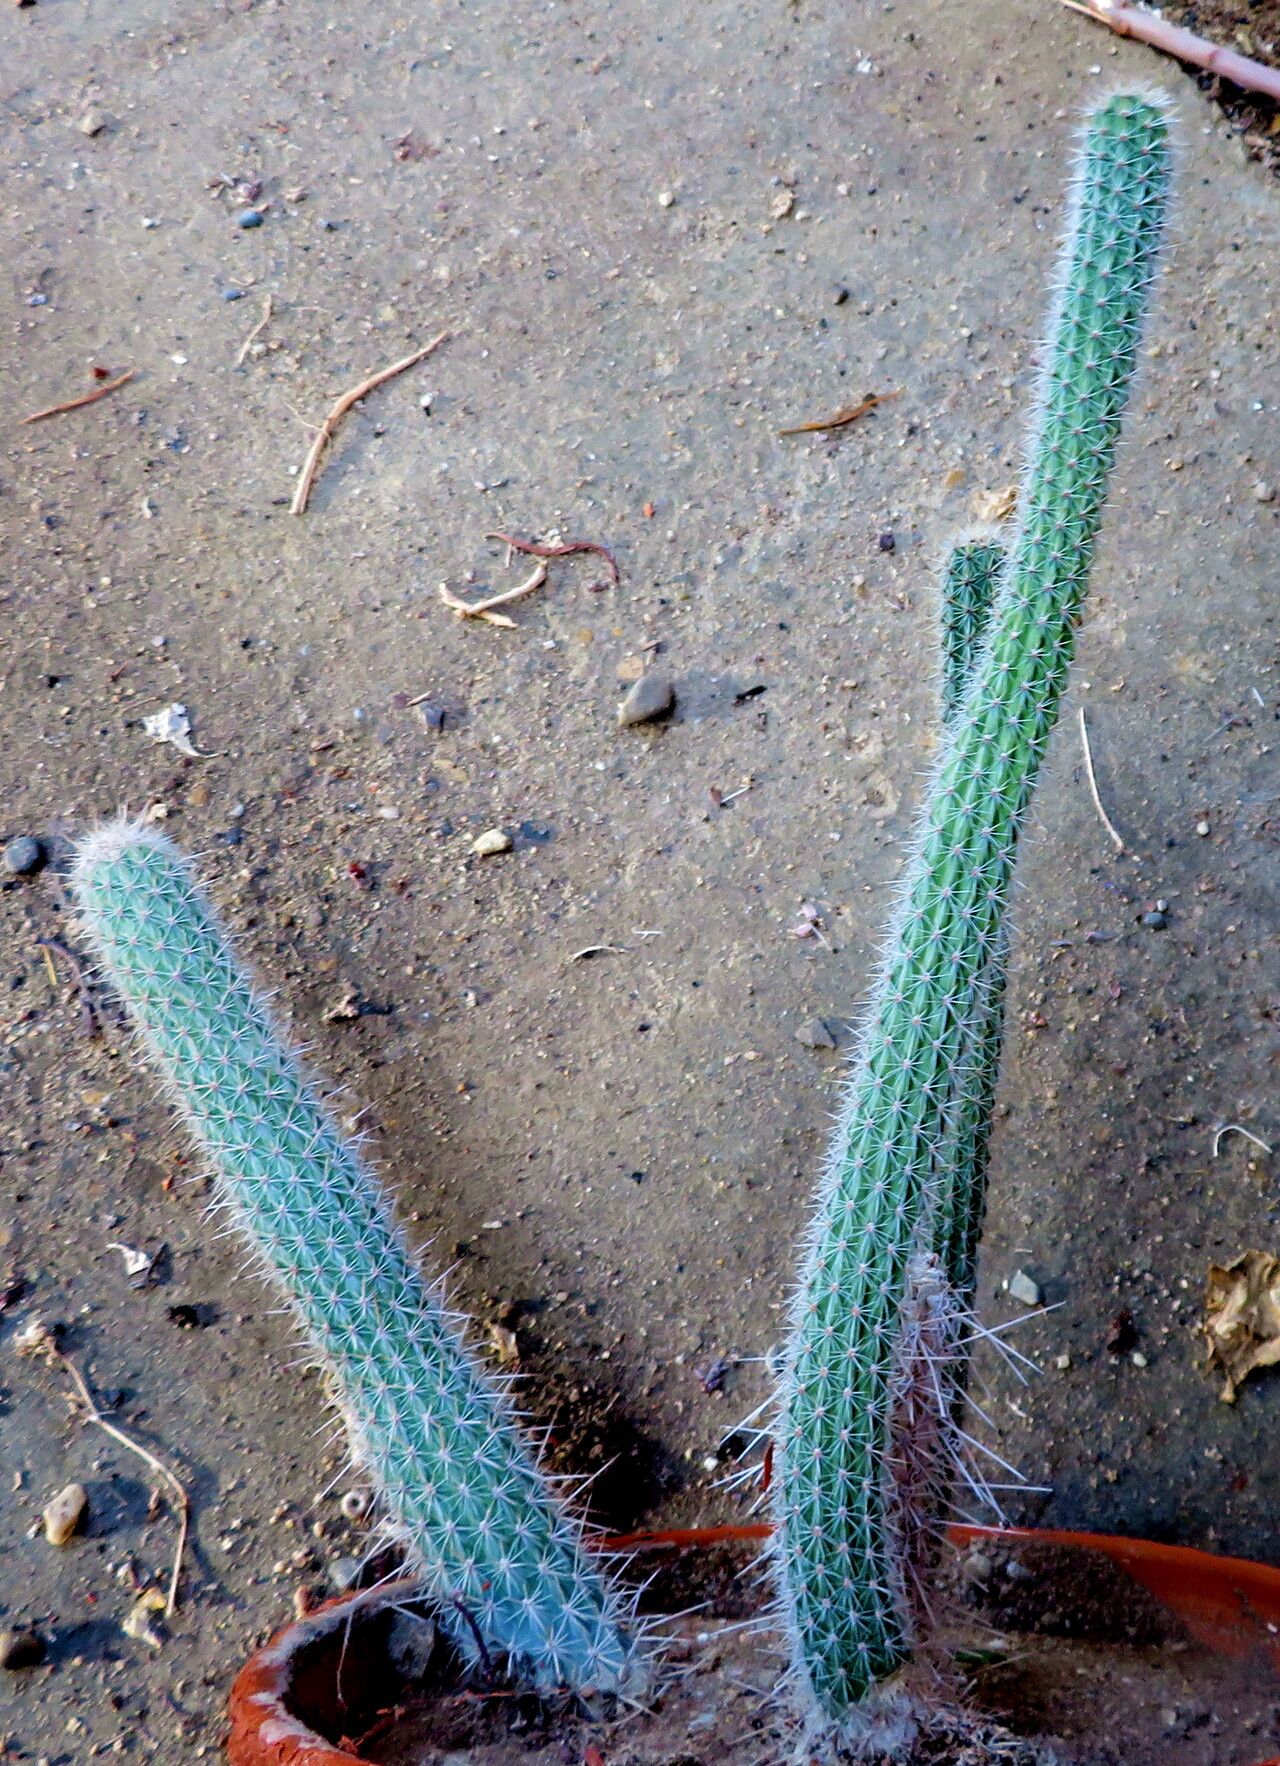
Oh, hello there! I’m so glad you stopped by. Today, we’re diving into the wonderful world of Cleistocactus smaragdiflorus, a cactus that truly sparkles like an emerald. Its vibrant green stems, often adorned with delicate, jewel-toned flowers, can bring a touch of the exotic to any sunny windowsill or garden. And you know what’s even more rewarding than admiring them? Growing them yourself! Propagating these beauties is a fantastic way to expand your collection or share them with fellow plant lovers. While some cacti can be a bit fussy, I find Cleistocactus smaragdiflorus to be surprisingly manageable, even for those new to the propagation game.
The Best Time to Start
For these lovely desert dwellers, spring is your golden ticket. That’s when they’re naturally bursting with energy and ready to put down new roots. You’re looking for active growth – not the dormant period when things are a bit slower. If you’ve just pruned your cactus (which can be a good idea to manage its size), that’s often the perfect time to grab some cuttings.
Supplies You’ll Need
Gathering your tools beforehand makes the whole process so much smoother. Here’s what I like to have on hand:
- Sharp, clean pruning shears or a knife: Sterilize them with rubbing alcohol to prevent any nasty bugs or diseases from spreading.
- Rooting hormone (optional, but helpful): A powder or liquid can give your cuttings a little boost.
- Well-draining potting mix: I often use a cactus and succulent mix, or I’ll create my own by blending equal parts potting soil, perlite, and coarse sand. Drainage is key!
- Small pots or seed trays: Clean ones, of course.
- Gravel or small stones: For drainage at the bottom of pots.
- Spray bottle: For misting.
- Newspaper or brown paper bags: To let cuttings callus.
Propagation Methods
Two methods are my go-to for Cleistocactus smaragdiflorus: stem cuttings and, for the truly adventurous, I’ve had success with offsets.
1. Stem Cuttings: The Most Common Path
This is where you’ll have the most success.
- Take your cutting: Using your sterilized shears or knife, carefully cut a healthy stem section. Aim for pieces that are at least 3-4 inches long. Make a clean cut right where a new segment joins an older one.
- Let it callus: This is a crucial step! Do NOT plant the cutting immediately. Place the cut end in a dry, well-ventilated spot away from direct sunlight for 5-10 days, or until the cut end has dried and callused over. This scab-like layer prevents rot.
- Prepare the pot: Fill your small pot with your well-draining mix. You can add a thin layer of gravel at the bottom for extra assurance, though with the right mix, it’s not always essential.
- Plant the cutting: Once callused, you can dip the cut end into rooting hormone (if using). Then, gently push the callused end about an inch into the prepared potting mix. The cutting should stand upright with a little support. If it’s wobbly, you can use a small stake or prop it up with pebbles.
- Water sparingly: Give the soil a very light misting. You don’t want it soggy. The goal is just a touch of moisture to encourage roots.
2. Offsets: Nature’s Little Helpers
Sometimes, your mature Cleistocactus will produce small baby plants (offsets) at its base.
- Gently remove the offset: If the offset is still attached, carefully try to twist or cut it away from the parent plant using clean secateurs. Try to get a small bit of root with it, if possible.
- Let it callus: Just like stem cuttings, allow the offset to callus for a few days to a week before planting.
- Plant and water: Plant the callused offset in its own small pot of well-draining mix, burying the callused end slightly. Water very lightly.
The “Secret Sauce” (Pro Tips)
I’ve learned a few tricks over the years that can really make a difference:
- Patience is paramount: This is the biggest one! Don’t be tempted to keep digging up your cuttings to see if they have roots. Let them be.
- Bottom heat is your friend: If you have a heating mat (often used for seedlings), placing your pots on it can significantly speed up root development. It mimics the warm soil conditions these desert plants love.
- Don’t overwater, ever: This is the number one killer of cactus cuttings. Think of it as a thirsty desert plant – it can handle dryness far better than too much moisture. A light mist is usually all they need until you see signs of growth.
Aftercare & Troubleshooting
Once you start seeing new growth, perhaps a tiny pup sprouting or the cutting looking plumper, you know roots are forming!
- Gradual watering: Once roots have established (you might see it resisting a gentle tug), you can start watering a little more deeply, but still allowing the soil to dry out completely between waterings.
- Bright light: Move your new plant into a brighter spot, but avoid intense direct sun immediately after planting. Acclimatize it gradually.
- Signs of rot: The most common issue is rot, which usually appears as a mushy, brown, or black base on your cutting. This is almost always due to overwatering and lack of callusing. If you see this, unfortunately, the cutting is likely lost. You can try to salvage a healthy piece from the top and let that callus again.
A Encouraging Closing
There you have it! Propagating Cleistocactus smaragdiflorus is a fulfilling journey. It’s a process that rewards patience and a bit of mindful observation. Don’t be discouraged if your first attempt isn’t perfect; gardening is all about learning and adapting. Enjoy the simple magic of watching a new life emerge from a piece of your existing plant. Happy propagating!
Resource: