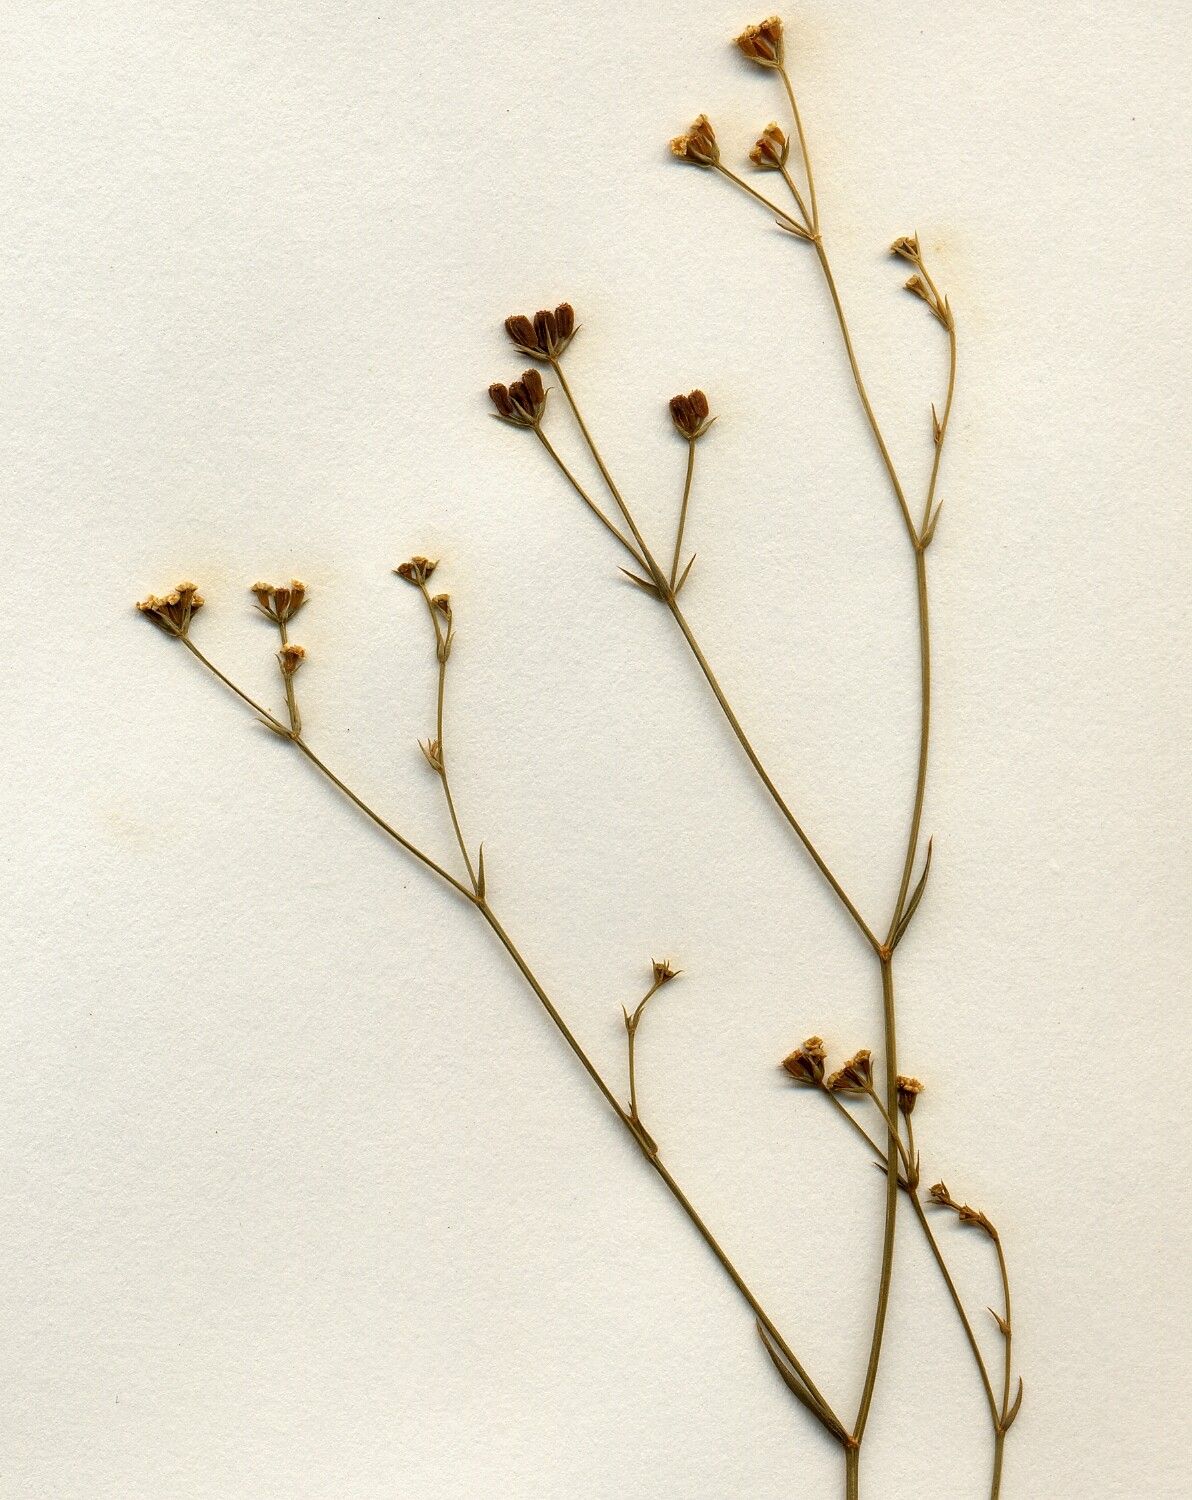
Hey there, fellow plant lovers! Today, we’re diving into the wonderful world of Bupleurum virgatum. If you’ve ever admired those airy sprays of delicate yellow flowers, often used in floral arrangements or just adding a touch of wild elegance to the garden, then you’re in for a treat. Propagating this beauty is a wonderfully rewarding endeavor, and I’m here to walk you through it, step-by-step. Don’t worry, it’s not as intimidating as it might sound!
The Best Time to Start
When it comes to Bupleurum virgatum, spring is your golden ticket. Think of it as the plant waking up from its winter slumber. This is when it’s bursting with vigor and ready to grow new shoots. You want to catch it in this active phase for the best chance of success, whether you’re taking cuttings or considering division. Aim for when new growth is evident but before the plant really goes into full bloom.
Supplies You’ll Need
Gathering your tools beforehand makes the whole process so much smoother. Here’s what I usually have on hand:
- Sharp, clean pruning shears or a sharp knife: Crucial for making clean cuts that heal well.
- Seed-starting mix or a well-draining potting mix: I often use a blend of peat moss, perlite, and sterile potting soil. Good drainage is key!
- Rooting hormone (optional but recommended): This isn’t a magic potion, but it can give your cuttings a helpful boost.
- Small pots or trays: Clean and with drainage holes, of course.
- Plastic bags or a propagator lid: To create a humid environment for cuttings.
- Watering can or spray bottle: For gentle watering.
Propagation Methods
Bupleurum virgatum can be surprisingly adaptable. While seeds are an option, I find that stem cuttings and division usually give me the most reliable results.
Stem Cuttings
This is my go-to method for Bupleurum.
- Select your stem: Look for healthy, non-flowering stems from your established plant. You want stems that are a bit woody but not completely hard. Aim for pieces about 4-6 inches long.
- Make the cut: Using your clean pruning shears, make a cut just below a leaf node (where a leaf attaches to the stem). This is where roots are most likely to form.
- Prepare the cutting: Gently pinch off the lower leaves, leaving just a few at the top. If the stem is long, you can cut the top leaves in half to reduce water loss.
- Apply rooting hormone (optional): Dip the cut end of the stem into your rooting hormone, tapping off any excess.
- Plant your cutting: Make a hole in your potting mix with a pencil or your finger and gently insert the cutting. Firm the soil around it.
- Water gently: Water thoroughly but be careful not to dislodge the cutting.
- Create humidity: Cover the pot with a plastic bag or place it in a propagator. Make sure the leaves don’t touch the plastic if possible. Place it in a bright spot but out of direct sunlight.
Division
If you have a mature, clump-forming Bupleurum, division is a fantastic way to get more plants and invigorate your existing one.
- Dig up the plant: In early spring, gently dig up the entire clump.
- Gently separate: You can often tease the roots apart by hand. If it’s a bit tougher, use two forks back-to-back to gently separate sections. Each division should have healthy roots and some leafy growth.
- Replant: Immediately replant your divisions into prepared soil, watering them in well.
The “Secret Sauce” (Pro Tips)
Here are a few little tricks I’ve picked up over the years that can really make a difference:
- Bottom Heat for Cuttings: If you’re serious about cuttings, placing your pots on a heat mat can dramatically speed up root development. It mimics the warmth of the soil in spring.
- Don’t Rush the Water: While cuttings need moisture, they don’t like to sit in soggy soil. Allow the top inch of soil to dry slightly between waterings. Overwatering is a fast track to rot!
- Air Circulation is Key: Once your cuttings have rooted, gradually introduce them to fresh air. Open the propagator lid a bit more each day, or poke a few more holes in the plastic bag. This prevents fungal issues.
Aftercare & Troubleshooting
Once you start to see new growth on your cuttings (a good sign things are happening!), you’re on the right track. You can gently tug on a cutting to feel for resistance – that means roots are forming!
When roots are well-established, you can transplant your new Bupleurum into its own pot with regular potting soil. Water it well and keep it in a bright spot out of harsh sun for a week or two before moving it to its permanent location.
The most common problem you’ll encounter is rot. This usually happens from overwatering or poor drainage. If a cutting looks limp and discolored, it’s likely a goner. Don’t be disheartened; just try again with a fresh cutting and pay extra attention to watering.
A Little Patience Goes a Long Way
Propagating plants is a journey, and Bupleurum virgatum is no exception. It might take a few weeks for roots to form on cuttings, and divisions might seem a little shocked at first. Just keep providing good care, be patient, and celebrate those little signs of success. Happy propagating, and enjoy the extra beauty you’ll bring to your garden!
Resource:
https://identify.plantnet.org/k-world-flora/species/Bupleurum%20virgatum%20Cav./data