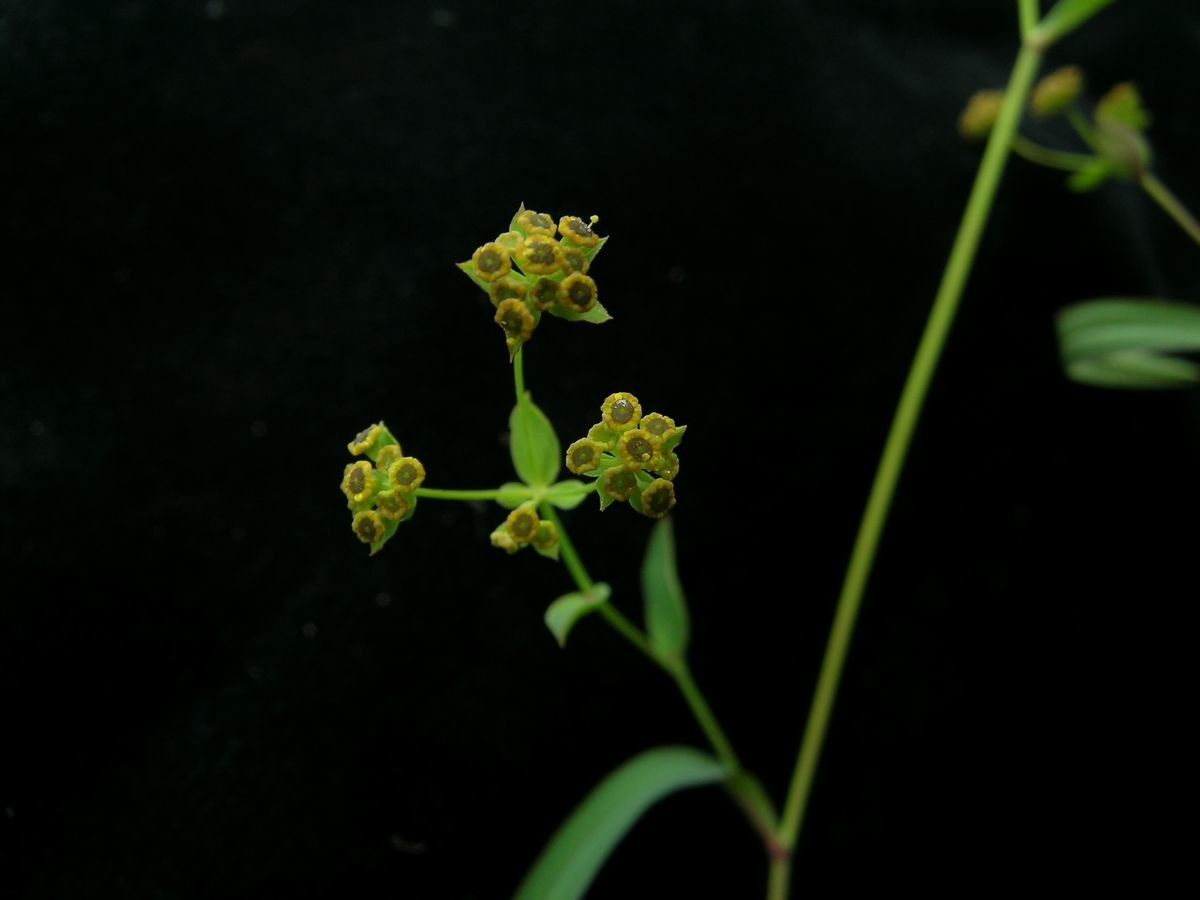
Oh, hello there! Pull up a chair, let’s chat about Bupleurum gracillimum. If you’re anything like me, you’ve probably fallen for those delicate, airy sprays of chartreuse blooms. They just float through the garden, adding that perfect touch of ethereal beauty to borders and bouquets. And the best part? Nurturing these beauties from scratch is incredibly rewarding. Now, is it a walk in the park for absolute beginners? Honestly, it’s an intermediate step, but with a little guidance, you’ll be a Bupleurum pro in no time.
The Best Time to Start
For the best chance of success, aim to propagate Bupleurum gracillimum in late spring or early summer. This is when the plant is actively growing and has plenty of energy to put into developing new roots. Look for stems that are firm and not too woody, but also not so tender that they flop over.
Supplies You’ll Need
Before we get our hands dirty, here’s a quick rundown of what you’ll want to have ready:
- Sharp, clean pruning shears or a sharp knife: Essential for taking clean cuttings.
- Small pots or seed trays: With good drainage.
- Well-draining potting mix: I like a blend of equal parts peat moss (or coco coir) and perlite. You can also add a little coarse sand.
- Rooting hormone (optional but recommended): Especially if you’re new to cuttings.
- Plastic bags or a propagator: To create a humid environment.
- Watering can with a fine rose: For gentle watering.
Propagation Methods
Bupleurum gracillimum is best propagated by stem cuttings. It’s straightforward and yields lovely new plants.
- Take Your Cuttings: In late spring or early summer, select healthy shoots from your mature Bupleurum. Using your sharp shears or knife, take cuttings that are about 4-6 inches long. Make the cut just below a leaf node (where a leaf attaches to the stem).
- Prepare the Cuttings: Gently remove the lower leaves from the cutting, leaving only the top couple of sets of leaves. If the leaves are quite large, you can even cut them in half to reduce water loss.
- Apply Rooting Hormone (Optional): Dip the cut end of each stem into your rooting hormone powder, tapping off any excess. This helps to encourage root development.
- Pot Them Up: Fill your small pots or trays with your prepared potting mix. Make a small hole in the center of the mix with your finger or a pencil.
- Insert the Cuttings: Gently insert the cut end of each Bupleurum cutting into the hole, ensuring that at least one leaf node is buried beneath the surface of the soil. Firm the soil gently around the stem to hold it in place.
- Water Gently: Water the soil thoroughly with your fine-rose watering can. You want the soil to be moist but not waterlogged.
- Create Humidity: Cover the pots with a clear plastic bag, making sure the leaves don’t touch the plastic. You can use stakes to keep the bag propped up. Alternatively, place the pots in a propagator with the lid on.
The “Secret Sauce” (Pro Tips)
Here are a few things I’ve learned over the years that make a real difference:
- Cleanliness is Key: Always make sure your tools and pots are sparkling clean. This helps prevent any nasty fungal diseases from taking hold of your precious cuttings.
- Bottom Heat is Your Friend: If you can, place your pots on a heated propagator mat. This gentle warmth from below is a game-changer for encouraging faster and stronger root development. It’s like a cozy little spa day for your cuttings!
- A Gentle Mist: Instead of drowning them, I prefer to lightly mist the leaves of the cuttings every day or two, especially if the air is dry. This keeps them turgid and happy while they’re working on their roots.
Aftercare & Troubleshooting
Once your cuttings are potted, place them in a bright spot out of direct sunlight. Keep the soil consistently moist but not soggy. You’ll know they’re rooting well when you see new growth appearing. This usually takes a few weeks. Gently tug on a cutting; if there’s resistance, roots are forming. Once they have a decent root system, you can gradually acclimatize them to normal room conditions before potting them into slightly larger containers.
The most common issue you might encounter is rot. If your cuttings turn mushy and brown, it’s usually a sign of too much moisture and poor air circulation. Don’t despair! It happens to the best of us. Just remove the affected cuttings and ensure the remaining ones have better drainage and airflow.
A Fond Farewell
Propagating Bupleurum gracillimum is a wonderful way to expand your garden or share these beauties with friends. Be patient with yourself and the process. Sometimes it takes a few tries to get it just right. Enjoy the journey of nurturing these little plants from tiny cuttings into thriving additions to your green space! Happy gardening!
Resource:
https://identify.plantnet.org/k-world-flora/species/Bupleurum%20gracillimum%20Klotzsch/data