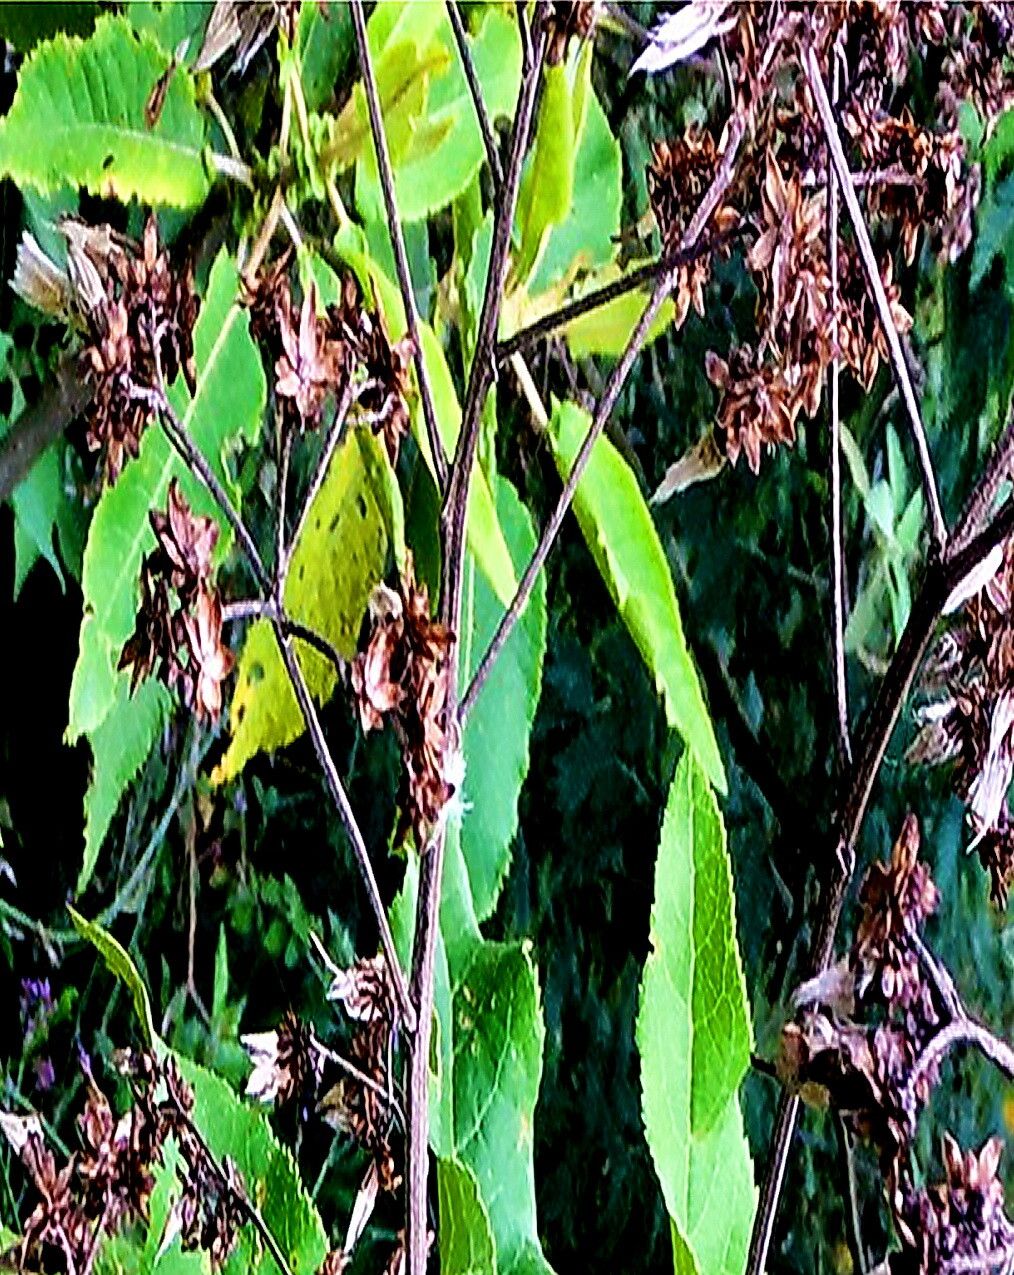
Hello fellow garden lovers! Today, I want to chat about a plant that brings a little extra magic to my garden: Gymnanthemum appendiculatum. You might know it by one of its common names, but whatever you call it, its delicate, often fragrant blooms and lovely foliage are truly a treat. If you’ve admired this plant and thought, “Wouldn’t it be wonderful to have more of these?”, you’re in luck! Propagating Gymnanthemum appendiculatum is a rewarding endeavor, and while it’s not quite as beginner-proof as a pothos, it’s absolutely achievable with a little patience.
The Best Time to Start
For the highest success rate, I find that late spring to early summer is your golden window. This is when the plant is in an active growth phase, meaning it’s brimming with energy and more likely to root. You’ll want to take cuttings from healthy, new growth – think stems that are a bit soft but not too flimsy. Avoid taking cuttings from flowering stems, as the plant will be directing its energy into producing seeds instead of roots.
Supplies You’ll Need
Gathering your tools before you begin will make the whole process much smoother. Here’s what I usually have on hand:
- Sharp, clean pruning shears or a razor blade: A clean cut is crucial to prevent disease.
- Rooting hormone powder (optional but recommended): This gives your cuttings a helpful boost.
- Small pots or seed trays: Clean, well-draining containers are a must.
- A well-draining potting mix: I often use a blend of equal parts peat moss, perlite, and vermiculite. A pre-made succulent or cactus mix also works wonderfully.
- Clear plastic bags or a propagation dome: To create a humid environment for your cuttings.
- Watering can or spray bottle: For gentle watering.
- Labeling stakes and a pen: So you don’t forget what you’ve planted where!
Propagation Methods
Now for the exciting part! I typically have the best luck with stem cuttings.
-
Take Your Cuttings: Using your clean shears, take 4-6 inch cuttings from healthy, new growth. Make your cut just below a leaf node (the little bump where a leaf attaches to the stem). This is where the magic happens and roots are most likely to form. Remove the lower leaves from the cutting, leaving just a few at the top.
-
Apply Rooting Hormone (Optional): If you’re using rooting hormone, lightly dip the cut end of the stem into the powder. Tap off any excess.
-
Plant Your Cuttings: Fill your pots with your prepared potting mix. Make a small hole in the center of each pot using your finger or a pencil. Gently insert the cut end of your Gymnanthemum cutting into the hole, pushing the soil around it to secure it.
-
Water and Cover: Water the soil gently until it’s evenly moist, but not waterlogged. Lightly mist the leaves as well. Then, cover the pot with a clear plastic bag or place it under a propagation dome. This creates that essential humid microclimate.
The “Secret Sauce” (Pro Tips)
Here are a few tricks I’ve learned over the years that make a real difference:
- Hygiene is King: Seriously, sterilize your tools before you even think about taking a cutting. A quick wipe with rubbing alcohol makes a world of difference in preventing fungal infections that can quickly doom your efforts.
- Bottom Heat is Your Friend: If you have a seedling heat mat, use it! Placing your pots on a gentle heat source can significantly speed up root development. It’s like giving your cuttings a warm hug, encouraging them to grow. Just make sure the heat isn’t too intense.
- Don’t Drown Them: While humidity is key, a perpetually soggy potting mix is a recipe for disaster. Allow the top inch of the soil to dry out slightly between waterings. This encourages roots to seek out moisture rather than waiting for a deluge.
Aftercare & Troubleshooting
Once you’ve got your cuttings planted, patience is your best friend. Keep them in bright, indirect light. Avoid direct sunlight, which can scorch delicate new growth and dry out your cuttings too quickly.
You’ll know your cutting is rooting when you see new leaf growth. You might also notice a gentle tug when you very carefully try to lift the cutting – that’s a good sign of root development. Once you see consistent new growth and a good root system has formed (you can often see roots peeking out of the drainage holes), it’s time to gradually acclimate your new plant to normal room humidity by removing the plastic bag or dome for short periods.
The most common issue you’ll encounter is rot. This usually happens from overwatering or poor drainage. If you see your cutting turning black and mushy, unfortunately, it’s likely beyond saving. Try to remove it promptly to prevent it from affecting other cuttings. Another sign of trouble is wilting that doesn’t improve after watering – this can indicate the cutting hasn’t rooted and is drying out despite your efforts. Don’t be discouraged; just try again!
A Encouraging Closing
Remember, gardening is a journey, and propagation is a wonderful way to learn and grow alongside your plants. Some cuttings will thrive, and some might not. That’s perfectly okay! Each attempt teaches you something new. So, grab those shears, get your hands a little dirty, and enjoy the process of bringing more beautiful Gymnanthemum appendiculatum into your life. Happy growing!
Resource: