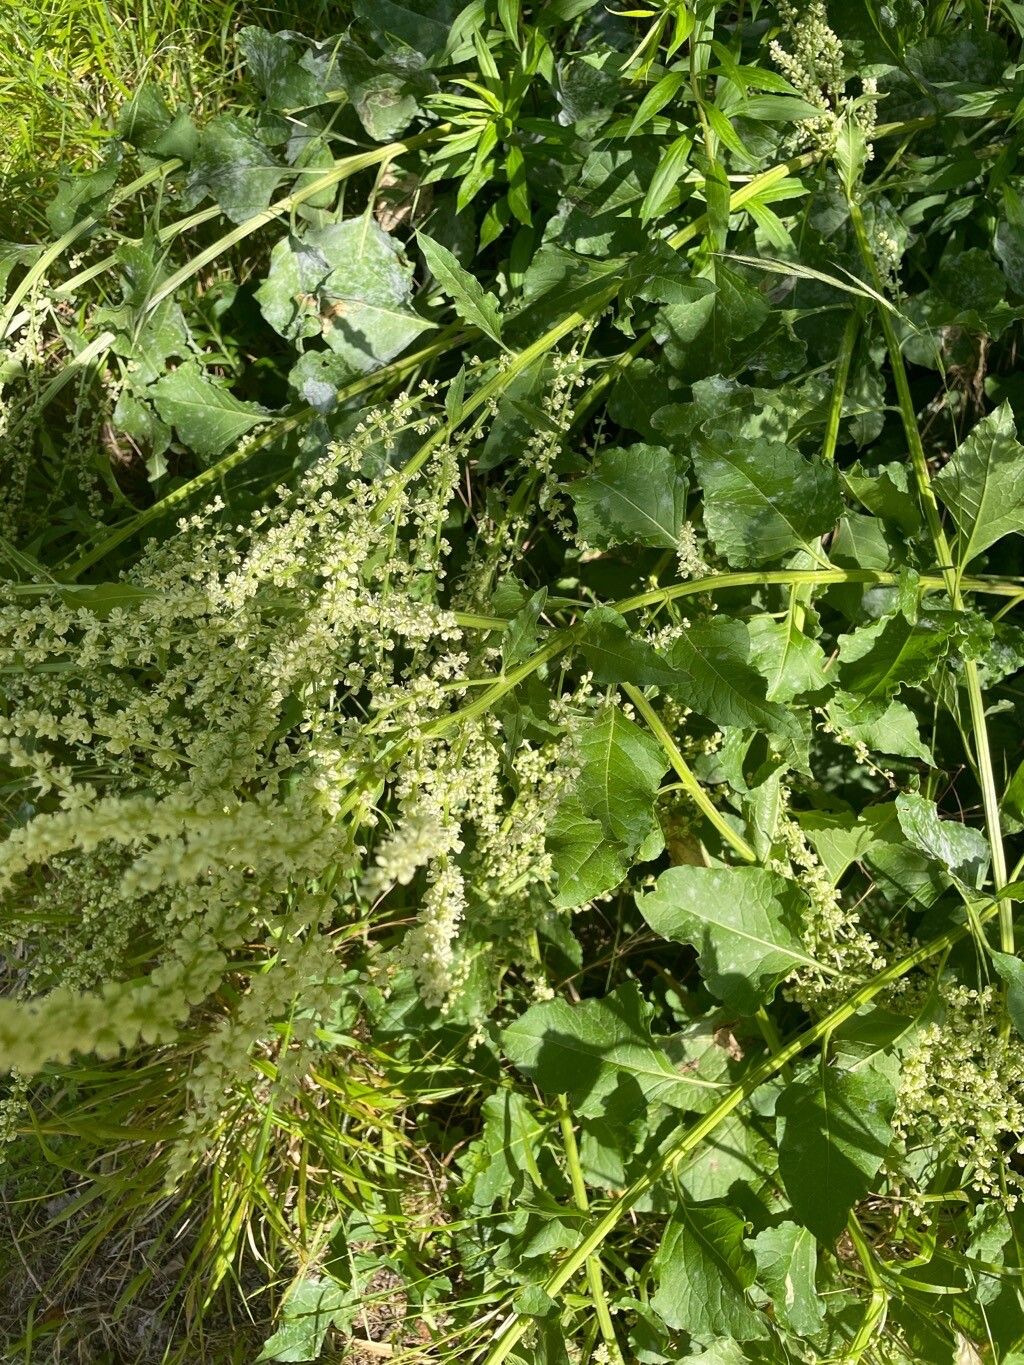
Oh, hello there! Grab your mug, let’s chat about something truly special: Beta trigyna. If you’ve ever admired those gorgeous, often velvety leaves and the subtle charm of this plant, you’re not alone. I’ve been fussing over my Beta trigynas for decades, and honestly, watching them multiply is one of the most satisfying joys a gardener can experience. It’s a bit like nurturing a little miracle right in your own home. For beginners? I’d say Beta trigyna is moderately easy. It doesn’t demand overly finicky care, but it does appreciate a bit of thoughtful attention, which you’re clearly ready to give!
The Best Time to Start
When it comes to getting the most bang for your propagation buck, the late spring or early summer is your golden window. This is when the plant is actively growing, full of vigor, and eager to channel that energy into putting out new roots. Aim for a time when your plant is looking healthy and robust – no tired or stressed-out specimens, please!
Supplies You’ll Need
Let’s get our toolkit ready. You won’t need anything too fancy, just the basics:
- Sharp pruning shears or a clean, sharp knife: For taking clean cuts.
- A well-draining potting mix: I like a blend of equal parts peat moss and perlite, or a good quality houseplant mix amended with extra perlite.
- Small pots or propagation trays: Clean ones are essential!
- Rooting hormone (optional but helpful): A powdered or liquid form can give your cuttings an extra boost.
- A clear plastic bag or propagation dome: To create a humid environment.
- Water: For watering and for water propagation.
- Labels: So you remember what you’ve propagated!
Propagation Methods
Now for the hands-on part! Beta trigyna is quite forgiving and can be propagated through a couple of reliable methods.
Stem Cuttings
This is my go-to method for Beta trigyna. It’s efficient and usually yields great results.
- Select a healthy stem: Look for a stem that has at least two to three leaves and no signs of damage or disease.
- Make the cut: Using your clean shears or knife, cut the stem just below a leaf node. This is the little bump on the stem where a leaf emerges; it’s a prime spot for root development. Aim for cuttings that are about 4-6 inches long.
- Prepare the cutting: Gently remove the lower leaves, leaving just one or two at the top. This prevents them from rotting when buried or submerged.
- Apply rooting hormone (optional): If you’re using rooting hormone, dip the cut end into the powder or liquid. Give it a gentle tap to remove any excess.
- Plant the cutting: Make a small hole in your prepared potting mix with your finger or a pencil. Insert the cut end of the stem into the hole, ensuring the leaf nodes that were buried are covered by the soil. Gently firm the soil around the cutting.
- Water and cover: Water the pot lightly. Then, cover the pot with a clear plastic bag or place it inside a propagation dome. This traps humidity, which is crucial for cuttings to root. Make sure the leaves don’t touch the sides of the bag.
Water Propagation
This method is fun to watch and can be very successful.
- Follow steps 1-3 for stem cuttings.
- Place in water: Find a clean jar or glass and fill it with fresh water. Place your prepared cuttings into the water, making sure that at least one leaf node is submerged. Crucially, ensure no leaves are submerged in the water. They will rot if they are.
- Find a bright spot: Place the jar in a bright location, but out of direct sunlight.
- Change the water regularly: Every few days, fresh water is your friend. This prevents bacterial growth and keeps things healthy.
The “Secret Sauce” (Pro Tips)
After years of propagating all sorts of plants, I’ve picked up a few tricks that seem to make a real difference, especially with Beta trigyna.
- Bottom Heat is Your Best Friend: If you’re using the soil propagation method, placing your pots on a gentle heat mat can significantly speed up root formation. It mimics the warmth of the soil in spring and gives the roots a cozy environment to emerge.
- Don’t Rush the Transplant: When propagating in water, it’s tempting to move those rooted cuttings into soil as soon as you see roots. But wait! Let those roots grow a good inch or two long, with branching secondary roots forming. They’ll have a much better chance of survival and taking off in their new pot.
- Humidity, Humidity, Humidity: That clear plastic bag or dome isn’t just for show. Beta trigyna cuttings are moisture lovers, and consistent, high humidity is key to preventing them from drying out before they can form roots.
Aftercare & Troubleshooting
Once you start seeing new growth or a resistance when you gently tug on your cutting, congratulations! Roots are forming.
- Gradual Acclimation: If you used a plastic bag or dome, gradually acclimate your new plant to lower humidity. Start by opening the bag for a few hours each day, then remove it entirely over a week or so.
- Watering: Continue to water as you would a mature Beta trigyna – keep the soil consistently moist but not waterlogged.
- Light: Provide bright, indirect light.
The main thing to watch out for is rot. If the stem turns black and mushy, or the leaves start to yellow and drop off rapidly, it’s often a sign of too much moisture and not enough air circulation, or the cutting was taken from an unhealthy parent plant. If you see signs of rot, it’s usually best to discard the cutting and try again.
A Little Encouragement
Growing new plants is a journey, and like any good adventure, it has its ups and downs. Don’t be discouraged if your first few attempts aren’t perfect. Each cutting you nurture is a lesson learned, and the reward of watching your Beta trigyna flourish is immeasurable. Be patient, enjoy the process of tending to these little green hopefuls, and celebrate every bit of new growth! Happy propagating!
Resource:
https://identify.plantnet.org/k-world-flora/species/Beta%20trigyna%20Waldst.%20&%20Kit./data