Grow More of That Gorgeous Deer Grass! Propagating Muhlenbergia emersleyi
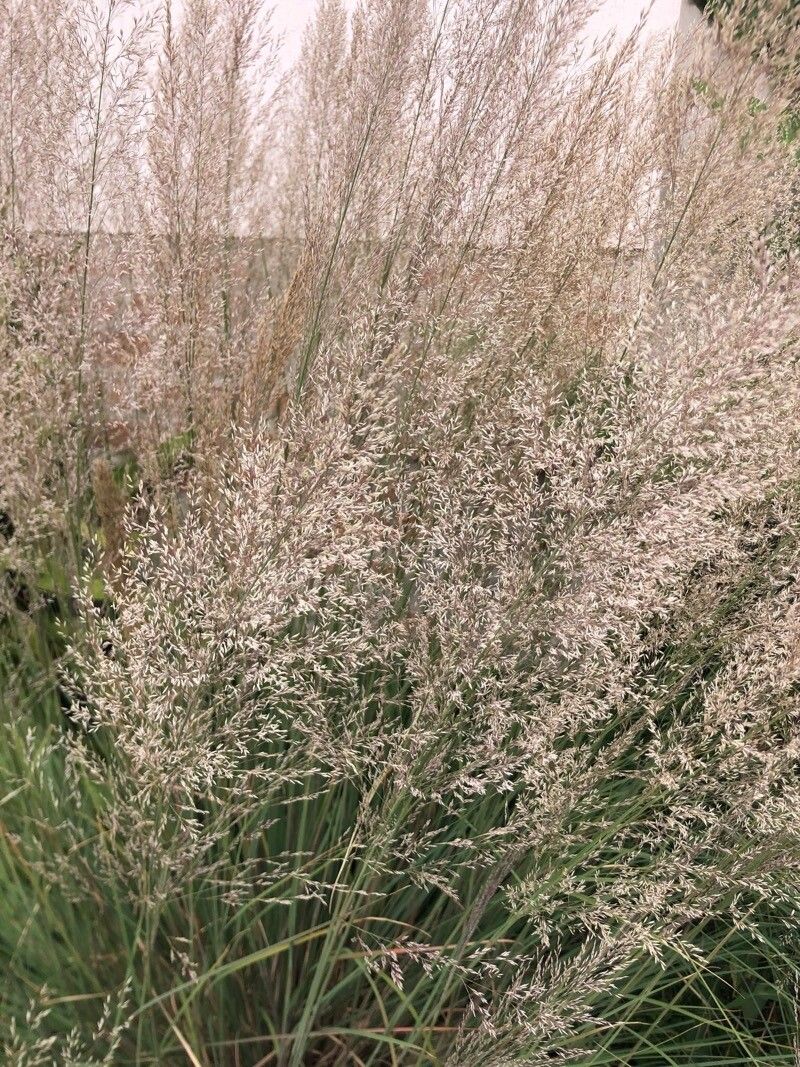
Oh, Muhlenbergia emersleyi! If you’ve ever admired those graceful, arching plumes of silvery-green foliage swaying in the breeze, you know exactly why I’m so excited about this grass. Also known as the trúc sậy in some circles, or for those who appreciate its common name, California Muhly, this native beauty is a real garden star. It brings texture, movement, and a wonderful understated elegance. And the best part? It’s not as intimidating to propagate as you might think!
I find propagating Muhlenbergia emersleyi to be a wonderfully rewarding experience. Watching a tiny sliver of a plant transform into a robust new specimen? Pure garden magic. For beginners, I’d say this grass falls into the moderately easy category. It’s not quite as foolproof as, say, propagating a succulent, but with a few key pieces of advice, you’ll be well on your way.
When to Get Your Hands Dirty: The Best Time to Start
The sweet spot for propagating Muhlenbergia emersleyi is undoubtedly late spring to early summer. This is when the plant is actively growing and has plenty of energy to put into developing new roots. You’re looking for healthy, vigorous vegetative growth. Trying to do this when the plant is dormant or stressed is just setting yourself up for disappointment.
What You’ll Need on Your Propagation Adventure
Gathering your supplies beforehand makes the whole process so much smoother. Here’s what I always have on hand:
- Sharp Pruning Shears or a clean knife: For making clean cuts.
- Well-draining potting mix: I like to use a blend of equal parts turface, coarse sand, and a good quality potting soil. The goal is to prevent soggy bottoms!
- Small pots or trays: With drainage holes, of course.
- Rooting hormone powder (optional but recommended): This really gives your cuttings a boost.
- Watering can or spray bottle: For gentle watering.
- A clean plastic bag or humidity dome: To create a mini-greenhouse.
- Labels and a marker: So you don’t forget what you planted and when!
Bringing New Muhly Plants to Life: Simple Propagation Methods
For Muhlenbergia emersleyi, division is the most straightforward and successful method. Stem cuttings can be trickier with grasses and often have a lower success rate, though I’ll touch on that briefly.
Method 1: Division – The Go-To for Grasses
This is my favorite way to multiply my Muhly collection!
- Excavate with Care: In late spring or early summer, dig up your mature Muhlenbergia emersleyi clump. Gently loosen the soil around the base.
- Inspect and Separate: Using your hands or a sharp spade, gently pull the clump apart. You’re looking for sections that have their own root system and at least a few healthy shoots. Don’t force it; if a section is stubbornly attached, you might need to make a clean cut with your spade.
- Trim if Necessary: If the aerial growth is excessive and looks like it might dry out easily, you can trim it back by about a third. This helps the plant conserve energy for root development.
- Replant Immediately: Plant your divisions into their new homes (either in pots or directly in the garden) as soon as possible. Make sure they’re planted at the same depth as they were originally.
- Water Well: Give the newly divided plants a good, thorough watering.
Method 2: Stem Cuttings (For the Adventurous!)
While division is king, you can try stem cuttings, but be prepared for a bit more patience and a potentially lower success rate.
- Select Your Stems: Choose healthy, non-flowering stems from your plant during the active growing season (late spring/early summer). Look for stems that are about 4-6 inches long.
- Make the Cut: Using your sharp pruning shears, cut the stem at a 45-degree angle, just below a leaf node (where a leaf attaches to the stem). Remove the lower leaves, leaving just a couple at the very tip. You can also cut the remaining leaves in half horizontally to reduce water loss.
- Dip in Hormone: Lightly dampen the cut end of the stem and dip it into your rooting hormone powder. Tap off any excess.
- Planting: Fill a small pot with your well-draining potting mix. Make a hole with your finger or a pencil and insert the cutting. Gently firm the soil around it.
- Create Humidity: Water gently. Then, cover the pot with a plastic bag or humidity dome. Make sure the leaves do not touch the sides of the bag if possible; if they do, you can prop the bag up with small stakes.
- Placement: Place the pot in a bright location, but out of direct sunlight.
The “Secret Sauce”: My Insider Tips
- The Power of Bottom Heat: For stem cuttings, a heating mat placed underneath the pots can work wonders. It encourages root development from the bottom up, significantly increasing your chances of success. You’ll often see tiny roots forming well before you notice new top growth.
- Don’t Drown Your Dreams: This is crucial for stem cuttings: never let the leaves or the base of the cutting sit in water. This is a surefire recipe for rot. The soil should be moist but not waterlogged.
- Patience is a Virtue (Truly!): With division, you’ll usually see new growth relatively quickly. However, for stem cuttings, it can take several weeks to a couple of months to see significant root development, and even longer for new shoots to appear. Don’t lose heart if you don’t see immediate results!
After Care: Nurturing Your New Additions
Once you see signs of new growth (either vigorously expanding clumps after division or small shoots emerging from cuttings), it’s time for attentive aftercare.
- For Divisions: Continue to water regularly, especially during dry spells, until the new plants are well-established. Once they are growing well, you can treat them like your mature plants.
- For Cuttings: Gradually acclimate your new plants to drier air. Start by opening the humidity dome or plastic bag for a few hours each day. Once they’ve been out for a week or so, remove the cover entirely. Continue to water them consistently. When your cuttings have developed a decent root system (you can check by gently tugging; if there’s resistance, they’ve rooted), you can transplant them into slightly larger pots or their permanent garden location.
Troubleshooting: The most common issue you’ll face, especially with cuttings, is rot. If your cuttings look mushy, black, or start to fall apart, it’s usually due to too much moisture and not enough air circulation. The soil is likely too wet, or they’re sitting in stagnant water. If you see signs of rot, you may need to discard the affected cuttings and try again, ensuring better drainage and air circulation.
Keep Growing!
Propagating Muhlenbergia emersleyi is a fantastic way to expand your garden and share its beauty with friends. Remember to be patient, observe your plants closely, and don’t be afraid to experiment a little. Enjoy the process, and soon you’ll have more of that lovely, dancing grass to enjoy! Happy gardening!
Resource:
https://identify.plantnet.org/k-world-flora/species/Muhlenbergia%20emersleyi%20Vasey/data