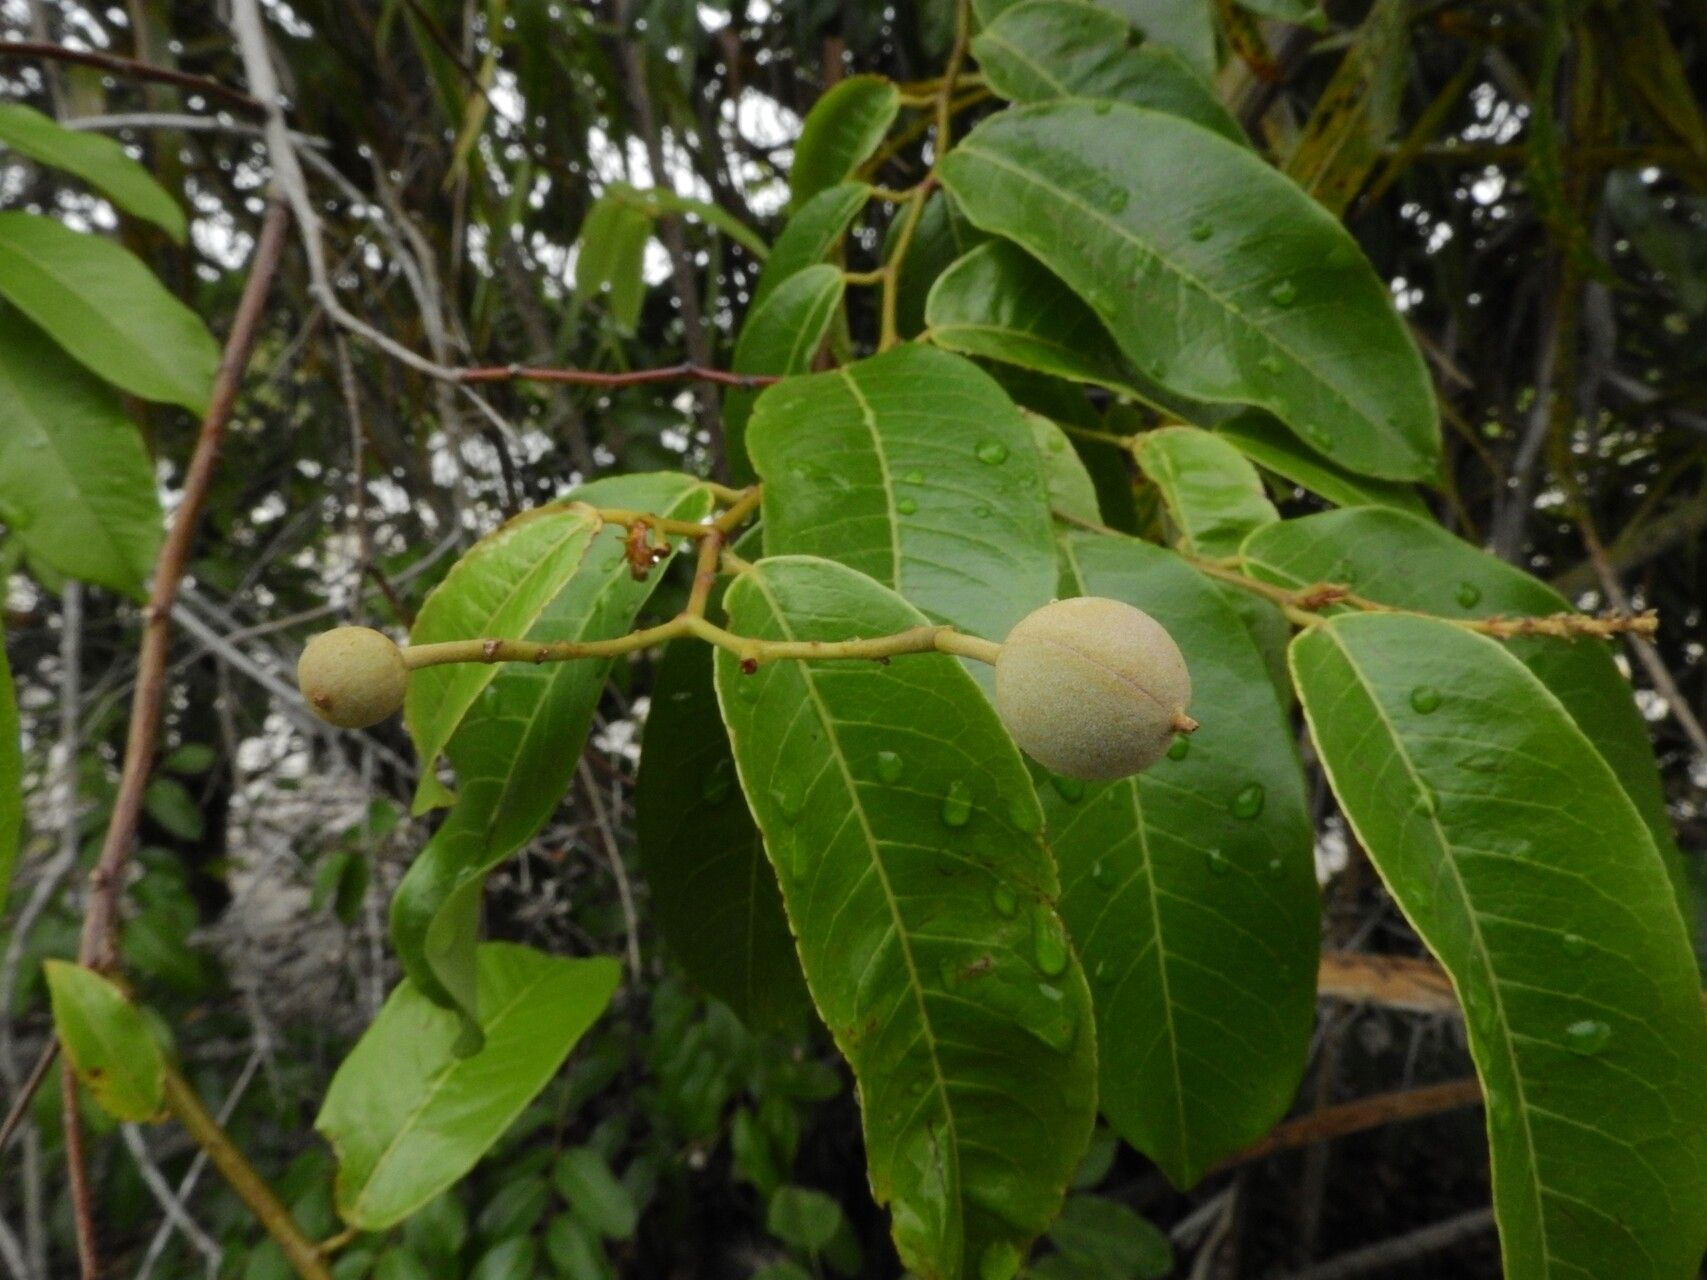
Oh, Mabea paniculata! What a beauty to have gracing the garden. Those delicate, often trumpet-shaped blooms, usually painted in shades of white, cream, or soft yellows, really do bring an airy elegance. And the way they cascade? Simply divine. If you’ve fallen under its spell like I have, then you’ll be thrilled to know that bringing more of these beauties into your life is absolutely achievable.
Propagating Mabea paniculata is a deeply satisfying endeavor. It’s that magical moment when you see a tiny cutting unfurl its first new leaf, a testament to new life being nurtured by your own hands. Is it for the absolute beginner? I’d say it’s a moderately easy plant to propagate. It requires a little attention to detail, but nothing that will have you tearing your hair out. With a little guidance, you’ll be a Mabea pro in no time.
The Best Time to Start
When it comes to Mabea paniculata, spring and early summer are your golden windows. This is when the plant is in its active growth phase, meaning it has the energy reserves to readily sprout new roots. You’re looking for stems that are semi-hardwood – they’re not brand new, pencil-thin green shoots, but they’re also not completely woody and mature. Think of a stem that bends a little without snapping easily.
Supplies You’ll Need
To set yourself up for success, gather these essentials:
- Sharp Pruning Shears or a Clean Knife: For taking clean cuts that heal well.
- Rooting Hormone: A powder or gel will do nicely. This is your little helper to encourage root development.
- Potting Mix: A well-draining blend is key. I like to use a 50/50 mix of perlite and peat moss or coco coir. You can also buy specific seed-starting or propagation mixes.
- Small Pots or Trays: Clean containers with drainage holes are a must.
- Plastic Bags or a Propagator: To create a humid environment for your cuttings.
- Watering Can with a Fine Rose: For gentle watering.
- Labels and a Pen: To keep track of what you’ve planted and when.
Propagation Methods
For Mabea paniculata, stem cuttings are the most reliable and rewarding method.
- Select Your Cuttings: In spring or early summer, choose a healthy Mabea branch. Using your sharp shears, take cuttings that are about 4-6 inches long. Make your cut just below a leaf node (where a leaf joins the stem).
- Prepare the Cuttings: Gently remove the lower leaves from your cuttings. You want to leave just a couple of sets of leaves at the top. If the remaining leaves are very large, you can carefully trim them in half horizontally. This reduces water loss while still allowing the plant to photosynthesize.
- Apply Rooting Hormone: Dip the cut end of each stem into your rooting hormone, tapping off any excess. Ensure the entire cut surface is coated.
- Plant Your Cuttings: Fill your small pots with your prepared potting mix. Make a small hole with your finger or a pencil. Carefully insert the coated end of the cutting into the hole, about an inch or so deep, and gently firm the soil around it.
- Create a Humid Environment: Water the soil lightly until it’s moist but not soggy. Then, place the pot inside a clear plastic bag or a propagator lid. This traps humidity around the cuttings, which is crucial for them to root. Ensure the leaves do not touch the sides of the bag if possible.
The “Secret Sauce” (Pro Tips)
- Bottom Heat is Your Friend: If you have the facility, placing your pots on a gentle heat mat can significantly speed up rooting. Mabea, like many tropical plants, loves a bit of warmth to get those roots going.
- Don’t Drench, Just Moisten: It’s so tempting to water them thoroughly, but overwatering is the quickest way to invite rot. The goal is to keep the soil consistently moist, like a wrung-out sponge, not waterlogged.
- The “Twist Test”: After a few weeks, you can gently tug on a cutting. If you feel resistance, that’s a good sign roots are forming! Don’t pull too hard, though!
Aftercare & Troubleshooting
Once your cuttings have rooted – and this can take anywhere from 4 to 8 weeks, sometimes longer – you’ll start to see new leaf growth. At this point, you can gradually acclimate them to drier air. Start by opening the plastic bag for a few hours each day. Once they seem happy and are growing steadily, you can remove the bag entirely.
Continue to keep the soil consistently moist. Young cuttings are more sensitive to drying out. You can begin feeding them with a diluted, balanced liquid fertilizer once they’ve established themselves and have a few sets of new leaves.
The most common issue you’ll encounter is rot. If the stem turns black and mushy, or if leaves start to fall off rapidly, it’s usually a sign of too much moisture and not enough air circulation. Unfortunately, a rotten cutting is usually a lost cause. Prevention is key! Ensure excellent drainage, don’t overwater, and provide adequate (but not direct) light.
A Encouraging Closing
Don’t be discouraged if not every cutting takes. Gardening is a journey, and propagation is part science, part patience, and a whole lot of learning. Celebrate the successes, learn from the setbacks, and most importantly, enjoy the process of nurturing new life. Soon enough, you’ll have a whole collection of these lovely Mabea paniculatas to admire!
Resource:
https://identify.plantnet.org/k-world-flora/species/Mabea%20paniculata%20Spruce%20ex%20Benth./data