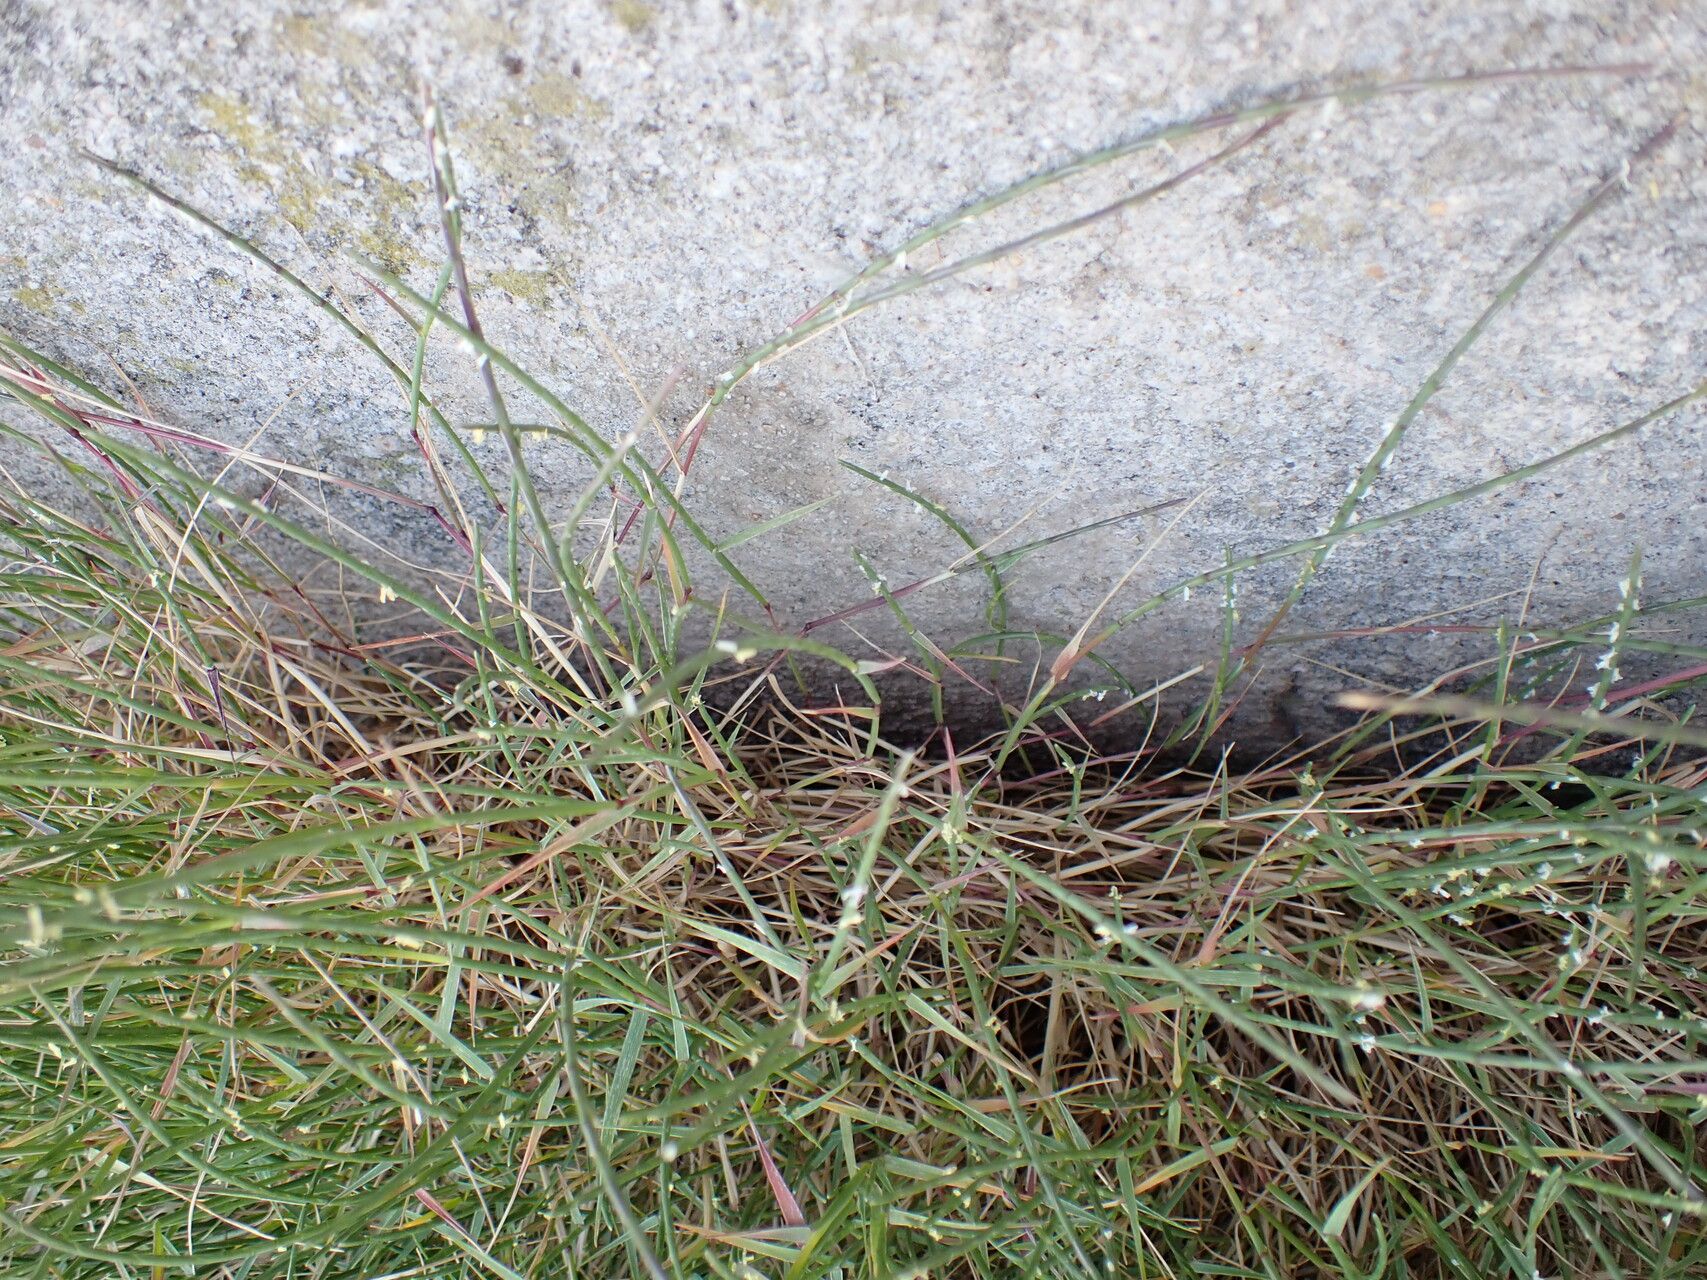
Oh, hello there! Come on in, pull up a chair. I’ve got a fresh pot of coffee brewing, and I’m so excited to chat with you about a truly lovely grass: Parapholis strigosa. You might know it as the sicklegrass, and for good reason – those slender, arching leaves have a wonderful way of cascading. It’s not your typical showy bloomer, but its delicate texture and movement in the garden are just captivating. Plus, successfully propagating it? It’s incredibly satisfying, like watching a tiny miracle unfold right before your eyes.
Now, for the good news: Parapholis strigosa is generally quite forgiving for beginners. You don’t need a fancy greenhouse or a degree in botany to get started. With a little patience and a few key steps, you’ll be well on your way to a whole patch of this beauty.
The Best Time to Start
For the highest success rate, I always recommend spring. As the weather starts to warm up and your plants are actively putting on new growth, they have the energy to put into developing roots. Early spring, after the last frost but before the intense summer heat, is perfect. If you miss spring, late summer can also work, but you’ll want to ensure there’s enough time for the new plants to establish before cooler weather arrives.
Supplies You’ll Need
Gathering your supplies beforehand makes the whole process so much smoother. Here’s what I usually have on hand:
- Sharp pruning shears or a clean knife: For making clean cuts.
- Well-draining potting mix: A good blend of perlite, vermiculite, and peat moss is ideal. You can buy a specific seed starting mix or make your own.
- Small pots or seed trays: Clean pots are a must to prevent disease.
- Rooting hormone (optional but helpful): I often use a powdered one. It’s not strictly necessary for Parapholis strigosa, but it can give your cuttings a gentle boost.
- Watering can with a fine rose: To water gently without disturbing your new plantings.
- Plastic bags or a propagator lid: To create a humid environment.
- Labels: So you don’t forget what you planted where!
Propagation Methods
Parapholis strigosa is wonderfully adaptable, and I find it does best through division and cuttings.
Division: My Go-To Method
This is truly the easiest way to propagate Parapholis strigosa. It’s like giving your existing plant a haircut and a new lease on life.
- Gently excavate: In early spring, carefully dig up your existing clump of Parapholis strigosa. Try to get as much of the root ball as possible.
- Clean the roots: Gently shake off loose soil, or even rinse the roots under cool water. You want to be able to see the individual shoots and roots clearly.
- Separate the clumps: Look for natural divisions in the plant – where new shoots are emerging from the base. You can often gently pull these apart with your hands. If a section is stubborn, use your clean knife to carefully slice through the roots, ensuring each new division has a good amount of roots and at least a few leafy stems.
- Replant immediately: Pot each division into its own container filled with your well-draining potting mix. Water them in thoroughly.
Stem Cuttings: A Bit More Finesse
This method takes a little more patience but is incredibly rewarding when you see those tiny roots forming.
- Select healthy stems: Look for new, non-flowering stems that are bright green and vigorous. About 4-6 inches long is a good size.
- Make clean cuts: Using your sharp pruning shears, make a clean cut just below a leaf node (where a leaf attaches to the stem). Remove the lower leaves, leaving only the top few.
- Apply rooting hormone (optional): Dip the cut end of the stem into your rooting hormone, tapping off any excess.
- Plant the cuttings: Fill small pots with your well-draining mix. Make a hole with your finger or a pencil and gently insert the cutting, ensuring the leaf nodes are covered by the soil. This is where new roots will emerge.
- Water and cover: Water gently. Then, cover the pots with a clear plastic bag or place them in a propagator with a lid. This will create a humid environment that helps prevent the cuttings from drying out.
The “Secret Sauce” (Pro Tips!)
Alright, let me share a couple of things I’ve learned over the years that can really make a difference.
- My best tip for cuttings? Don’t let those leaves touch the water if you were to try water propagation (though I find soil is usually more successful for this grass). Moisture lingering on leaves can encourage rot. Ensure the base of the cutting is submerged and the leaves are above any water level.
- For cuttings in soil, I swear by bottom heat. Even a small seedling heat mat placed under your pots can drastically speed up root development. It mimics the warmth of spring soil and gives those roots a real boost. You can usually find them online for a reasonable price.
Aftercare & Troubleshooting
Once your divisions are planted or your cuttings have rooted (you’ll often see new leaf growth or feel a gentle tug when you try to pull the cutting – carefully!), it’s time for continued care.
Keep the soil consistently moist but not waterlogged. This is crucial. Overwatering is the main culprit for failure. I like to water thoroughly when the top inch of soil feels dry.
Watch out for wilting or yellowing leaves. This can be a sign of overwatering, underwatering, or not enough light. If you see blackening at the base of a cutting, that’s usually rot, and unfortunately, that cutting is likely lost. Just remove it and check your watering habits.
A Encouraging Closing
Propagating Parapholis strigosa is a journey, and like all gardening, it’s about the process. Be patient with your new little plants, celebrate each tiny sign of success, and don’t be discouraged if a few don’t make it. You’ll learn so much along the way. Now, go on and give it a try – I know you’ll do wonderfully!
Resource: