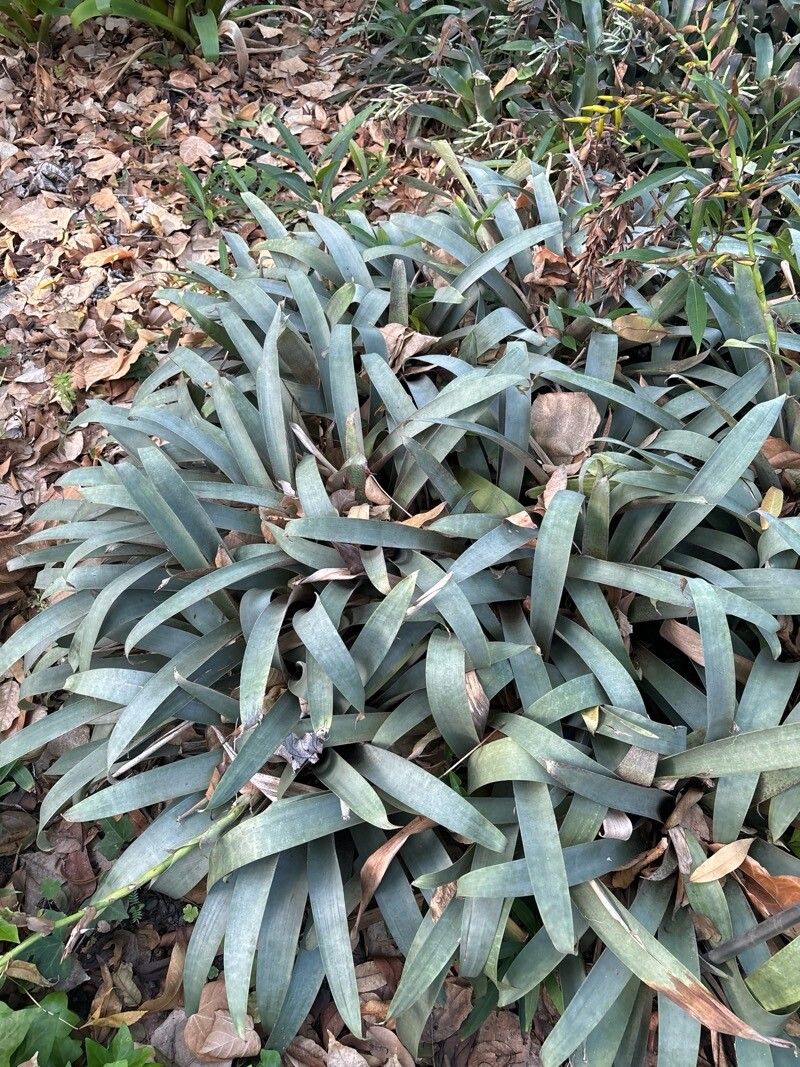
Oh, hello there! So glad you stopped by. It’s a beautiful day for a little garden chat, isn’t it? Today, I want to talk about one of my absolute favorites: Vriesea saundersii. If you’ve ever seen this bromeliad, you know its striking foliage, often with those lovely red and green markings, can truly make a statement. And the best part? Growing more of them is a wonderfully rewarding experience. It’s a plant that feels a little exotic, but don’t let that intimidate you. Propagating Vriesea saundersii is quite manageable, even for those of you just finding your green thumb.
The Best Time to Start
For Vriesea saundersii, like many bromeliads, the warmer months are your best bet. Think spring and early summer. This is when the plant is actively growing and has the most energy to put into producing new babies – or pups, as we call them. You’ll often see these pups naturally forming at the base of the mother plant. Waiting until they’re a decent size, say about a third the size of the parent plant, gives them a better chance of independent survival.
Supplies You’ll Need
Before we dive in, let’s gather our tools. Nothing fancy here, just the basics:
- Sharp, clean pruning shears or a sharp knife: For making clean cuts.
- Well-draining potting mix: A cactus and succulent mix works wonderfully, or you can create your own with equal parts peat moss, perlite, and sand.
- Small pots or containers: Whatever you have on hand, just make sure they have drainage holes.
- Rooting hormone (optional but helpful): A powder or gel to encourage root development.
- Spray bottle: For misting.
- A warm, bright location: Out of direct, scorching sun.
Propagation Methods
The most common and successful way to propagate Vriesea saundersii is by division, or more specifically, by removing pups.
- Assess the Mother Plant: Gently examine your Vriesea saundersii. Look for those smaller offsets, or pups, that are emerging from the base. If they have started to develop their own little roots, even better!
- Prepare to Separate: The key here is to make a clean separation. Carefully use your sharp pruners or knife to cut the pup away from the mother plant. Try to get as close to the base as possible, ensuring you take any emerging roots with the pup. If the pup isn’t quite ready to detach easily, don’t force it. Sometimes a little wiggle is all it needs.
- Let it Callus: This is a crucial step, especially if you don’t see many roots. Place the separated pup in a dry, shaded spot for a day or two. This allows the cut end to callus over, which helps prevent rot when you plant it.
- Potting Up: Fill your small pot with your well-draining potting mix. Make a small hole in the center and place the callused pup in it, ensuring the base is just covered. Gently firm the soil around it. If you’re using rooting hormone, dip the cut end into it before placing it in the soil.
- Initial Watering: Water your newly potted pup very lightly. We don’t want to drench it. The goal is just to settle the soil.
The “Secret Sauce” (Pro Tips)
Now, for a couple of little tricks I’ve picked up over the years that can really boost your success:
- The “Cup” is Key: Bromeliads, including Vriesea saundersii, are designed to collect water in their central “cup” formed by their leaves. Never let the water sit stagnant in the cup of a newly potted pup, especially before it roots. This is a fast track to rot. Mist the leaves and water the soil lightly instead.
- A Little Warmth Goes a Long Way: Like many tropical plants, pups appreciate a bit of bottom heat while they’re establishing roots. Placing your potted pup on a seedling heat mat (if you have one) can significantly speed up the rooting process. If you don’t have a mat, just ensure it’s in a naturally warm spot in your home, away from drafts.
Aftercare & Troubleshooting
Once your pup is planted, patience is your best friend. Keep the soil slightly moist but never soggy. Mist the leaves occasionally, especially in dry environments. Place it in a bright spot with indirect light. You’ll know it’s rooting when you see new leaf growth emerging from the center.
The most common issue you might encounter is rot. If you see the base of the pup turning mushy and brown, or if the leaves start to yellow and fall off, it’s often a sign of overwatering or insufficient drainage. Don’t be discouraged if a pup doesn’t make it. We simply try again! Sometimes, it’s just a matter of adjusting your watering or finding the perfect microclimate.
A Encouraging Closing
Propagating Vriesea saundersii is a beautiful journey into understanding these fascinating plants. It’s a process that connects you more deeply to your garden and the cycle of growth. So, take a deep breath, gather your supplies, and give it a whirl. Be patient, observe your little pup closely, and most importantly, enjoy the magic of creating new life! You’ve got this.
Resource: