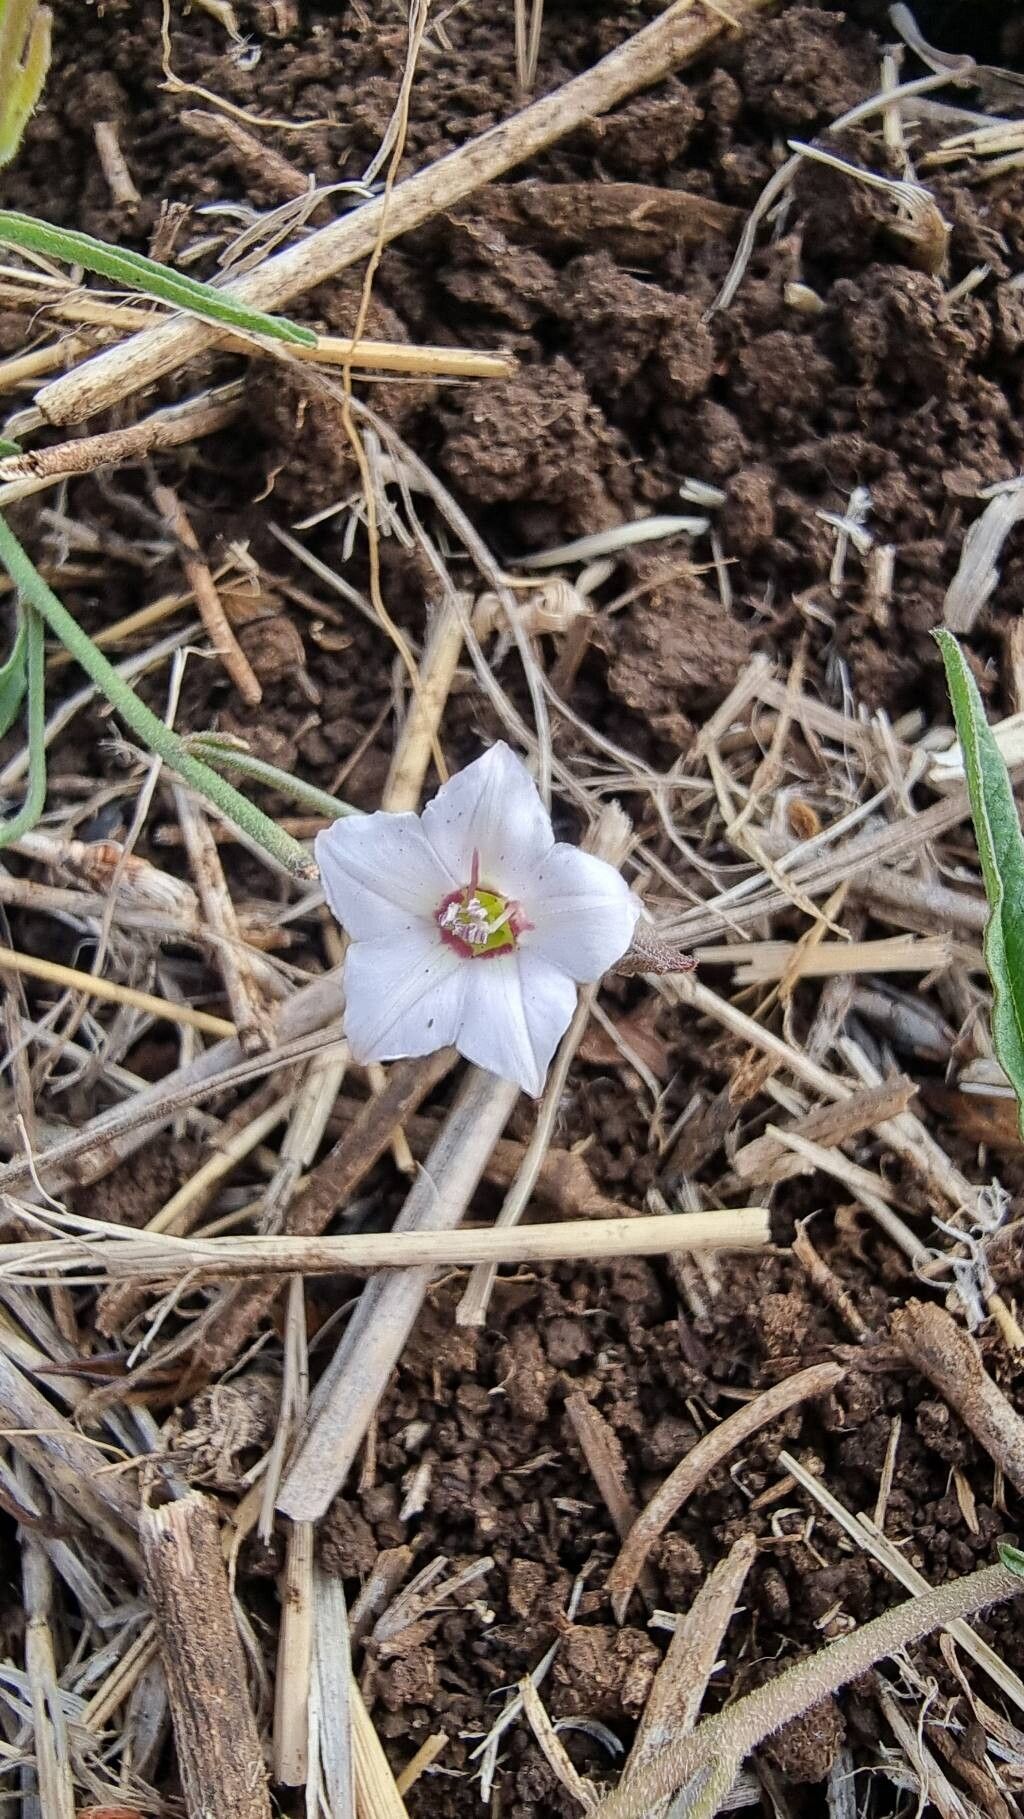
Hello fellow garden enthusiasts! Today, we’re going to chat about a real charmer: Convolvulus sagittatus, also known as the Arrowhead Bindweed. Now, I know what some of you might be thinking – “Bindweed? Isn’t that a weed?” And yes, some of its cousins can be a bit… vigorous. But Convolvulus sagittatus is a different story entirely. Its beautiful, arrow-shaped leaves and delicate, trumpet-like flowers, often in shades of pink and white, can truly elevate a garden border or a hanging basket. It has a lovely trailing habit that adds a touch of romance to any setting.
If you’ve ever admired this plant and wished you had more of it, you’re in luck! Propagating Convolvulus sagittatus is a wonderfully rewarding experience, and I’m happy to say, it’s quite beginner-friendly. You don’t need to be a seasoned pro to get this plant to make new friends. It’s a fantastic way to fill in gaps in your garden or create more of that lovely cascading effect.
The Best Time to Start
For the highest success rate with Convolvulus sagittatus, I find that early spring, just as new growth is really starting to emerge, is the absolute best time. You want to take cuttings when the plant is actively growing but before it gets too hot and stressed. Late spring can also work, but you might find your cuttings taking a bit longer to root. If you miss that window, don’t despair – you can often take cuttings in early summer too. Just ensure you’re taking them from healthy, vigorous stems.
Supplies You’ll Need
Gathering your supplies beforehand makes the whole process smoother. Here’s what I usually have on hand:
- Sharp pruning shears or a clean, sharp knife: For clean cuts that heal well.
- Rooting hormone (optional, but recommended): A powder or gel that encourages root development.
- Well-draining potting mix: I like to use a blend of equal parts peat moss, perlite, and coarse sand. This keeps things airy and prevents waterlogging.
- Small pots or trays: Clean ones are crucial to prevent disease.
- Plastic bags or a propagator lid: To create a humid environment for the cuttings.
- Watering can with a fine rose or a spray bottle: For gentle watering.
- Labeling stakes: To keep track of what you’ve planted and when.
Propagation Methods
There are a couple of methods that work exceptionally well for Convolvulus sagittatus. I typically rely on stem cuttings because they’re straightforward and yield great results.
1. Stem Cuttings
This is my go-to method. It’s straightforward and very effective.
- Step 1: Take the Cuttings: Using your clean shears or knife, select healthy, non-flowering stems from your parent plant. Cut pieces about 4-6 inches long. Make your cut just below a leaf node (where the leaves attach to the stem).
- Step 2: Prepare the Cuttings: Gently remove the lower leaves from the bottom half of the cutting. This prevents them from rotting when buried in the soil. You can leave the top couple of leaves. If the top leaves are very large, you can snip them in half horizontally to reduce water loss through transpiration.
- Step 3: Apply Rooting Hormone (Optional): Dip the cut end of the stem into a rooting hormone powder or gel. Tap off any excess. This step is not strictly necessary for Convolvulus sagittatus, as it roots quite readily, but it can give your cuttings a helpful boost.
- Step 4: Plant the Cuttings: Fill your small pots or trays with your well-draining potting mix. Moisten the soil thoroughly. Make a small hole in the center of the pot with a pencil or your finger. Insert the prepared cuttings into the holes, ensuring at least one or two leaf nodes are buried beneath the surface. Gently firm the soil around the cuttings.
- Step 5: Create Humidity: Water the soil lightly again. Then, cover the pots with a plastic bag or place them in a propagator with a lid. This creates a humid microclimate, which is vital for cuttings to root before they can take up water through new roots. Ensure the plastic doesn’t touch the leaves of the cuttings by using stakes or a propagator lid.
2. Water Propagation (A Quick Option)
While I prefer soil propagation for long-term success, you can also get Convolvulus sagittatus to root in water.
- Step 1: Prepare Cuttings: Follow Steps 1 and 2 from the stem cutting method above.
- Step 2: Place in Water: Get a clean glass or jar and fill it with fresh water. Place the prepared cuttings into the water, ensuring the leaf nodes you removed the leaves from are submerged, but no leaves are touching the water.
- Step 3: Maintain: Place the jar in a bright spot, but out of direct sunlight. Change the water every few days to keep it fresh and prevent rot. You should start seeing tiny white roots forming within a couple of weeks.
The “Secret Sauce” (Pro Tips)
Here are a few little tricks I’ve picked up over the years that can really make a difference:
- Bottom Heat is Your Friend: If you have the setup, placing your pots on a heated propagator mat can significantly speed up root formation. This gentle warmth encourages root development from the bottom up. It’s like tucking them into a cozy little bed to get started.
- Don’t Overwater: While humidity is crucial, soggy soil is the enemy of new cuttings. Keep the soil consistently moist, but not waterlogged. If you’re using a plastic bag, check the soil moisture daily by gently touching it. You’ll get a feel for it over time.
- Patience with Leaf Nodes: When you’re planting your cuttings, remember that roots will emerge from the leaf nodes that are buried. So, make sure you’ve got at least one, preferably two, nodes below the soil surface.
Aftercare & Troubleshooting
Once you see new leaf growth or feel a gentle resistance when you tug on a cutting, it’s a good sign that roots have formed!
- Acclimatize Gradually: If you’ve been using a plastic bag, start by opening the bag for a few hours each day to gradually reduce humidity. After about a week of this, you can remove the bag entirely.
- Potting Up: Once the cuttings have a good root system, carefully pot them into slightly larger pots with your regular potting mix. Water them in well and keep them in a bright location, out of direct sun for the first week or so.
- Troubleshooting: Rot: The most common issue you’ll face is rot. This usually happens when the cuttings are kept too wet or in soggy soil. If you see a cutting turning black and mushy, it’s best to discard it to prevent it from affecting others. Ensure good air circulation and only water when the top inch of soil feels dry. Another sign of failure is a cutting that wilts and stays wilted even with adequate moisture – this often means it hasn’t rooted and is losing too much water.
A Encouraging Closing
Propagating Convolvulus sagittatus is such a rewarding process. There’s a special kind of joy in watching a tiny cutting transform into a thriving new plant. Don’t be discouraged if not every cutting takes – gardening is always a learning curve, and even experienced gardeners have their failures. Just keep at it, enjoy the process, and soon you’ll have an abundance of this lovely plant to fill your garden with its charm. Happy propagating!
Resource:
https://identify.plantnet.org/k-world-flora/species/Convolvulus%20sagittatus%20Thunb./data