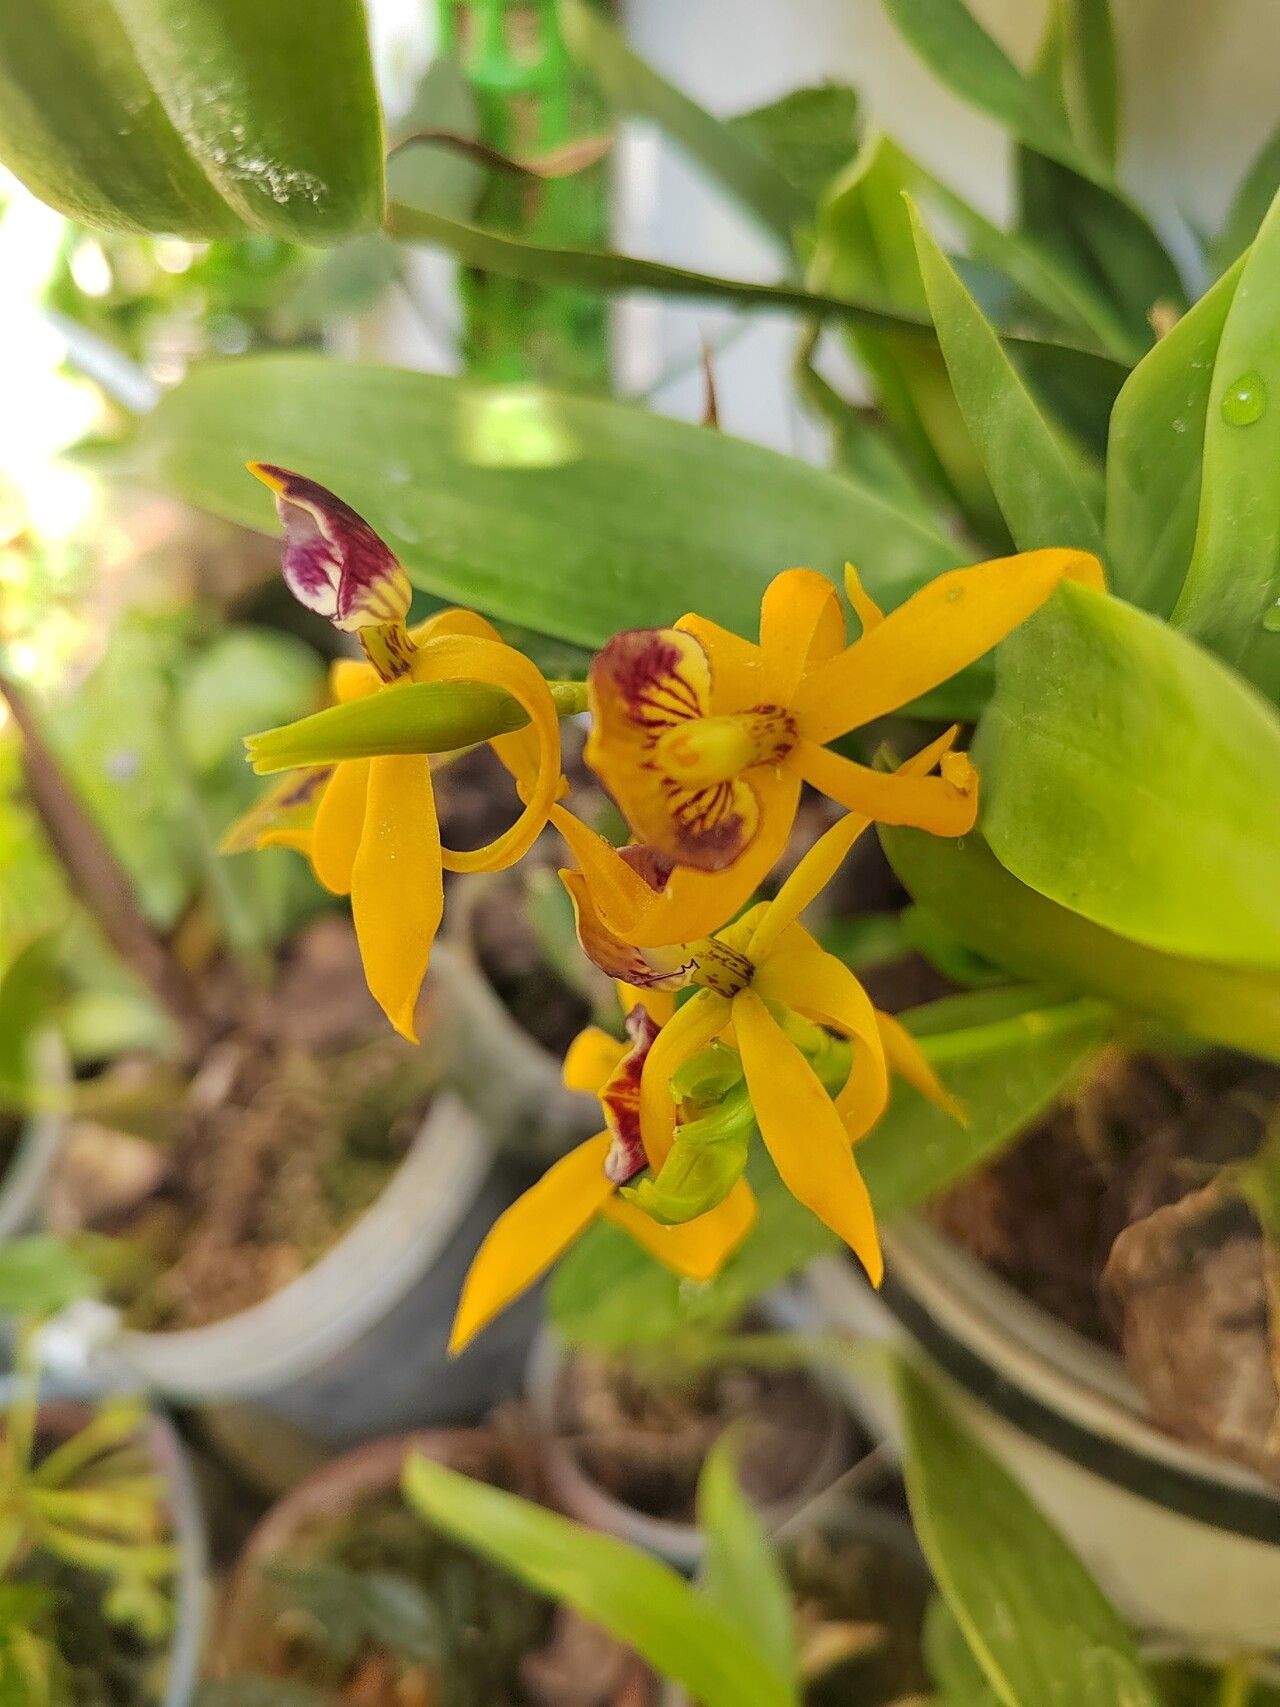
Oh, hello there! Come on in. Let’s chat about one of my absolute favorite orchids, Prosthechea cochleata, also known as the Cockleshell Orchid. If you’ve ever seen one of these beauties in bloom, you know what I mean. That unique, dark, almost black lip that curves upwards like a shell… it’s just magical! And the fact that it blooms upside down? Pure orchid drama!
Propagating them yourself is such a fulfilling journey. It’s like watching a tiny miracle unfold right before your eyes. For folks just starting out with orchids, I’d say Prosthechea cochleata is moderately easy. It’s not as forgiving as some, but with a little attention and the right approach, you’ll be sharing your own little bits of joy in no time.
The Best Time to Start
Timing is everything in the garden, and it’s no different with our orchids. The sweet spot for propagating Prosthechea cochleata is generally after flowering, when the plant is entering a period of active growth. This usually happens in late spring or early summer. You’ll see new pseudobulbs forming or new leaf growths emerging. Starting then gives your little plantlets the best chance to establish before the cooler weather sets in.
Supplies You’ll Need
Gathering your supplies beforehand makes the whole process much smoother. Here’s what I always have on hand:
- Sterilized pruning shears or a sharp knife: For clean cuts, which are crucial to prevent infection.
- A good orchid potting mix: I prefer a mix with fine orchid bark, perlite, and a bit of horticultural charcoal. This provides excellent drainage and aeration.
- Small pots or community trays: For your new propagations.
- Rooting hormone (optional but helpful): A powdered type works well for me.
- Clean water: Distilled or rainwater is best.
- A spray bottle: For gently misting.
- Plant labels and a permanent marker: So you don’t forget what you’ve propagated!
Propagation Methods
Prosthechea cochleata is most commonly propagated by division, which is really the most straightforward method for home growers.
Division
This is how you’ll multiply your Prosthechea cochleata.
- Assess your mature plant. Look for a plant that has several pseudobulbs (those swollen stem bases) and at least 3-4 leaves. A larger plant is a healthier plant to divide.
- Gently remove the orchid from its pot. If it’s stuck, a gentle squeeze around the pot or carefully running a knife around the edge can help. You want to disturb the roots as little as possible.
- Carefully inspect the rhizome. This is the thick stem that connects the pseudobulbs. You’ll want to divide the plant so that each new section has at least two to three healthy pseudobulbs and some good roots.
- Use your sterilized shears or knife to make the cut. Make a clean cut through the rhizome between the sections you want to separate.
- If you’re using rooting hormone, dip the cut end into it. Gently tap off any excess.
- Pot up your new divisions. I like to use my special orchid mix in small pots. Place the new division so that the pseudobulbs are sitting just on top of the mix, not buried. The new growths should be facing outwards.
- Water gently. Lightly water the new potting mix. Don’t soak it, as we don’t want soggy roots on a fresh division.
The “Secret Sauce” (Pro Tips)
Here are a couple of things I’ve learned over the years that can really make a difference:
- Give your divisions a little humidity hug. Once potted, I’ll often place the pots in a clear plastic bag or a propagation tray with a lid for the first few weeks. This creates a humid microclimate, which is fantastic for encouraging new root growth. Just make sure to open the bag or lid for a bit each day to allow for air circulation and prevent fungal issues.
- Don’t be in a rush to repot. Even if it looks a bit sad initially, give your division time to settle. You’ll see new leaf growth or eventually tiny root tips emerging from the base of the pseudobulbs. This can take several weeks, so patience is key!
Aftercare & Troubleshooting
Once your division has settled in and you start seeing signs of new roots emerging (look for little green bumps at the base of the new growths), you can begin to water a bit more regularly. Continue to water when the potting mix is almost dry.
The biggest challenge you might face is rot. This happens when the potting mix stays too wet for too long, suffocating the roots and leading to a mushy, brown base. Poor air circulation and overwatering are the main culprits. If you see a pseudobulb shriveling, turning brown and mushy at the base, or leaves yellowing and falling off quickly, it’s a sign of trouble. Act fast by checking the roots and repotting into fresh, dry mix if necessary, ensuring good drainage this time around.
A Little Encouragement
Propagating Prosthechea cochleata is a lovely way to expand your orchid family. It requires a bit of observation and a gentle hand, but the rewards are immense. Don’t get discouraged if your first attempt isn’t perfect. Every orchid is a learning experience. Just enjoy the process, and soon you’ll have more of these fascinating beauties to brighten your home! Happy growing!
Resource: