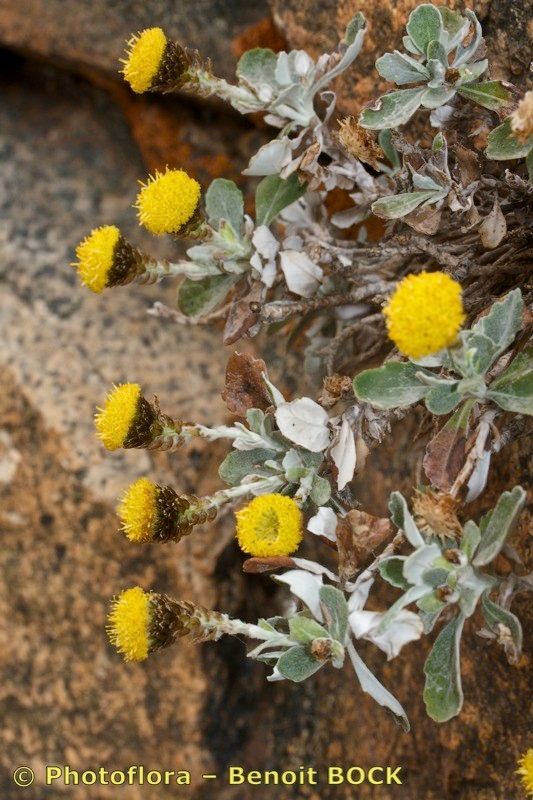
Oh, Aliella platyphylla! What a beauty. I’ve always loved this plant. Those broad, elegant leaves are just stunning, aren’t they? And the way they catch the light… it’s pure magic. Propagating it is such a rewarding experience. Seeing a tiny leaf or stem unfurl into a whole new plant is incredibly satisfying. Honestly, Aliella is a fairly forgiving plant to propagate, which is wonderful news, especially if you’re just starting out on your propagation journey. We’ll get you growing more of these gems in no time.
The Best Time to Start
For the highest success rate with Aliella platyphylla, I always find the late spring or early summer to be the sweet spot. This is when the plant is actively growing and has the energy to put into developing new roots. Look for a healthy stem that’s showing good vigor, not something struggling. If you miss this window, don’t fret too much; you can often have decent luck with cuttings in the early autumn, but spring is truly prime time.
Supplies You’ll Need
Gathering your supplies beforehand makes the whole process so much smoother. Here’s what I usually have on hand:
- Sharp Pruning Shears or a Clean Knife: For making clean cuts.
- A Well-Draining Potting Mix: I often use a blend of peat moss, perlite, and a bit of regular potting soil. A good quality succulent or cactus mix can also work wonders here.
- Small Pots or Trays: Whatever you have that can hold your cuttings and some soil. Cleanliness is key!
- Rooting Hormone (Optional but helpful): A powder or gel can give those cuttings a little nudge.
- A Clear Plastic Bag or Dome: To create a mini-greenhouse effect.
- Water: For watering and potentially for water propagation.
Propagation Methods
There are a couple of wonderful ways to get more Aliella plants. Let’s dive in!
Stem Cuttings
This is my go-to method for Aliella. It’s straightforward and usually yields great results.
- Take the Cuttings: Select a healthy stem, preferably one with at least two to three leaves. Using your clean shears or knife, make a cut just below a leaf node (that little bump where a leaf or branch emerges). You want cuttings that are typically 4-6 inches long. Remove any lower leaves that might go below the soil line.
- Prepare the Cuttings: If you’re using rooting hormone, lightly dip the cut end into the powder or gel. A little goes a long way.
- Plant the Cuttings: Fill your clean pots with your well-draining potting mix. Make a small hole in the center with your finger or a pencil. Gently insert the cut end of the stem cutting into the hole. Firm the soil gently around the base to ensure good contact.
- Water and Cover: Water the soil lightly. You want it to be moist but not soggy. Then, cover the pot with a clear plastic bag or a propagation dome to maintain high humidity. You can secure it with a rubber band.
Water Propagation
This is a visually satisfying method because you can see the roots forming!
- Prepare the Cuttings: Similar to stem cuttings, select a healthy stem and make a clean cut just below a leaf node. Remove any leaves that would be submerged in water.
- Place in Water: Put the cutting in a clean jar or glass filled with room-temperature water. Make sure no leaves are touching the water. This is important to prevent rot.
- Find a Good Spot: Place the container in a bright spot with indirect light.
- Change the Water: Change the water every few days or whenever it starts to look cloudy to keep it fresh.
- Plant When Ready: Once you see healthy roots forming, usually about an inch or two long, it’s time to transplant the cutting into soil. Follow the steps for planting in the stem cutting method.
The “Secret Sauce” (Pro Tips)
Here are a few things I’ve learned over the years that make propagation a little easier:
- Bottom Heat is Your Friend: If you’re propagating in a cooler room, using a gentle seedling heat mat placed under your pots can significantly speed up root development. It mimics the warmth of a greenhouse, and your Aliella cuttings will thank you for it!
- Humidity is Key, But Not Overkill: That plastic bag or dome is crucial for creating humidity. However, on a warm day, I like to lift the bag/dome for an hour or two to allow for some air circulation. This helps prevent fungal issues. Too much stagnant dampness can lead to rot.
- Patience with the Leaves: When taking stem cuttings, if your cutting has large leaves, I sometimes cut them in half. This reduces water loss through transpiration, giving the stem more energy to focus on rooting rather than supporting those big, beautiful leaves.
Aftercare & Troubleshooting
Once you see new growth or feel resistance when gently tugging on your cutting (a sign of roots!), it’s time to transition. Gradually expose your new plant to more regular conditions. Remove the plastic bag/dome incrementally over a few days. Keep the soil consistently moist but not waterlogged.
The most common issue you’ll encounter is rot. If your cutting turns mushy, black, or smells a bit funky, it’s likely rotted. This usually happens due to overwatering or poor air circulation. If you catch it early, you might be able to salvage a healthy section of the stem and try again. Also, watch for wilting leaves. This can be a sign of too little water, or sometimes, it indicates that the cutting hasn’t rooted yet and is struggling to get water from the soil. Don’t give up too quickly; sometimes a wilting cutting can bounce back once it establishes roots.
A Encouraging Closing
See? It’s not so daunting! Propagating Aliella platyphylla is a journey of observation and care. Be patient with yourself and your cuttings. Some will take faster than others, and some might not make it – that’s just part of gardening. Embrace the process, learn from each attempt, and soon you’ll be surrounded by a delightful collection of your own beautiful Aliella plants. Happy growing!
Resource: