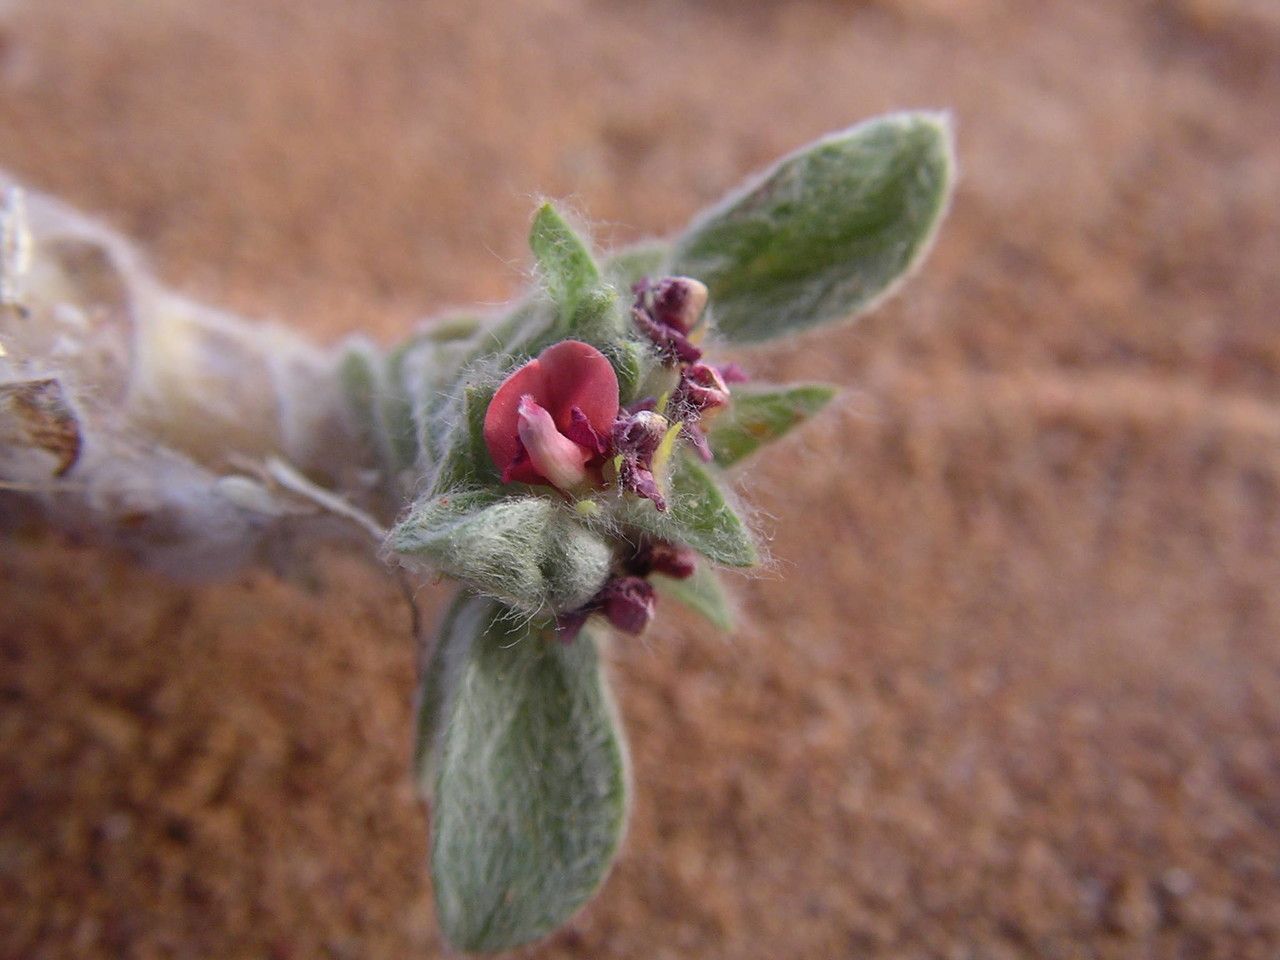
Hello fellow plant lovers! I’m so excited to share with you my passion for Indigofera berhautiana. This gorgeous shrub, with its delicate clusters of vibrant indigo flowers, is an absolute showstopper. It brings such a lovely splash of color to the garden, and honestly, it’s a joy to grow. If you’ve ever admired those beautiful blooms and thought, “I wish I had more of those!”, you’re in the right place. Propagating Indigofera berhautiana is a wonderfully rewarding way to expand your collection, and while it might seem daunting at first, I’m here to guide you through it. It’s not the absolute easiest plant for a complete beginner, but with a little patience and these tips, you’ll be well on your way!
The Best Time to Start
My go-to time for propagating Indigofera berhautiana from cuttings is late spring to early summer. This is when the plant is actively growing and has plenty of young, pliable stems. New growth is usually more vigorous and quicker to root than older, woody material. You want to take cuttings from stems that have started to mature a bit – they should be firm but not rock-hard. Think of it as striking when the iron is hot, in the plant world!
Supplies You’ll Need
Here’s what you’ll want to have on hand before you get started:
- Sharp Pruning Shears or a Clean Knife: For making clean cuts.
- Rooting Hormone (Powder or Gel): This is optional but can significantly boost your success rate. Look for one that’s formulated for softwood or semi-hardwood cuttings.
- Well-Draining Potting Mix: I personally love a mix of equal parts perlite and peat moss, or you can use a dedicated seed starting mix. The key is airflow and preventing waterlogged conditions.
- Small Pots or Trays: Clean containers with drainage holes are essential.
- Plastic Bag or Dome: To create a humid microclimate for your cuttings. This is a game-changer!
- Optional: Heated Propagation Mat: This can speed up rooting, especially if your home tends to be on the cooler side.
Propagation Methods: Stem Cuttings
This is my favorite and most reliable method for Indigofera berhautiana. It’s straightforward and yields great results.
- Select Your Cuttings: Look for healthy, non-flowering stems that are about 4-6 inches long. They should have new growth at the tip but also some slightly more mature material lower down.
- Make the Cut: Using your sharp shears or knife, make a clean cut just below a leaf node. A leaf node is where a leaf attaches to the stem. This is typically where the plant is most equipped to produce roots.
- Prepare the Cutting: Gently remove the lower leaves from the bottom half of the cutting. If there are any flower buds forming, pinch them off. We want all the plant’s energy to go into forming roots, not flowers or keeping existing leaves alive. Leave about 2-3 sets of leaves at the top.
- Apply Rooting Hormone (Optional but Recommended): Dip the cut end of the stem into your rooting hormone, tapping off any excess. Follow the product’s instructions.
- Plant Your Cuttings: Fill your clean pots with your prepared potting mix. Make a small hole in the center of the mix with your finger or a pencil. Insert the cutting into the hole, ensuring the leaf nodes are below the soil surface. Gently firm the soil around the cutting.
- Water Gently: Water thoroughly but gently until water drains from the bottom of the pot.
- Create Humidity: This is crucial! Cover the pot with a clear plastic bag – you can prop it up with stakes so it doesn’t touch the leaves – or use a clear plastic dome. This maintains high humidity, which prevents the cuttings from drying out before they can root.
- Find a Bright Spot: Place your pots in a location that receives bright, indirect light. Avoid direct sun, as this can scorch the delicate cuttings.
The “Secret Sauce” (Pro Tips)
Here are a couple of things I’ve learned over the years that really make a difference:
- Don’t Drown Your Cuttings: While humidity is vital, you don’t want the soil to be constantly soggy. Let the top layer of soil dry out slightly between waterings. Overwatering is a fast track to rot. Feel the soil with your finger – if it feels dry an inch down, it’s time to water.
- Bottom Heat is Your Friend: If you’re using a heated propagation mat, place your pots on top of it. This gentle warmth encourages root development from below, giving your cuttings a significant head start. It mimics the warmth of the soil in the spring.
Aftercare & Troubleshooting
You’ve planted your cuttings – now what?
- Check for Roots: After about 3-6 weeks, you can gently tug on a cutting. If you feel resistance, it’s a good sign roots have formed. You can also look for new leaf growth, which indicates success.
- Acclimate Gradually: Once rooted, you’ll want to gradually remove the plastic cover over a week or so to let your new plant get used to normal humidity levels.
- Potting Up: Once your new plant is large enough to handle and has a good root system, you can pot it into a slightly larger container with its own good-quality potting mix.
- Common Woes: The most common problem you’ll encounter is rot. If your cutting turns black and mushy, it’s likely rotted due to too much moisture and not enough airflow. Unfortunately, these are usually unsalvageable. Another sign of failure is if the leaves wither and fall off without any new growth appearing. Ensure your humidity is right and you’re not overwatering.
A Little Patience Goes a Long Way
There you have it! Propagating Indigofera berhautiana is a journey, and like any garden endeavor, it requires a bit of patience. Don’t be discouraged if every single cutting doesn’t make it. Each attempt is a learning experience. Take joy in the process, watch for those tiny signs of life, and soon you’ll be rewarded with your own beautiful indigo blooms. Happy propagating!
Resource:
https://identify.plantnet.org/k-world-flora/species/Indigofera%20berhautiana%20J.B.Gillett/data