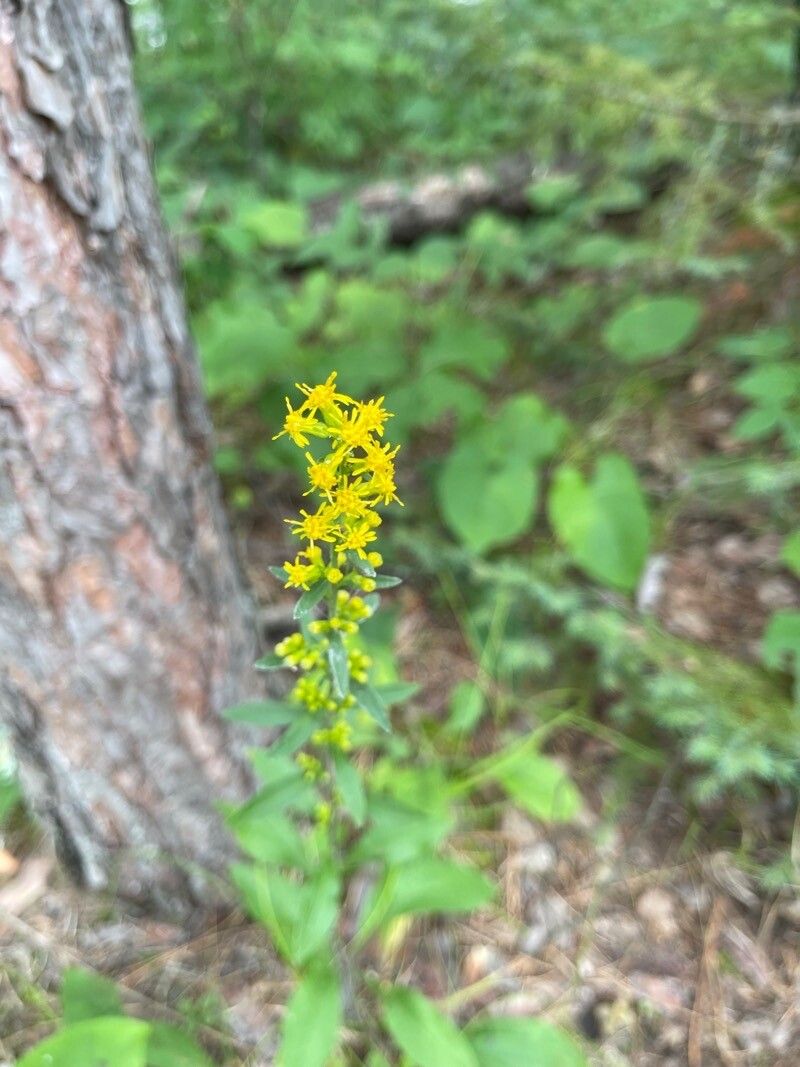
Hello there, fellow plant enthusiasts! It’s so wonderful to connect with you again from my little corner of green. Today, we’re diving into the world of Solidago hispida, also known as Hairy Goldenrod. This beauty, with its cheerful golden blooms and delightful fragrance, is a real showstopper in the garden. It brings such a vibrant splash of late-season color when many other plants are nodding off. And the best part? It’s quite rewarding to bring more of these beauties into existence through propagation. For beginners, I’d say this one is moderately easy, offering a good learning curve without too much frustration.
The Best Time to Start
For Solidago hispida, I find the absolute best time to get started is in late spring to early summer. This is when the plant is actively growing, meaning it has plenty of energy reserves to put into root development. Waiting until after the initial flush of growth, but before the plant starts forming flower buds, is key. You’ll have vigorous, healthy stems to work with.
Supplies You’ll Need
Gathering your supplies beforehand makes the whole process so much smoother. Here’s what I usually have on hand:
- Clean, sharp pruning shears or a craft knife: For taking clean cuts.
- Small pots or seed starting trays: With drainage holes, of course!
- A well-draining potting mix: I love a mix of equal parts peat moss, perlite, and a bit of compost. This provides aeration and nutrients.
- Rooting hormone (optional but recommended): This can significantly speed up root formation.
- A watering can with a fine rose or a spray bottle: For gentle watering.
- Plastic bags or a propagator: To create a humid environment.
- Labels: So you don’t forget what you planted where!
Propagation Methods
Let’s get our hands dirty with a couple of reliable methods for Hairy Goldenrod.
Stem Cuttings
This is my go-to for increasing my collection.
- Select your stems: Look for healthy, non-flowering shoots that are about 4-6 inches long. Gently bend one – if it snaps easily, it’s probably ready.
- Make the cut: Using your clean, sharp shears, take cuttings from the tip of these healthy stems. Make the cut just below a leaf node (where a leaf attaches to the stem).
- Prepare the cuttings: Carefully remove the lower leaves, leaving just a couple of leaves at the very top. This prevents them from rotting in the soil. If your cutting is long, you can even cut the remaining top leaves in half to reduce water loss.
- Apply rooting hormone: Dip the cut end of each stem into your rooting hormone. Tap off any excess.
- Plant your cuttings: Fill your small pots with your prepared potting mix. Make a small hole in the center with your finger or a pencil. Gently insert the cut end of the stem into the hole, ensuring the node where you removed the leaves is buried. Firm the soil gently around the stem.
- Water and cover: Water the soil thoroughly but gently. Then, cover the pot with a plastic bag or place it in a propagator to create a humid microclimate. Secure the bag with a rubber band or close the propagator lid.
Division
This method is great if your Goldenrod plant is already established and has formed dense clumps.
- Dig it up: In late spring or early summer, carefully dig up the entire plant using a spade, keeping as much of the root ball intact as possible.
- Separate the clumps: Gently shake off excess soil. You’ll see where the plant has naturally divided into several smaller sections or crowns. You can often pull these apart with your hands. If they’re stubborn, use your clean trowel or even a sharp knife to make clean cuts between the sections. Ensure each division has healthy roots and at least one or two shoots.
- Replant immediately: Find suitable spots in your garden or new pots for your divisions. Plant them at the same depth they were previously growing. Water them in well.
The “Secret Sauce” (Pro Tips)
Here are a couple of things I’ve learned that really give my propagations an edge:
- Avoid the “drowned rat” look: When using water propagation for stem cuttings (though division is more common for Solidago), make absolutely sure no leaves are submerged in the water. They will rot quickly and can infect the rest of the cutting. Only the stem should be in the water.
- Warmth is king: Solidago hispida really appreciates a bit of bottom heat when propagating from cuttings. If you have a heat mat, place your pots on it. This encourages root development from below, and you’ll often see roots form faster and more robustly!
Aftercare & Troubleshooting
Once your cuttings have been planted, keep the soil consistently moist but not soggy. Check the soil moisture by gently pressing your finger into it. If it feels dry an inch down, it’s time to water. Keep them in bright, indirect light.
You’ll know your cuttings are taking root when you start to see new leaf growth. This can take anywhere from a few weeks to a couple of months. Gently tugging on a cutting – if there’s resistance, roots have formed! Once they have a good root system, you can gradually acclimate them to normal garden conditions by opening the plastic bag for longer periods before removing it completely.
The most common issue you might encounter is rot. If your cuttings turn mushy, dark, and smell musty, they’ve likely rotted. This is usually due to overwatering and poor air circulation. Don’t be discouraged! Just discard the rotten cuttings and start fresh, adjusting your watering and humidity levels.
Keep Growing!
Propagating Solidago hispida is a wonderful way to fill your garden with its sunny disposition. Be patient with the process, celebrate every little sprout, and don’t be afraid to experiment. Happy gardening, and may your Goldenrod flourish!
Resource:
https://identify.plantnet.org/k-world-flora/species/Solidago%20hispida%20Muhl.%20ex%20Willd./data