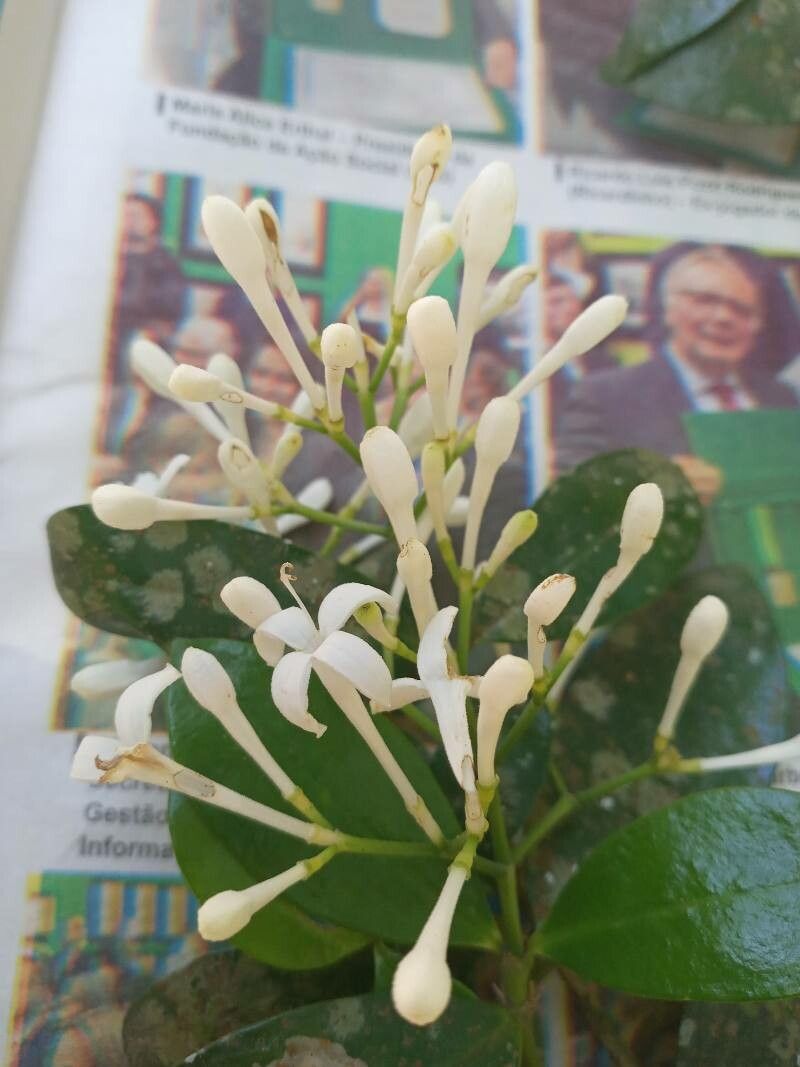
Well hello there, fellow garden enthusiasts! If you’ve ever admired the glossy, deep green leaves and the delightful little flowers of Rudgea parquioides and thought, “I’d love more of that!” then you’re in the right place. This lovely shrub brings such charm with its understated elegance. And you know what? Propagating it is a truly satisfying endeavor. It’s not the absolute easiest plant to get going from cuttings, but with a little patience and these tips, I’m confident you’ll be successful. Think of it as a rewarding challenge for your green thumb!
The Best Time to Start
Generally, the warmer months are your best bet. I find that late spring or early summer, when the plant is actively growing, yields the highest success rates. You want to take cuttings from healthy, vigorous new growth – not the super soft, floppy stuff, but not the woody old stems either. Think of it as “semi-hardwood” cuttings.
Supplies You’ll Need
Here’s a little kit to get you started:
- Sharp, clean pruning shears or a hobby knife: Crucial for making clean cuts.
- Rooting hormone powder or gel: This will give your cuttings a significant boost.
- Potting mix: A good mix for cuttings is key. I like a blend of equal parts perlite and peat moss or coir. Some people also add a bit of horticultural charcoal to keep things fresh.
- Small pots or propagation trays: Clean ones are a must!
- Plastic bags or a propagation dome: To maintain high humidity around your cuttings.
- Watering can with a fine rose: For gentle watering.
- Labels and a permanent marker: Don’t skip this, trust me!
Propagation Methods
Let’s dive into how you can get these beauties started. For Rudgea parquioides, stem cuttings are generally the most reliable method.
Stem Cuttings
- Select Your Cuttings: Head out to your plant on a warm, bright day. Look for stems that are about 4-6 inches long. You want to see healthy leaves along the stem, and ideally, the tip should be just starting to firm up a bit, not still dangly.
- Make the Cut: Using your clean shears or knife, make a sharp cut just below a leaf node. This is where roots tend to emerge. Remove any lower leaves, leaving just a couple at the very tip. If the remaining leaves are very large, I sometimes snip them in half to reduce water loss.
- Apply Rooting Hormone: Dip the cut end of the stem into your rooting hormone, tapping off any excess. Make sure the cut end is well-coated.
- Potting Up: Gently insert the treated end of the cutting into your prepared potting mix. Firm the soil gently around the base to ensure good contact.
- Create a Humid Environment: Water the soil thoroughly until it’s moist but not soggy. Then, cover the pot with a plastic bag or place it under a propagation dome. You want to create a mini greenhouse effect. Make sure the plastic bag doesn’t touch the leaves if possible – that can encourage rot.
- Placement: Find a bright spot that doesn’t get direct, harsh sunlight. A windowsill out of the intense midday sun is usually perfect.
Water Propagation (Use with Caution)
While stem cuttings in soil are my preferred method for Rudgea parquioides, some people do have success with water.
- Prepare the Cuttings: Follow steps 1 and 2 above.
- Place in Water: Plunge the cut end into a clean jar or glass of room-temperature water. Make sure that no leaves are submerged – this is crucial as they will rot quickly.
- Change Water Regularly: Change the water every few days to keep it fresh and oxygenated.
- Wait for Roots: Be patient! Roots will eventually emerge from the nodes. Once they are about an inch long, it’s time to hesitantly transplant them into your soil mix, treating them like a brand new, delicate seedling.
The “Secret Sauce” (Pro Tips)
Here are a couple of little tricks I’ve picked up over the years that can really make a difference:
- Bottom Heat is Your Friend: If you can manage it, placing your pots on a gentle heat mat can really speed up the rooting process. It mimics the warm soil temperature of summer and signals the plant to get growing roots. Just a few degrees above ambient temperature is usually enough.
- The “Double Pinch” for Bushiness: Once your cutting has rooted and you’ve repotted it, and it starts showing a few new sets of leaves, pinch off the very tip of the main stem. This encourages the plant to branch out, giving you a much fuller and bushier specimen from the start. You can do this again on the new branches.
Aftercare & Troubleshooting
Once you see new growth emerging from your cutting, that’s usually a good sign that roots have formed. Gently tug on the cutting – if there’s resistance, you likely have roots!
- Gradual Acclimation: If you’ve used a plastic bag or dome, gradually acclimate your new plant to normal humidity levels by opening the bag or dome for longer periods each day over a week or so.
- Watering is Key: Keep the soil consistently moist but never waterlogged. As the plant grows, you can let the surface of the soil dry out slightly between waterings.
- Watch for Rot: The most common issue you might face is rot. If your cutting turns black and mushy, or if the leaves start to yellow and drop off without any new growth, it’s likely a sign of overwatering or poor air circulation. Sometimes, a cutting is just a goner, and that’s okay. Don’t be discouraged! Just start again.
Happy Propagating!
Watching a tiny cutting transform into a healthy, thriving plant is one of the most rewarding parts of gardening. Be patient with your Rudgea parquioides cuttings; they take their time, but the payoff is so worth it. Enjoy the process, learn from each attempt, and soon you’ll have an entire “family” of these beautiful plants to brighten your home or garden. Happy propagating!
Resource:
https://identify.plantnet.org/k-world-flora/species/Rudgea%20parquioides%20(Cham.)%20Müll.Arg./data