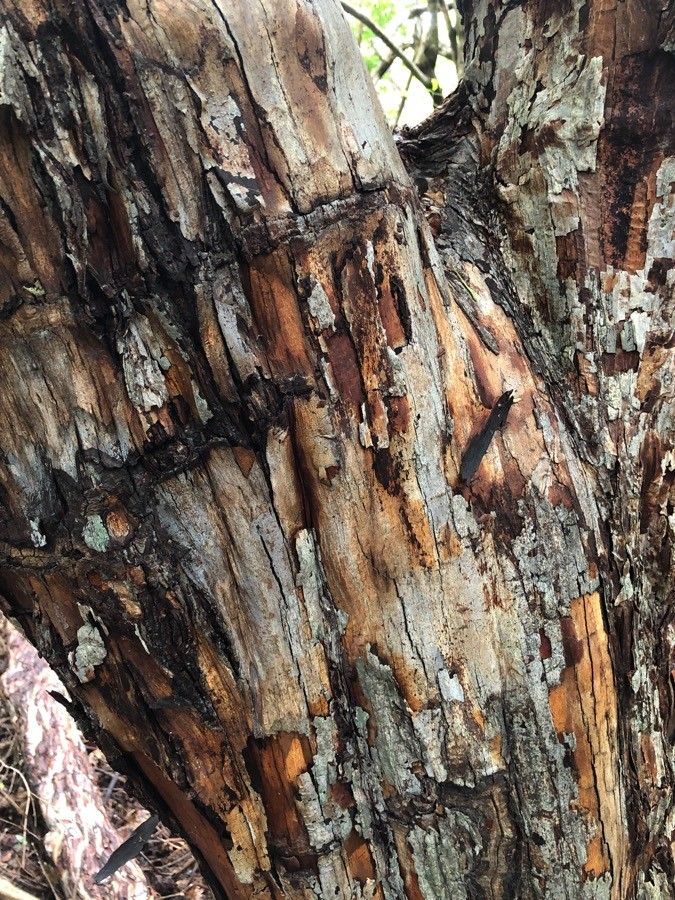
Hello fellow garden enthusiasts! Today, we’re going to talk about a truly special plant: Calycophyllum candidissimum, often known as the white orchid or the soapwood. Isn’t that just a lovely name? I’ve always been drawn to its elegant, almost ethereal white flowers that cascade down its branches, and the way its bark exfoliates to reveal new, vibrant shades. It truly is a showstopper. The real magic, though, is bringing new ones to life yourself. Propagating these beauties is incredibly rewarding, though I’ll be honest, it’s not always the easiest for a complete beginner. But with a little patience and these tips, we’ll get you there!
The Best Time to Start
For Calycophyllum candidissimum, I’ve found the late spring or early summer to be your golden window. This is when the plant is in active growth, meaning it has plenty of energy to put into developing new roots. You want to be taking cuttings or dividing when the plant is bursting with life, not when it’s resting or preparing to flower. Look for stems that are neither too soft and new nor too woody and mature. Something in between, firm but flexible, is just right.
Supplies You’ll Need
Here’s what you’ll want to have on hand before we get our hands dirty:
- Sharp, clean pruning shears or a very sharp knife: Sterilize them with rubbing alcohol before you start.
- Rooting hormone: A powder or gel that helps encourage root development.
- Potting mix: A well-draining mix is crucial. I like a blend of peat moss or coco coir, perlite, and a bit of sand. You can also buy pre-made cactus and succulent mixes that work well.
- Small pots or propagation trays: Make sure they have drainage holes!
- Clear plastic bags or a propagation dome: To create a humid environment.
- Small pebbles or perlite (optional): To add extra drainage at the bottom of pots.
- Watering can or spray bottle: For gentle watering.
Propagation Methods
Calycophyllum candidissimum can be propagated in a couple of ways, but my go-to method is stem cuttings.
Stem Cuttings:
- Select your cutting: Choose a healthy stem that’s about 4-6 inches long. Look for one that has at least two sets of leaves.
- Make the cut: Using your sterilized shears or knife, make a clean cut just below a leaf node (where a leaf attaches to the stem). This is where roots will most likely form.
- Prepare the cutting: Gently remove the lower leaves, leaving just the top two or three leaves. This prevents them from rotting in the soil when you plant the cutting.
- Apply rooting hormone: Dip the cut end of the stem into your rooting hormone, ensuring it’s well-coated. Tap off any excess.
- Plant your cutting: Fill your small pots with your well-draining potting mix. Make a small hole in the center with your finger or a pencil. Carefully insert the rooting hormone-coated end of the cutting into the hole, ensuring it stands upright. Gently firm the soil around the base of the cutting.
- Water gently: Water the soil lightly until it’s moist but not waterlogged.
- Create humidity: Cover the pot with a clear plastic bag or place it under a propagation dome. This will create a mini-greenhouse effect, keeping the humidity high, which is vital for cuttings to root without drying out. Position the plastic bag so it doesn’t touch the leaves.
- Find a good spot: Place the pot in a bright location that receives indirect sunlight. Avoid direct sun, which can scorch the delicate cutting.
The “Secret Sauce” (Pro Tips)
Now, for a couple of little tricks I’ve learned over the years that can really make a difference:
- Bottom heat is your friend! If you have a heat mat (often used for seed starting), placing your pots on it can significantly speed up root formation. It mimics the warmth of spring soil and encourages those roots to get going.
- Don’t overwater, but keep it consistently moist. This is a delicate balance. The soil should feel like a wrung-out sponge – moist, but not soggy. I often give my cuttings a gentle misting with a spray bottle every few days if the soil starts to look dry, or if humidity drops too much. This keeps them happy without risking rot.
- Don’t rush to pot up! Resist the temptation to pull the cutting out to check for roots too early. You want to give them time to establish a strong system. You can often tell by new leaf growth, but even then, be gentle.
Aftercare & Troubleshooting
Once you see signs of new growth – tiny leaves unfurling or a bit of vigor returning to the stem – it’s a good sign that roots are forming! You can gradually acclimate your new plant by opening the plastic bag or dome a little each day over a week. Once it’s used to the open air, you can remove the cover completely.
Now, treat it like a young plant. Continue to provide bright, indirect light and water when the top inch of soil feels dry.
What if things go wrong? The most common issue is rot. If your cutting turns black and mushy, it’s usually a sign of too much moisture and not enough air circulation. Unfortunately, a rotted cutting is usually beyond saving. Another sign of failure can be wilting or yellowing leaves without new growth – this could mean it’s too dry, or it’s just not taking. Don’t get discouraged! Gardening is an experiment, and sometimes things don’t work out as planned. Just have another go.
A Little Patience Goes a Long Way
Propagating Calycophyllum candidissimum is a journey, not a race. Be patient with your new little plants. Watch for those tiny signs of life, celebrate every bit of progress, and don’t be afraid to try again if your first attempt doesn’t quite take. The reward of seeing your own propagated beauty thrive is absolutely worth it. Happy gardening!
Resource: